The Add-Ons page lets you add optional features and third-party integrations to ActiveCollab. You can activate any add-on by clicking the Configure button.
Desktop app
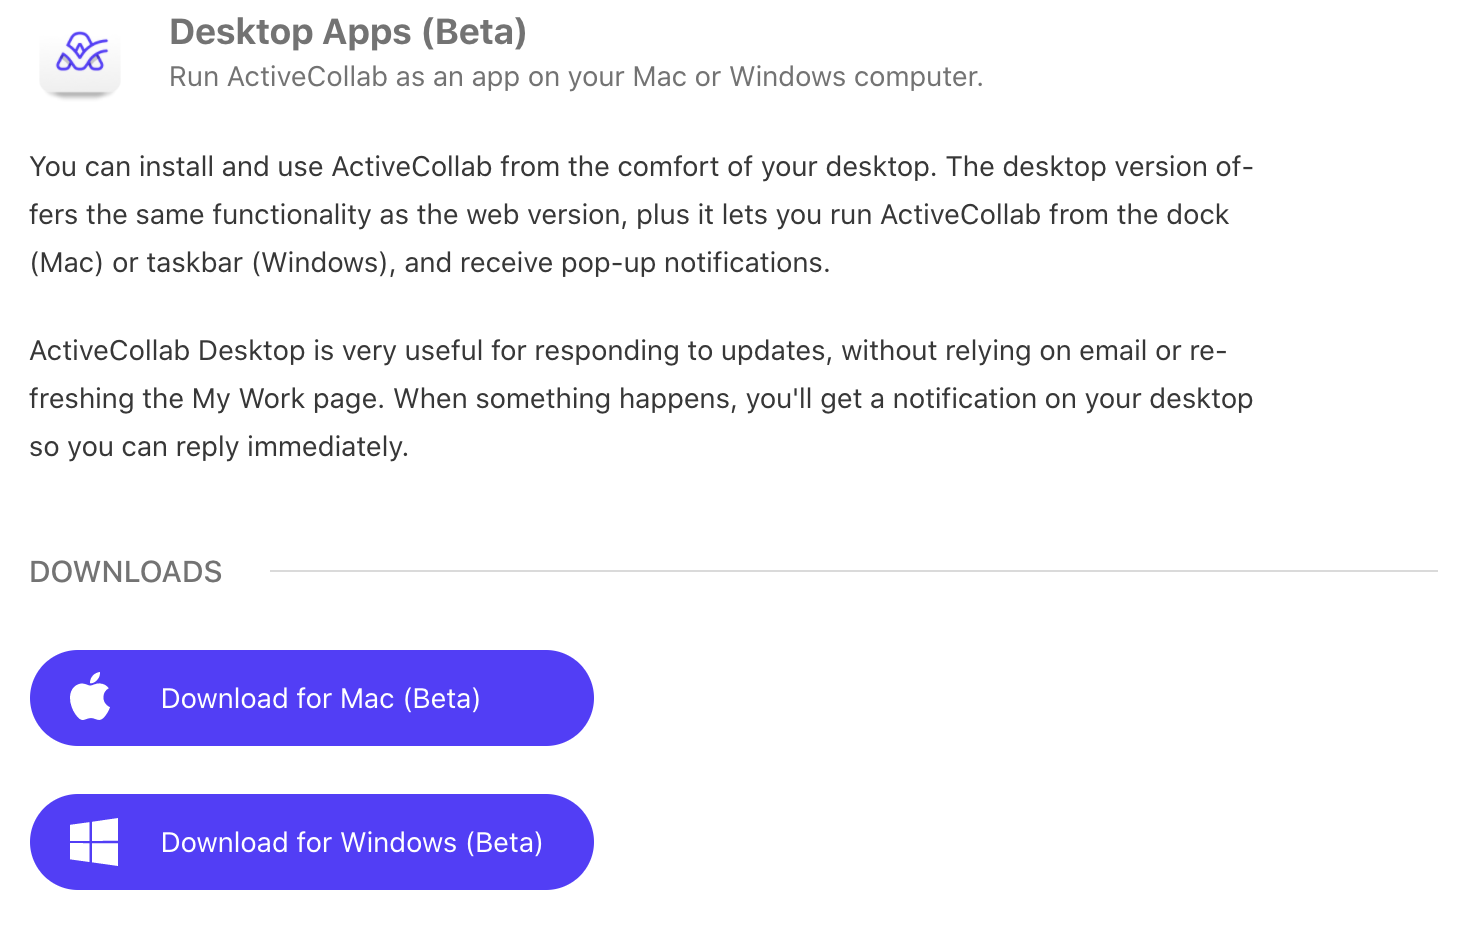
Run ActiveCollab as an app on your Mac or Windows computer. When something happens on your account, you’ll be notified with a pop-up notification.
Setting the Desktop app for Self-Hosted
The Desktop app is also available in the self-hosted accounts under Add-Ons. It is available for Mac and Windows.
- Download and install the app,
- Open the app and go to Help > Developer > Change Start Page,
- Change the URL to the Self-Hosted,
- Log into your Desktop app.
Sample Projects
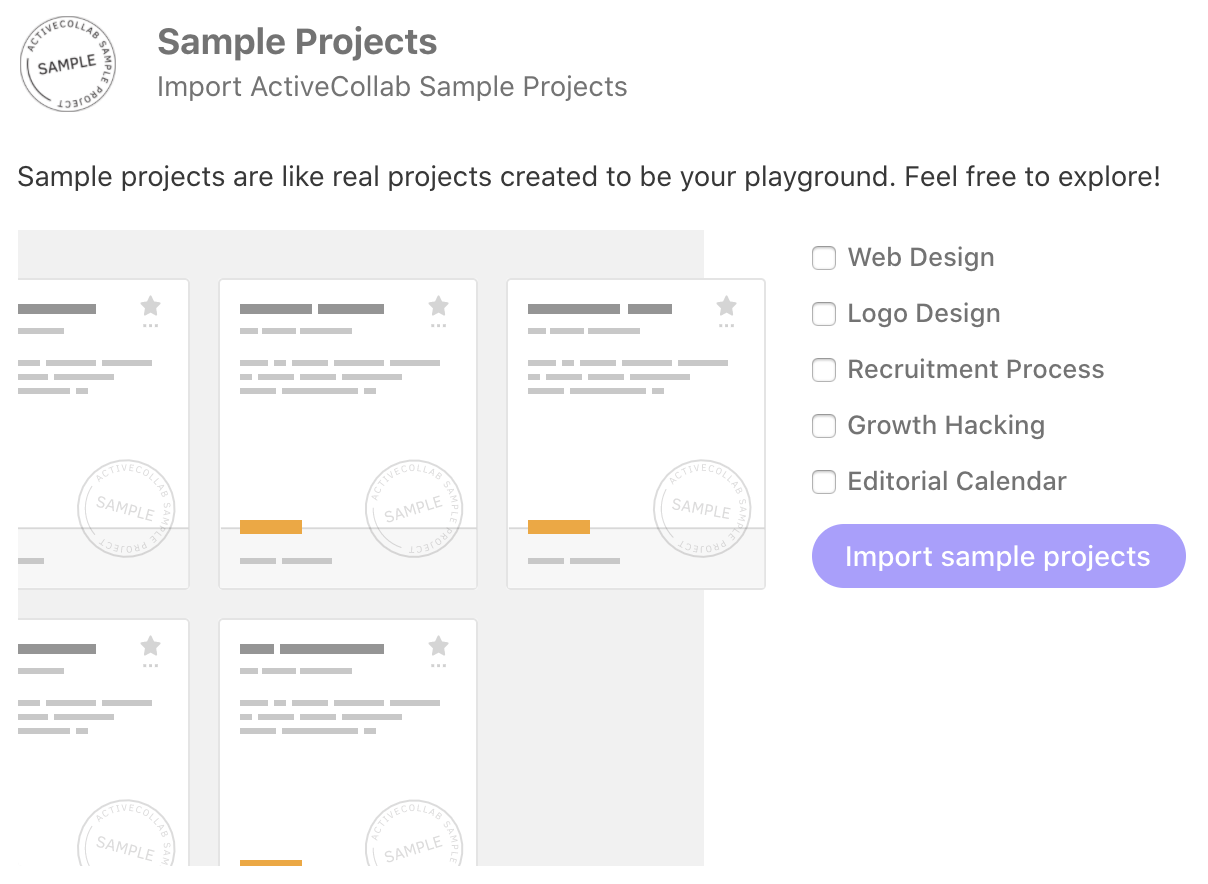
If you skipped the button when creating a trial or you are an active user, you can still access Sample Projects. Open the Add-Ons section, find them on the list and add them with a few simple clicks.
Asana Migration
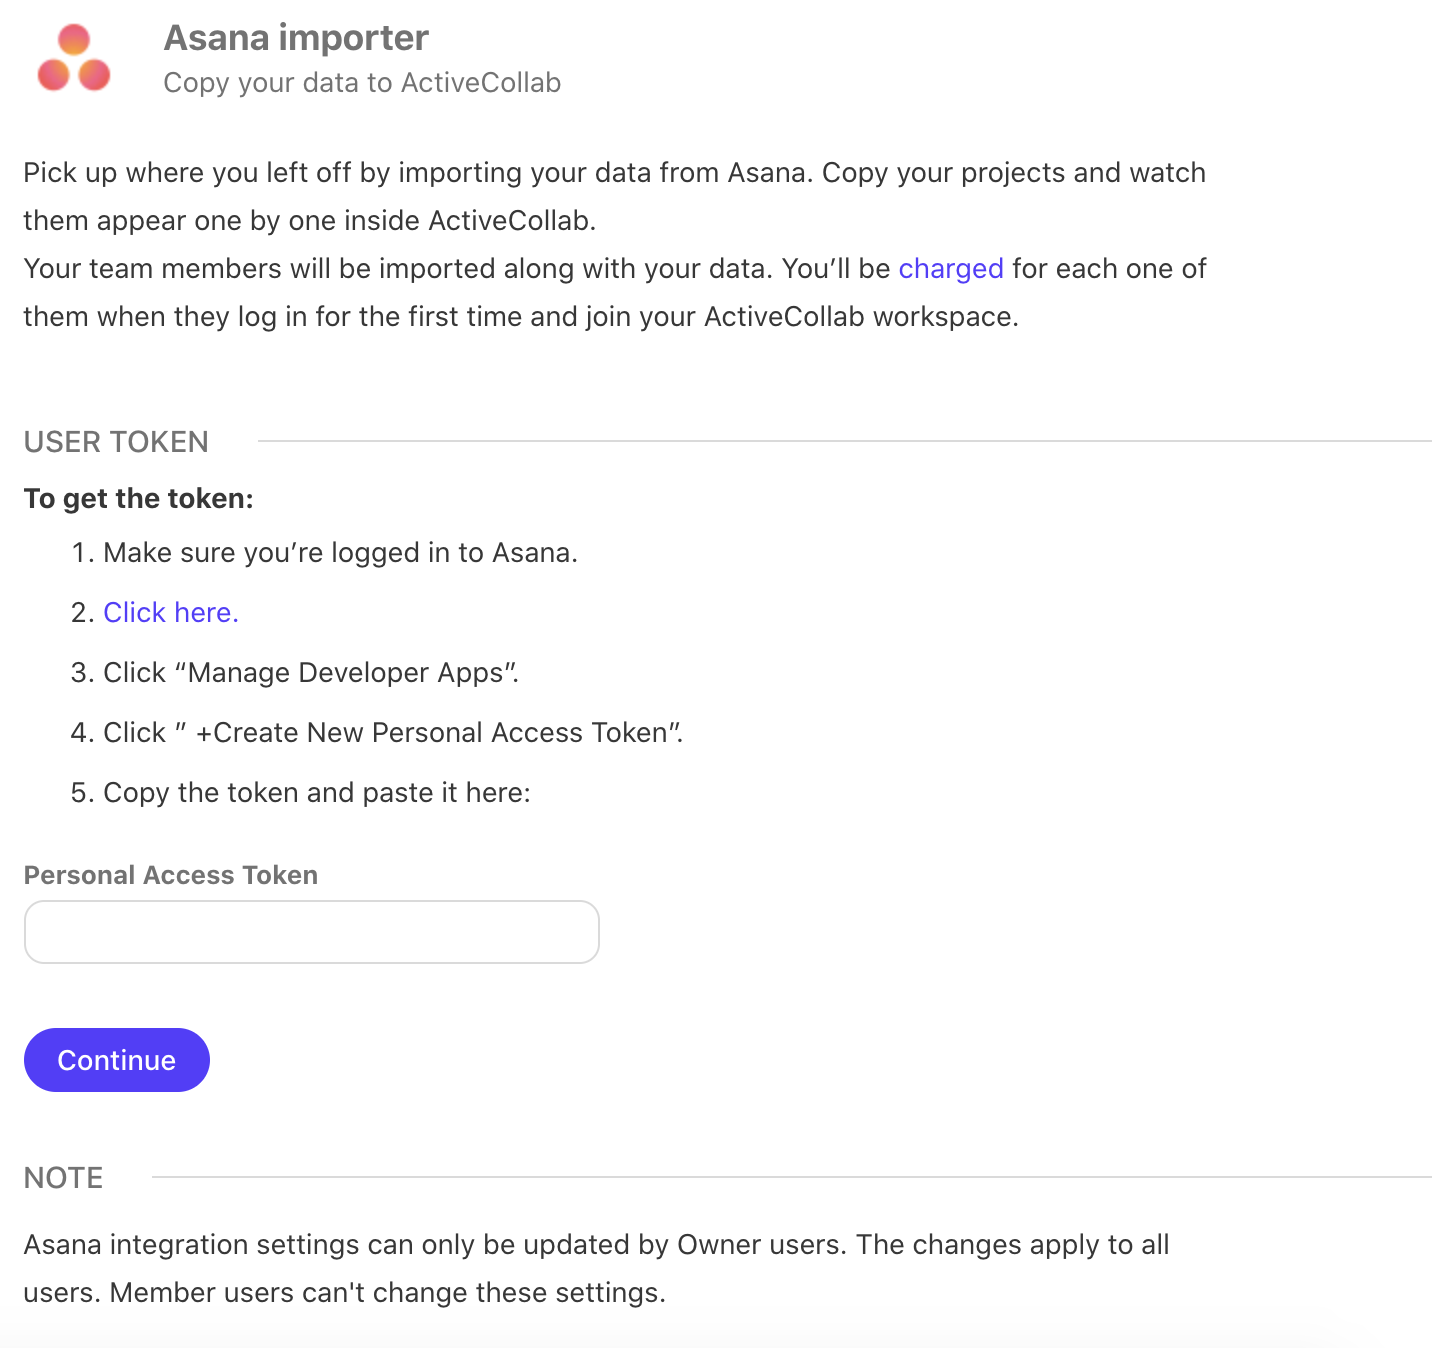
Pick up where you left off by importing your data from Asana. Copy your projects and watch them appear one by one inside ActiveCollab.
To get the token:
- Make sure you’re logged in to Asana,
- Click here,
- Click “Manage Developer Apps”,
- Click ” +Create New Personal Access Token”,
- Copy the token and paste it back to ActiveCollab.
The import can take some time, depending on the number and the size of your projects. When a project is imported, it will show up in your ActiveCollab account. You can leave the page and visit it later to check the progress.
Basecamp Migration
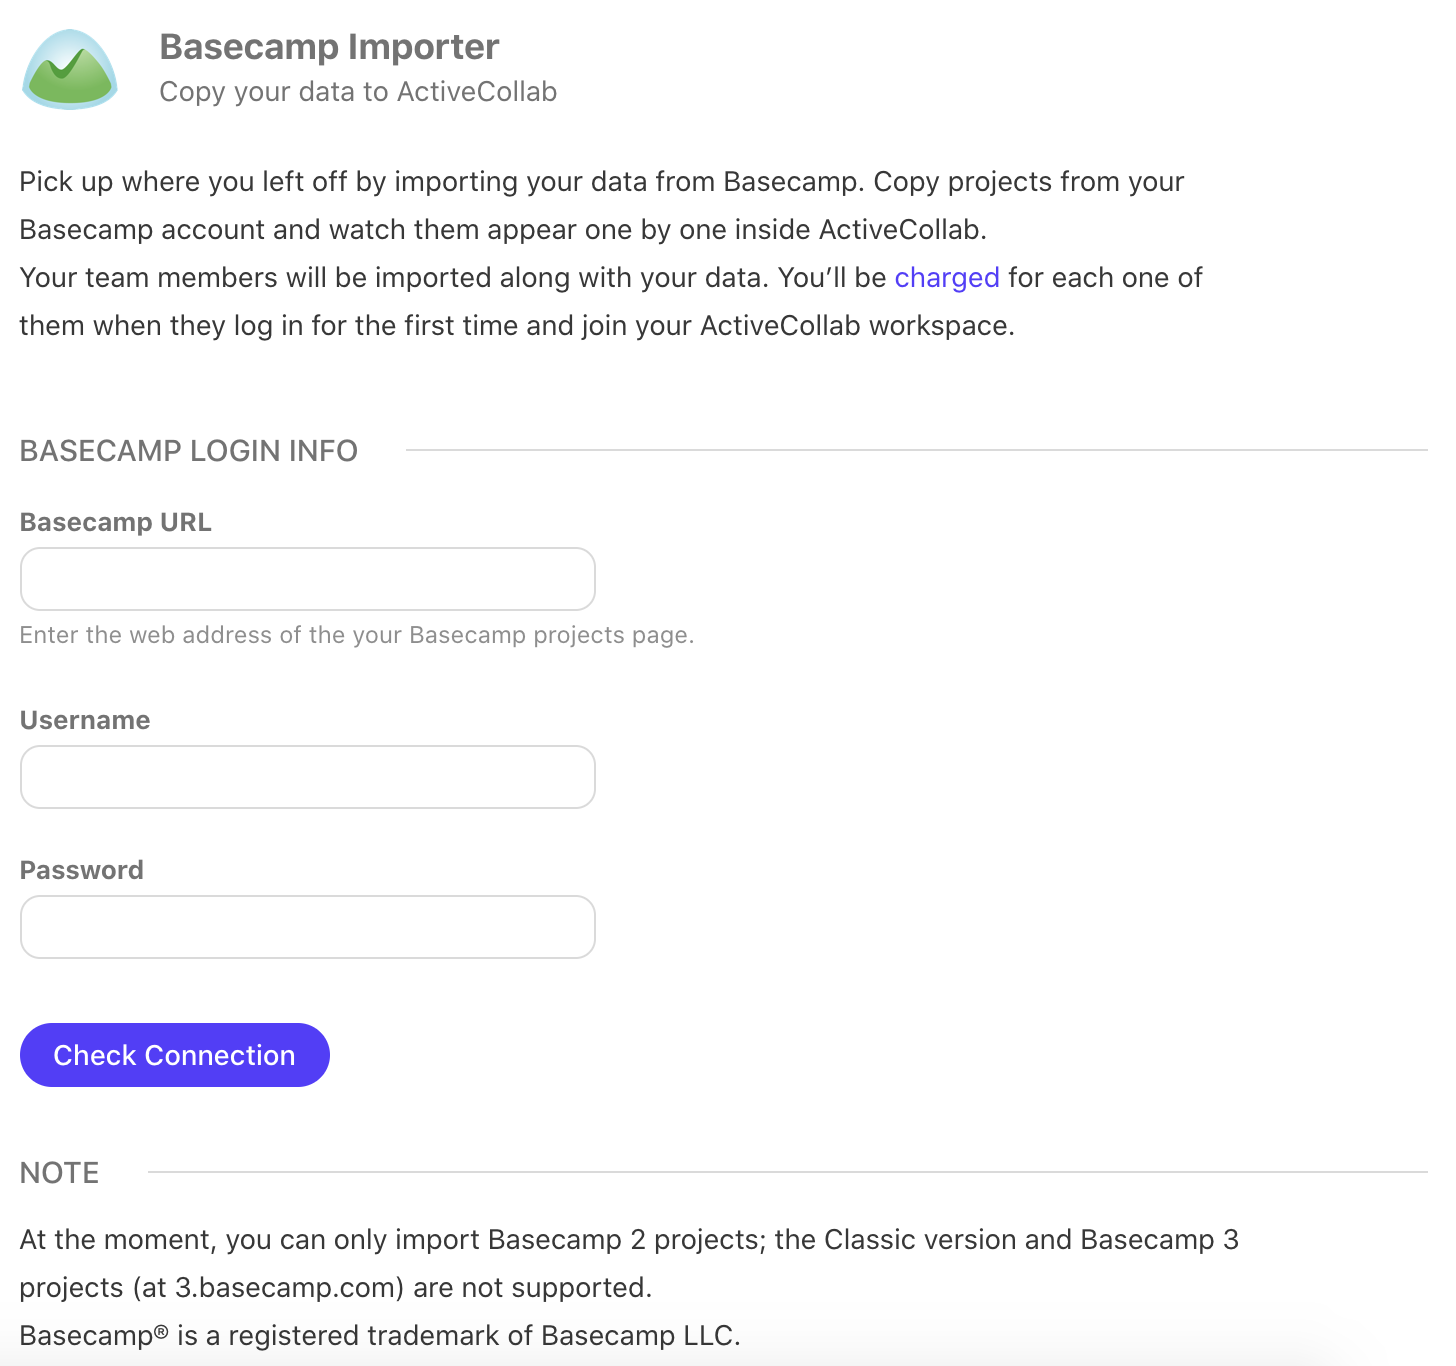
You can copy all your Basecamp projects into ActiveCollab and continue where you left off.
- Enter your Basecamp URL (eg. https://basecamp.com/3054895),
- Enter your Username and Password,
- Click Check Connection,
- Confirm you want to copy the projects by clicking Start The Import Now.
Note:
You can import only Basecamp 2 projects; Basecamp 3 projects (at 3.basecamp.com) are not supported.
The import can take some time, depending on the number and the size of your projects. When a project is imported, it will show up in your ActiveCollab account. You can leave the page and visit it later to check the progress.
Trello Migration
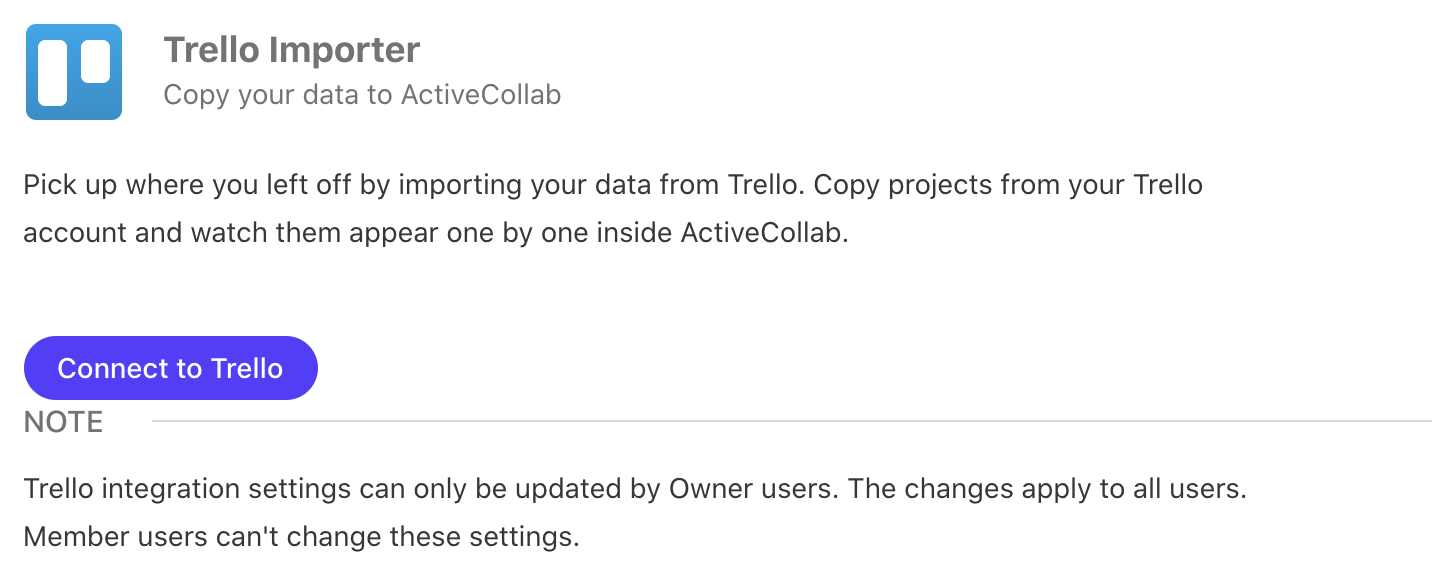
You can copy all your Trello projects into ActiveCollab and continue where you left off.
- Click Connect to Trello,
- You'll be taken to trello.com, asking you to let ActiveCollab use your account. Click Allow (you have to be logged in first),
- Before the import starts, connect Trello users to ActiveCollab users,
- Click Start The Import Now.
Note:
If you're importing users that don't exist in ActiveCollab, you'll need to manually enter their emails. They won't be invited until you say so, after the import. You can leave email fields empty and enter them after the import in the People section.
The import can take some time, depending on the number and the size of your Trello projects. When a project is imported, it will show up in your ActiveCollab account. You can leave the page and visit it later to check the progress.
Once all projects are imported, finish the import by sending imported users email invitations to ActiveCollab. You can do this anytime you want (but note that imported users won't be able to log in as they didn't get the invitation mail).
After that, you can start the importer again, and import new users and projects.
Wrike Migration
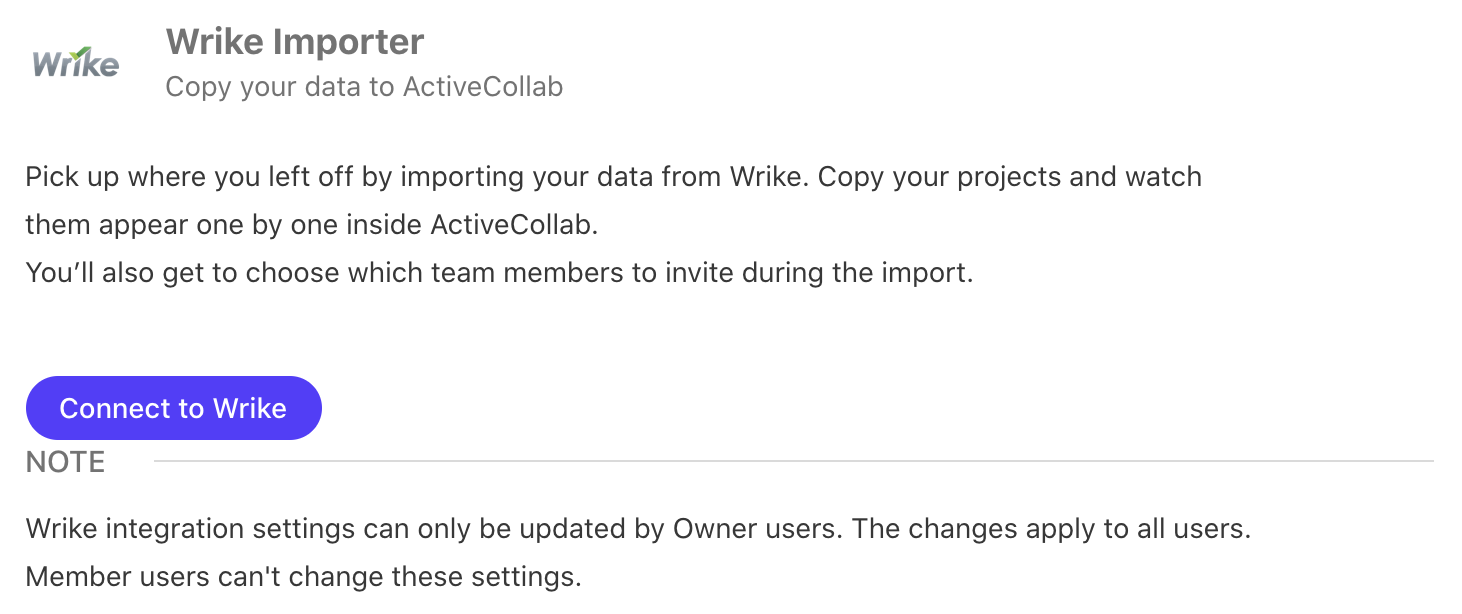
To connect your Wrike account with ActiveCollab do the following:
- Open Add-Ons,
- Go to the Wrike>Configure,
- Click Connect to Wrike,
- You'll be taken to wrike.com, asking you to let ActiveCollab use your account. Click Allow (you have to be logged in first),
- You’ll be taken back to ActiveCollab Add-Ons page. There, pick the Wrike account you’d like to import and click Import,
- After the import is complete, you’ll be able to invite users from Wrike. They won't be invited until you say so. You can choose not to invite users right away and add them later from the same place or in the People> +Invite people.
Payment Processing
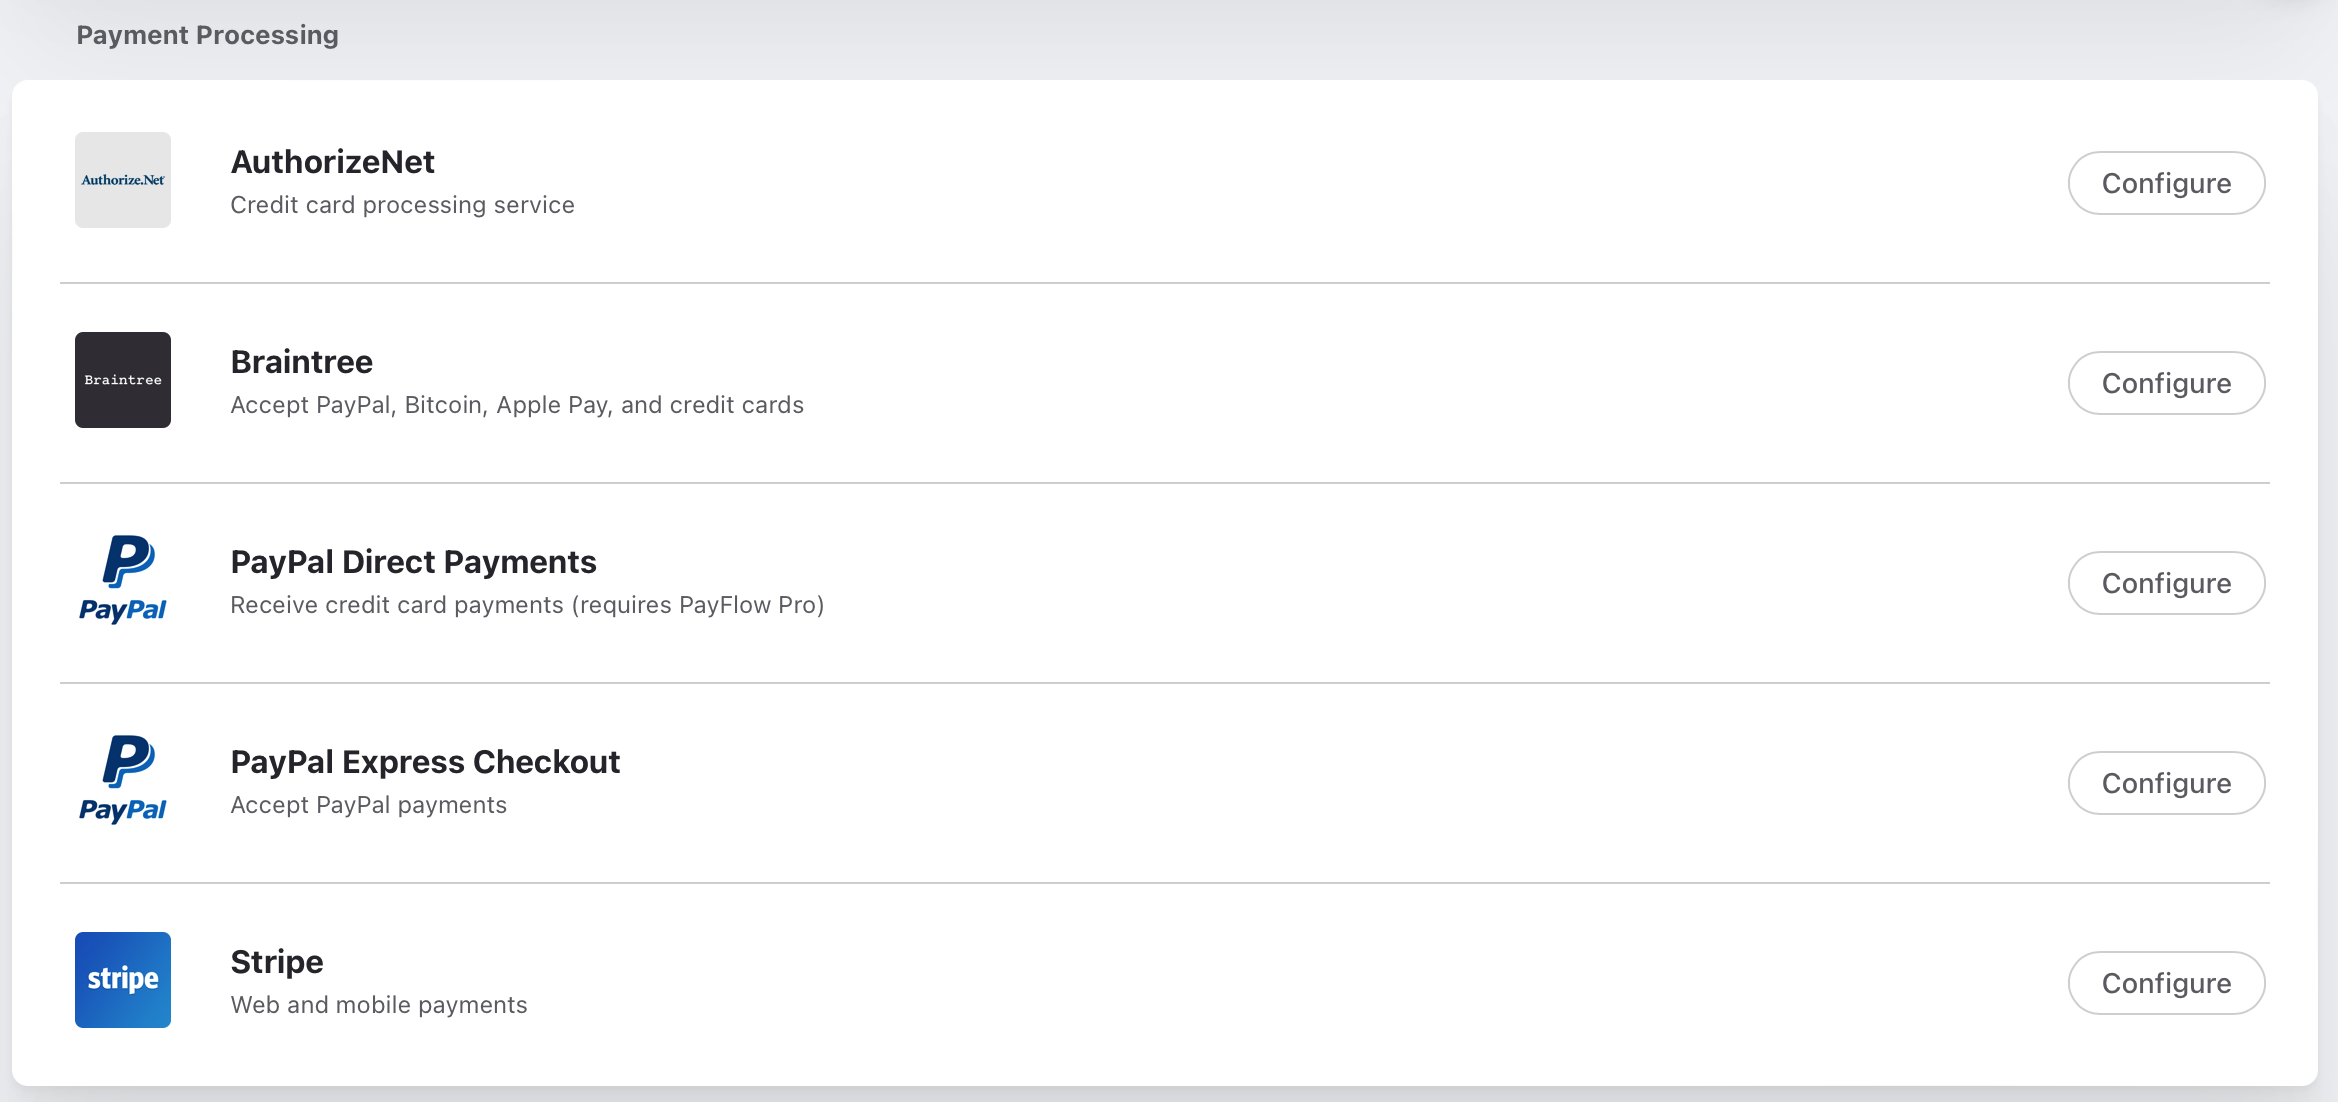
ActiveCollab supports several payment services so your clients can pay their invoices online.
- PayPal Express Checkout - clients can pay using their PayPal account,
- PayPal Direct Payments - clients can make direct payments with their credit cards (requires you to have a PayPal Payments Pro account),
- Braintree - the client can use PayPal, Bitcoin, Apple Pay, and credit cards,
- AuthorizeNet and Stripe - clients can make credit card payments,
- Stripe - You can easily connect your Stripe and ActiveCollab accounts via the Secret and Publishable APIs.
Client +
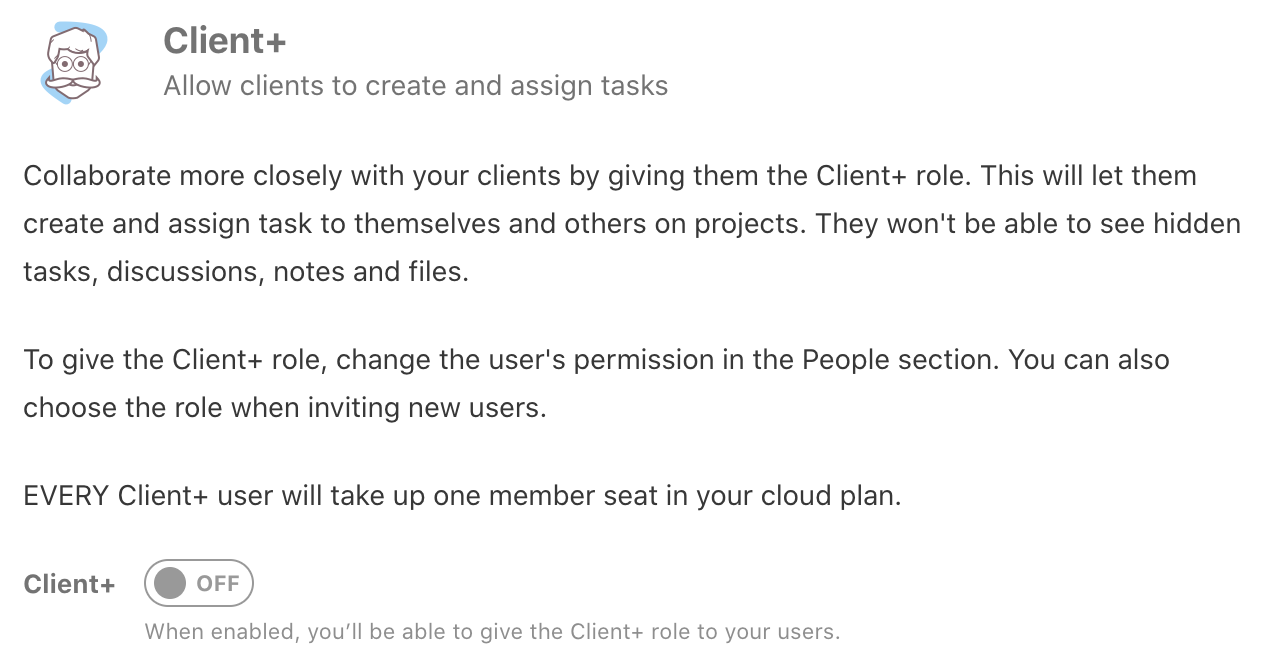
Client + add-on enables the additional system role called Client+ perfect when you need to give some power to your Clients. Users with Client + role can create tasks, be an assignee on tasks, create and manage recurring tasks, and see which team member is also on their projects.
They won't be able to see hidden tasks, discussions, notes, and files.
To give the Client+ role, change the user's permission from the People section. You can also choose the role when inviting new users.
EVERY Client+ user will take up one member seat on your cloud plan.
Hubstaff integration
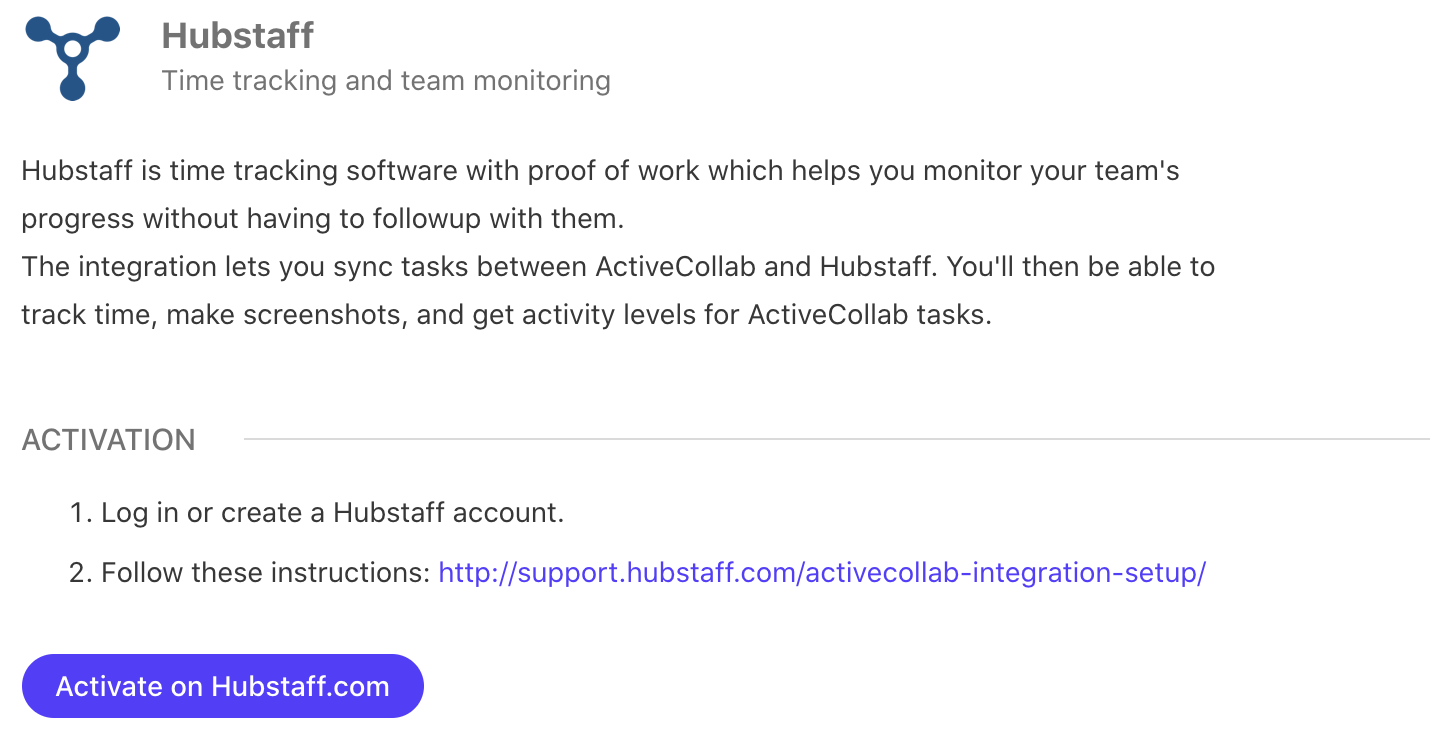
Hubstaff is time tracking software with proof of work that helps you monitor your team's progress without having to follow up with them.
The integration lets you sync tasks between ActiveCollab and Hubstaff. You'll then be able to track time, take screenshots, and get activity levels for ActiveCollab tasks.
To activate the integration:
- Log in or create a Hubstaff account,
- Follow these instructions: http://support.hubstaff.com/activecollab-integration-setup/
Slack
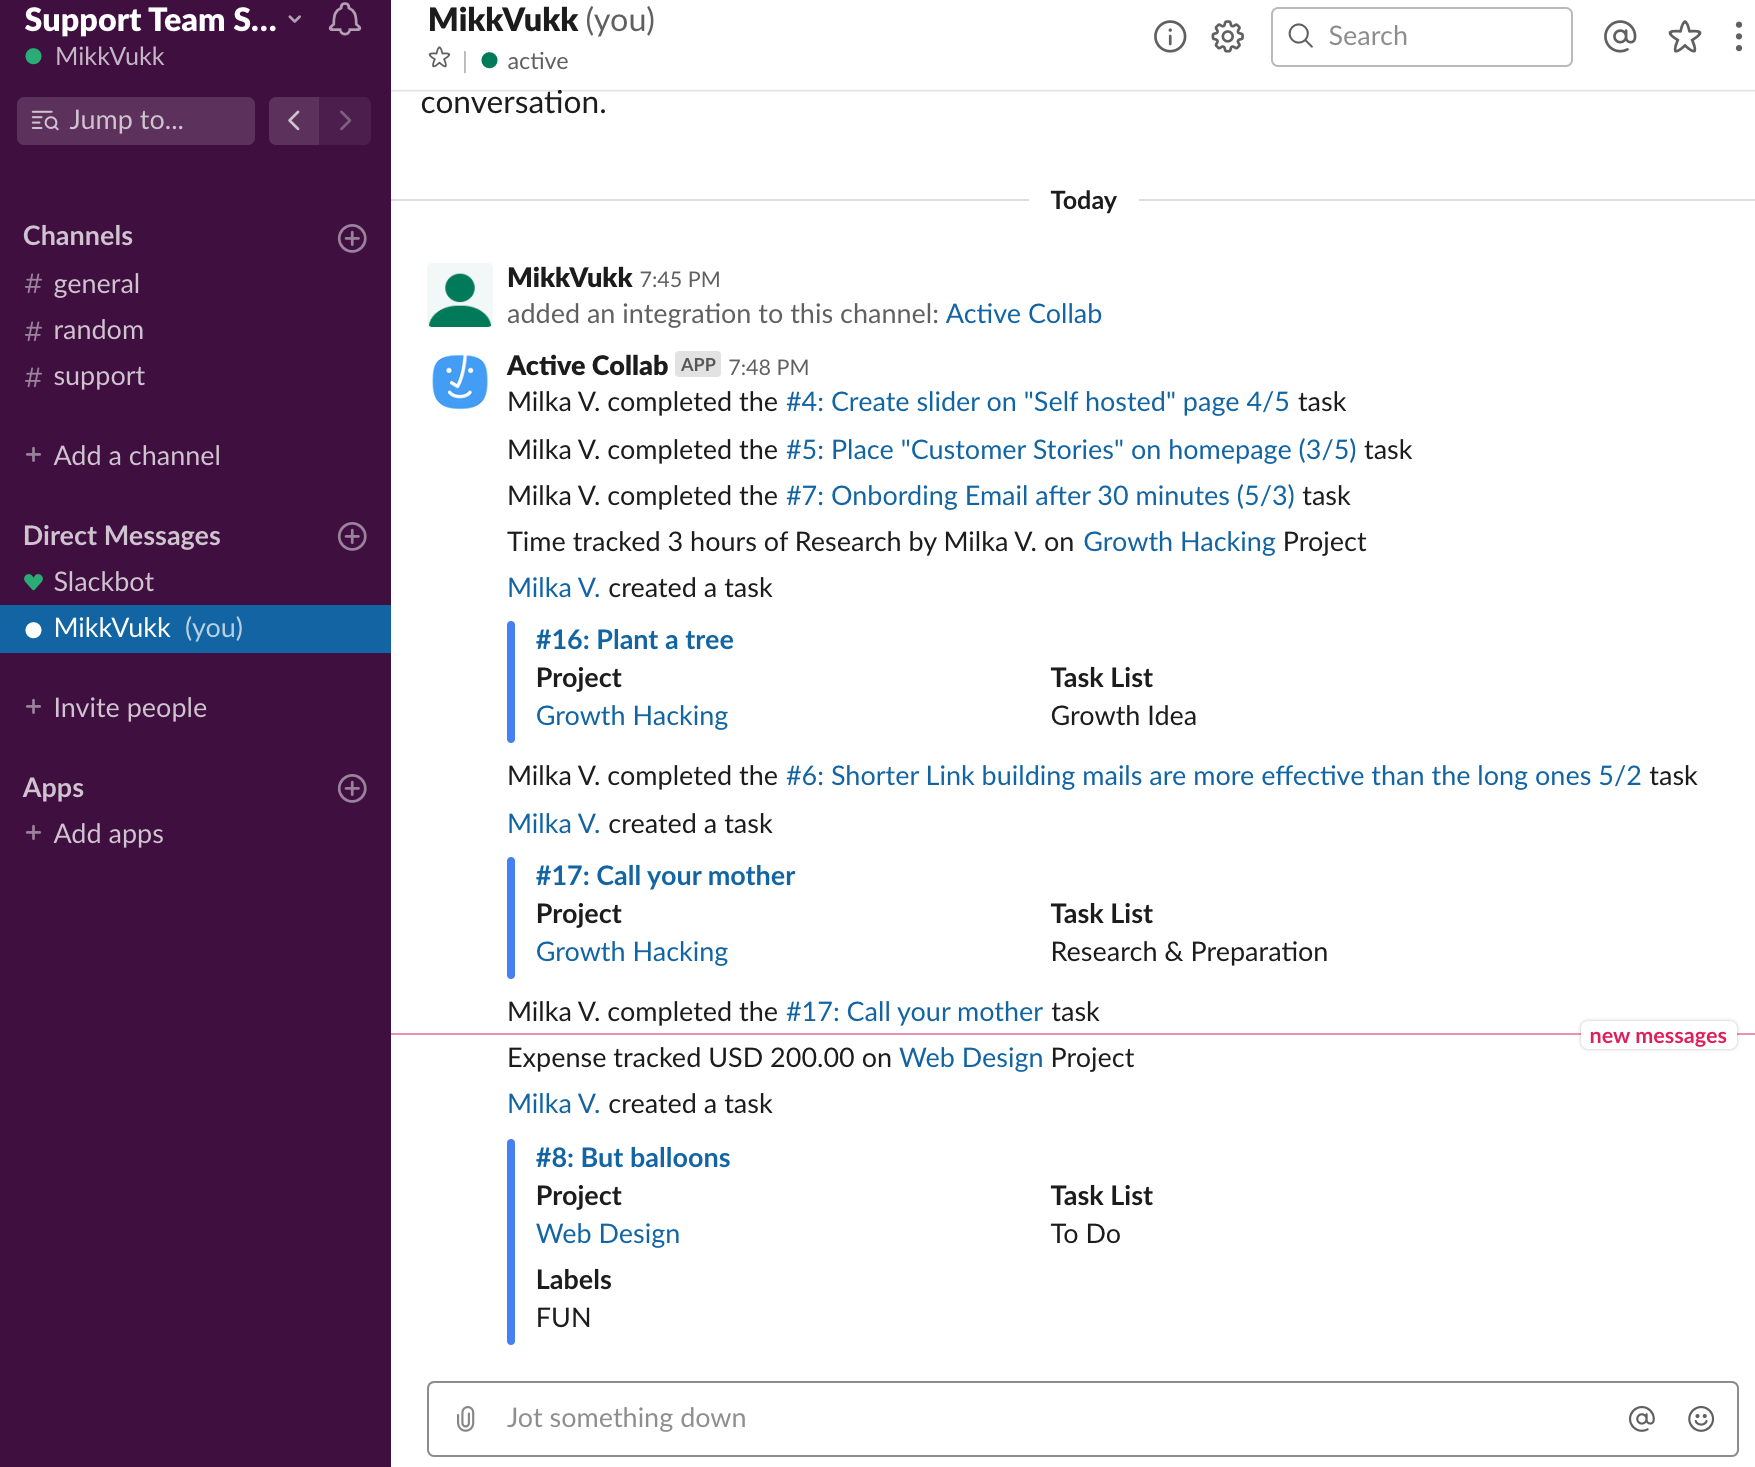
ActiveCollab can post updates from your projects to a Slack channel so you can receive notifications whenever:
- A task is created, completed, copied/duplicated, and moved to a task list,
- Time and expenses are logged,
- A user is invited and when they accept the invitation,
- A project is created (if "All projects" is selected).
To receive updates in Slack for cloud users:
- Log in to Slack from your web browser,
- Log in to ActiveCollab and enable Slack under Add-Ons,
- Choose which projects to include and click Connect,
- Choose the channel where you want to receive updates and click Authorize.
To receive updates in Slack for self-hosted users:
Before enabling Slack, you need to provide Client ID and Client secret. To get those:
- Create a Slack app,
- Fill out the basic information,
- For instructions and support links, use the link to this help page,
- For the Redirect URI, use the link to your ActiveCollab (eg. https://youractivecollab.com).
When you create the app, you'll see your Client ID and Client secret that you can paste into ActiveCollab. Then:
- Log in to Slack from your web browser,
- Log in to ActiveCollab and enable Slack under Add-Ons,
- Choose which projects to include and click Connect,
- Choose the channel where you want to receive updates and click Authorize.
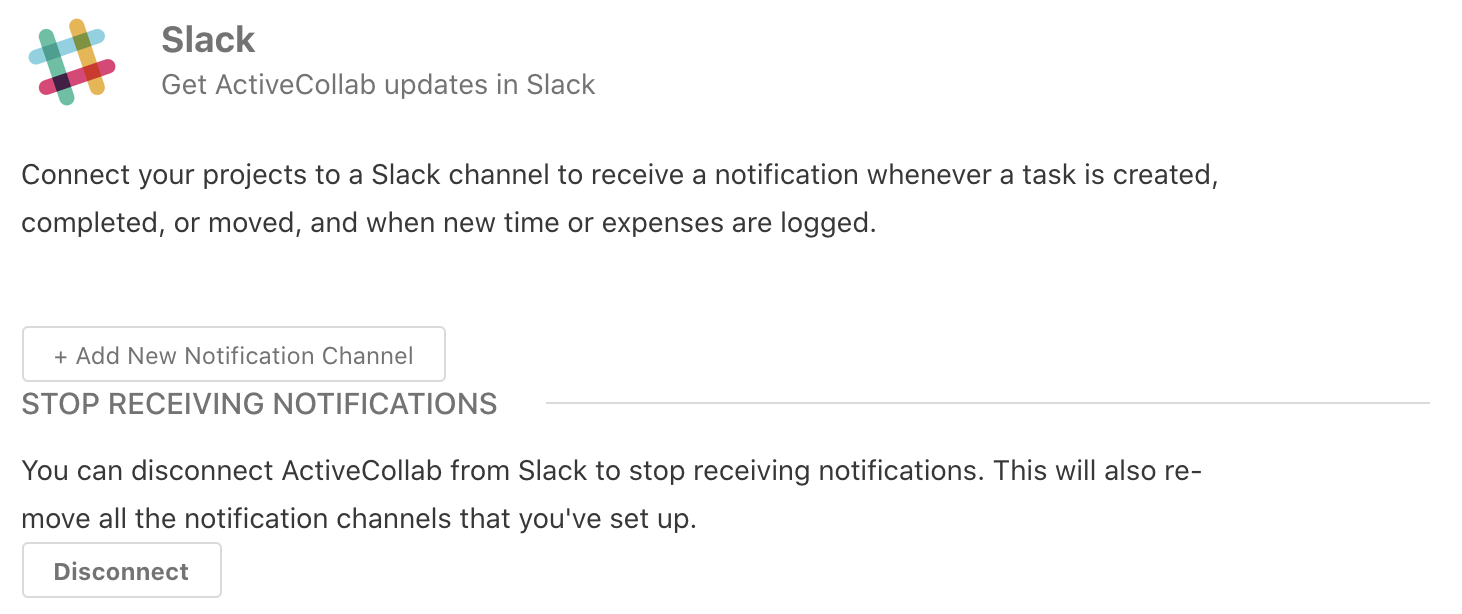
You can add more connections between different projects and channels or push notifications as direct messages to a certain team member.
If you disconnect the add-on, you'll have to reconnect all the channels and project when activating the add-on again.
Note:
Anyone invited to the channel will be able to see notifications about all tasks, including the ones marked as "Hidden from clients". However, only users with the right permissions will be able to open them in ActiveCollab.
TestLodge integration

TestLodge is an online test case management tool that helps you: create test plans, create and manage test cases and suites, perform multiple test runs, and generate reports.
If you track bugs and issues with ActiveCollab and perform tests with TestLodge, this integration will save you a lot of time.
When you run a test in TestLodge, and it fails, a task will be created in ActiveCollab with all the necessary information. When you resolve the issue, you can run the test again. Each time a test fails, a new task is created for your team to resolve.
To activate the TestLodge integration:
- Open TestLodge account > Settings > Integrate issue tracker,
- Under “Select your issue tracker" choose ActiveCollab, fill out your log-in information, and save.
Timecamp integration
After enabling the integration, you'll be able to track time on ActiveCollab projects and tasks in TimeCamp.
Users will be assigned to the imported projects automatically based on their email address, assuming they have an account in both apps.
Webhooks

Webhooks can notify 3rd party services about what's happening in ActiveCollab. To push data back to your ActiveCollab, use our API (webhooks can only take data from ActiveCollab).
The URLs specified here will be triggered with a POST HTTP request when:
- A new Project, Discussion, Task, Comment, Note, or Company is created.
- A Task is edited, copied/duplicated, completed, or moved to a different Task list or a Project.
- A new user is invited or accepts the invitation.
- A new File is uploaded.
- A Time record or Expenses are logged.
- Something is moved to or back from the Trash.
A 3rd party app sends a POST HTTP request to a webhook in ActiveCollab and receives a JSON payload; the format depends on the webhook and can’t be changed.
JSON payload format:

To add a new webhook:
- Click Add New Webhook,
- Enter the Description of your webhook,
- Enter the Target URL from which your app receives POST requests,
- Enter the Secret used for authentication (optional),
- Click Add New Webhook.
Zapier
Zapier lets you create custom workflows by connecting ActiveCollab to thousands of web apps. After enabling the integration, you’ll be able to create “Zaps” that trigger events when something happens in ActiveCollab.
After enabling the integration under Add-Ons in ActiveCollab, go to Zapier and create a new zap with ActiveCollab.
ActiveCollab can either be the "trigger" (doing something in ActiveCollab does something else in another app) or the "action" (when something happens in another app, it triggers an action in ActiveCollab).
QuickBooks
You can connect ActiveCollab to your QuickBooks Online account. Then the invoices you create in ActiveCollab will be sent to your QuickBooks account for further processing (learn more).
Google drive
You can attach files from your Google Drive account to tasks, discussions, notes, and comments just like regular files. In that case, when you click on the attachment, you'll be redirected to Google Drive.
Before you attach a file, make sure you set the permissions right in Google Drive so others can open it. ActiveCollab treats the attachment as a link and doesn't have anything to do with the permission system behind the file. This also means ActiveCollab won't be able to generate a preview for Google Drive attachments.
Once you disconnect the add-on, Google Drive files will remain attached in ActiveCollab; the only difference is, you won't be able to attach new Google Drive files.
Enabling Google Drive on Self-Hosted:
You need to create an app on Google Drive and then copy and paste the client ID and secret:
- Go to Google Drive API (link),
- Click Create a project,
- Set the project’s name, ID, and location, then click Create,
- Click Enable,
- Go to the Credentials page,
- Click Create credentials and select OAuth client ID,
- Click Configure consent screen,
- Under the Product name shown to users, enter whatever you like,
- Under Create client ID, choose Web application,
- Enter name and under Authorized JavaScript origins enter URL of your self-hosted ActiveCollab, then click Create,
- Copy and paste your client ID and client secret in ActiveCollab -> Add-Ons -> Google Drive.
Note:
You can always get this information again by returning to your Credentials page.