Enabling the add-on will send all new invoices from ActiveCollab to your QuickBooks Online account for further processing. After sending an invoice to QuickBooks, you won't be able to edit it in ActiveCollab anymore.
Also, all invoices made before connecting to QuickBooks will become unavailable. However, they won't be removed and will reappear if you disconnect QuickBooks.
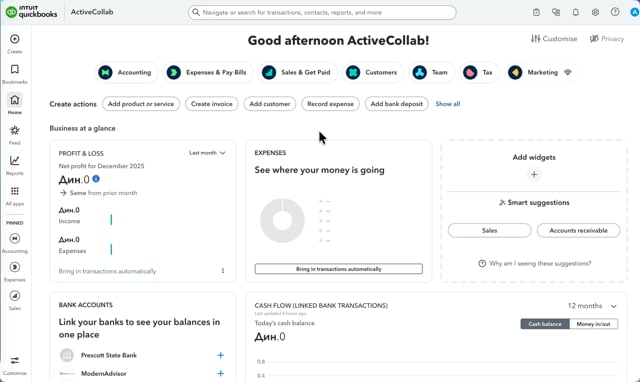
How to connect to QuickBooks?
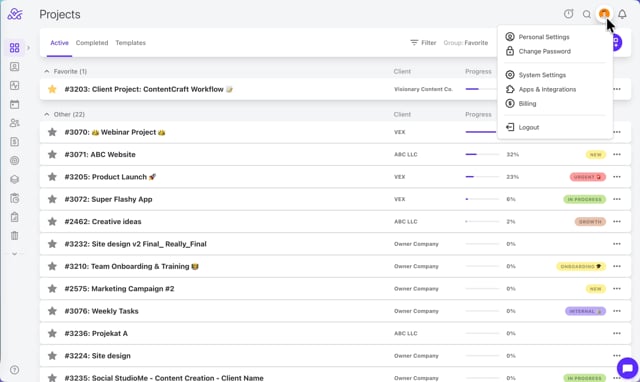
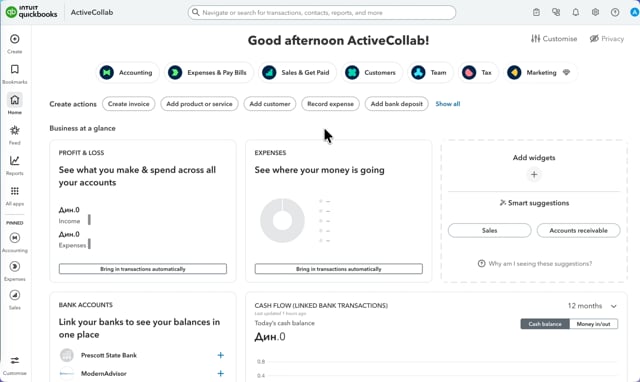
- Step 1: From the top right corner, click on your profile icon then Apps & Integrations
- Step 2: Under the Accounting, select QuickBooks
- Step 3: Click on Connect to QuickBooks
- Step 4: Set the Default item type ( it is changed on the QuickBooks level)
- Video Tutorial: https://vimeo.com/1150844167
How to disconnect from QuickBooks?
- Step 1: From the top right corner, click on your profile icon then Apps & Integrations
- Step 2: Select QuickBooks and configure
- Step 3: Click Disconnect
- Video Tutorial: https://vimeo.com/1150844189
How to create a new default type in QuickBooks?
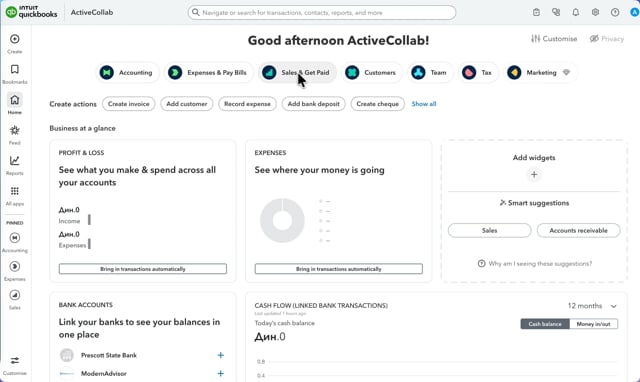
- Step 1: In QuickBooks, from the main left menu, click on Sales & Get Paid
- Step 2: Select Product or Services
- Step 3: In the upper right corner, click on New
- Step 4: Complete the desired information
- Step 5: Save and close
- Video Tutorial: https://vimeo.com/1150844180
How to change the default item type in ActiveCollab?
- Step 1: From the top right corner, click on your profile icon then Apps & Integrations
- Step 2:Click on QuickBooks
- Step 3: Set the Default item type from the dropdown menu
- Video Tutorial: https://vimeo.com/1150844150
How to edit the default item type in QuickBooks?
- Step 1: In QuickBooks, from the main left menu, click on Sales & Get Paid
- Step 2: Select Product or Services
- Step 3: Select the desired type and in the right corner, click on Edit
- Video Tutorial: https://vimeo.com/1150844202
How to delete the default item type in QuickBooks?
- Step 1: In QuickBooks, from the main left menu, click on Sales & Get Paid
- Step 2: Select Product or Services
- Step 3: Edit the desired type and click on Make inactive
- Step 4: Confirm
- Video Tutorial: https://vimeo.com/1150844211
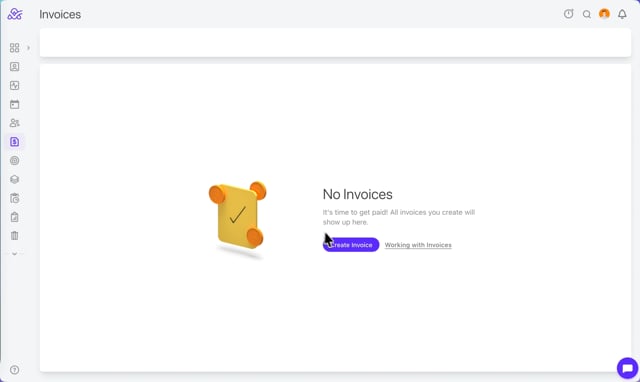
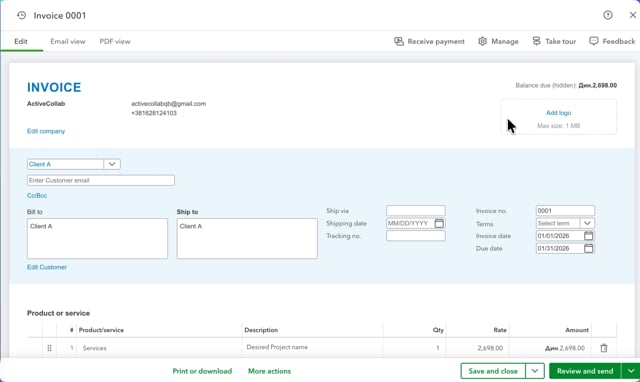
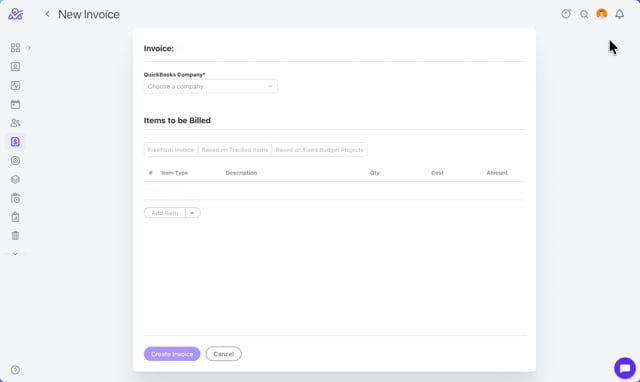
How to create an invoice?
Only invoices connected to QuickBooks will appear on the invoice page. When disconnected, only ActiveCollab invoice will become visible on the same page.
- Step 1: From the main left menu, click on Invoices( below the “People” section)
- Step 2: Go to the upper right corner of the page
- Step 3: Click on + icon to create a new invoice
- Step 4: Choose a client company
- Step 5: Choose items to be billed:
- Free form
- Based on tracked time items
- Based on fixed budget projects
- Step 6: Add item type, description, qty, cost, and amount
- Step 7: Click on Create invoice
- Video Tutorial: https://vimeo.com/1150844256
Note: Invoice name is generated by the system by adding plus 1 to the next one. It cannot be changed in ActiveCollab.
How to add new clients when ActiveCollab is connected to QuickBooks?
- Step 1: In QuickBooks, from the main left menu, click on Sales & Get Paid
- Step 2: Select Customer
- Step 3: In the upper right corner, click on New customer
- Step 4: Complete data and confirm
Note: if that client doesn’t exist in ActiveCollab, it needs to be added there as well
- Step 1: From the main left menu, click on People ( above the “Invoices” section)
- Step 2: From the upper menu, select Companies
- Step 3: In the upper right corner, click on Plus button “+”
- Step 4: Complete the desired data and save
Video Tutorial: https://vimeo.com/1150844133
How to change the currency in QuickBooks?
- Step 1: In QuickBooks, click the Gear icon.
- Step 2: Choose Accounts and settings.
- Step 3: Go to the Advanced tab.
- Step 4: Click the Currency section.
- Step 5: Change the Home Currency.
- Step 6: Click Save and then Done.
- Video Tutorial: https://vimeo.com/1150844233
Note: Currencies for ActiveCollab invoices and the ones in QuickBooks do not need to match.
How to delete clients when ActiveCollab is connected to QuickBooks?
- Step 1: In QuickBooks, from the main left menu, click on Sales & Get Paid
- Step 2: Select Customer
- Step 3: From the client list, click the arrow button next to the desired client
- Step 4: Click on Make inactive
- Step 5: Confirm
- Video Tutorials: https://vimeo.com/1150844224
How to change the view of the Invoice page in ActiveCollab?
- Step 1: From the main left menu, click on Invoices( below the “People” section)
- Step 2: Go to the upper right corner of the page
- Step 3: Switch between Grid and List view
How to mark as sent an invoice in QuickBooks?
- Step 1: In ActiveCollab, from the main left menu, click on Invoices
- Step 2: Select the desired invoice from the dropdown menu
- Step 3: Click on Review and Send
- Video Tutorial: https://vimeo.com/1150844244
Note: The marked invoice will appear as Sent in ActiveCollab as well.
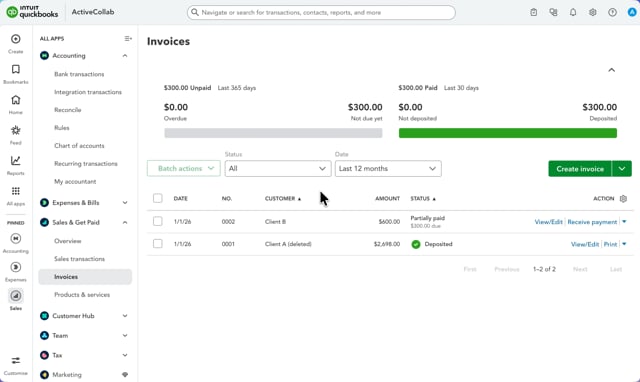
How to change the status of invoices to Partial Paid In QuickBooks?
- Step 1: In QuickBooks, click on Sales & Get Paid
- Step 2: Select Invoices
- Step 3: Select the desired invoice from the dropdown menu
- Step 4: Click on Receive payment
- Step 5: Enter the received amount
- Step 6: Save and close
- Video Tutorial: https://vimeo.com/1150877272
Note: The changed invoice will appear as Partially Paid in ActiveCollab.
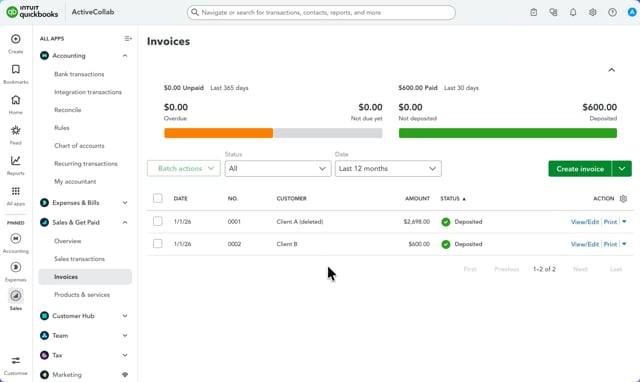
How to change the status of invoices to Paid in QuickBooks?
- Step 1: In QuickBooks, click on Sales & Get Paid
- Step 2: Select Invoices
- Step 3: Select the desired invoice from the dropdown menu
- Step 4: Click on Receive payment
- Step 5: Enter the received amount
- Step 6: Save and close
- Video Tutorial: https://vimeo.com/1150877580
Note: The changed invoice will appear as Paid in ActiveCollab.
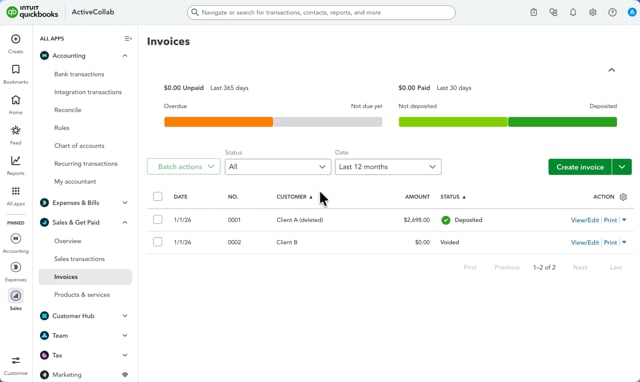
How to void invoices in QuickBooks?
- Step 1: In QuickBooks, click on Sales & Get Paid
- Step 2: Select Invoices
- Step 3: Select the desired invoice from the dropdown menu
- Step 4: Click on Void
- Step 5: Void invoice
- Video Tutorial: https://vimeo.com/1150878868
Note: The voided invoice will appear as cancelled in ActiveCollab.
How to delete invoices in QuickBooks?
- Step 1: In QuickBooks, click on Sales & Get Paid
- Step 2: Select Invoices
- Step 3: Select the desired invoice from the dropdown menu
- Step 4: Click on Delete
- Video Tutorial: https://vimeo.com/1150879333
How to edit an invoice?
- Step 1: From the main left menu, click on Invoice( below the “Estimates” section)
- Step 2: Select the desired invoice and click on it
- Step 3: Further edit the invoice in QuickBooks
- Step 4: Save