Self-Hosted ActiveCollab Only!
This article is about the self-hosted version of ActiveCollab. If you're using the cloud version, everything is set up so you can start working right away.
Creating a Database
The installer doesn't create a database, so make sure you have one available. You can use MySQL administration tools (eg. phpMyAdmin) or contact your administrator to create a database for you.
You'll need the following details during the installation:
- The database host name (usually "localhost"), as well as the username and password,
- The name of the newly created database.
Installation
- Log in to ActiveCollab Accounts with the license email,
- Download the installation package,

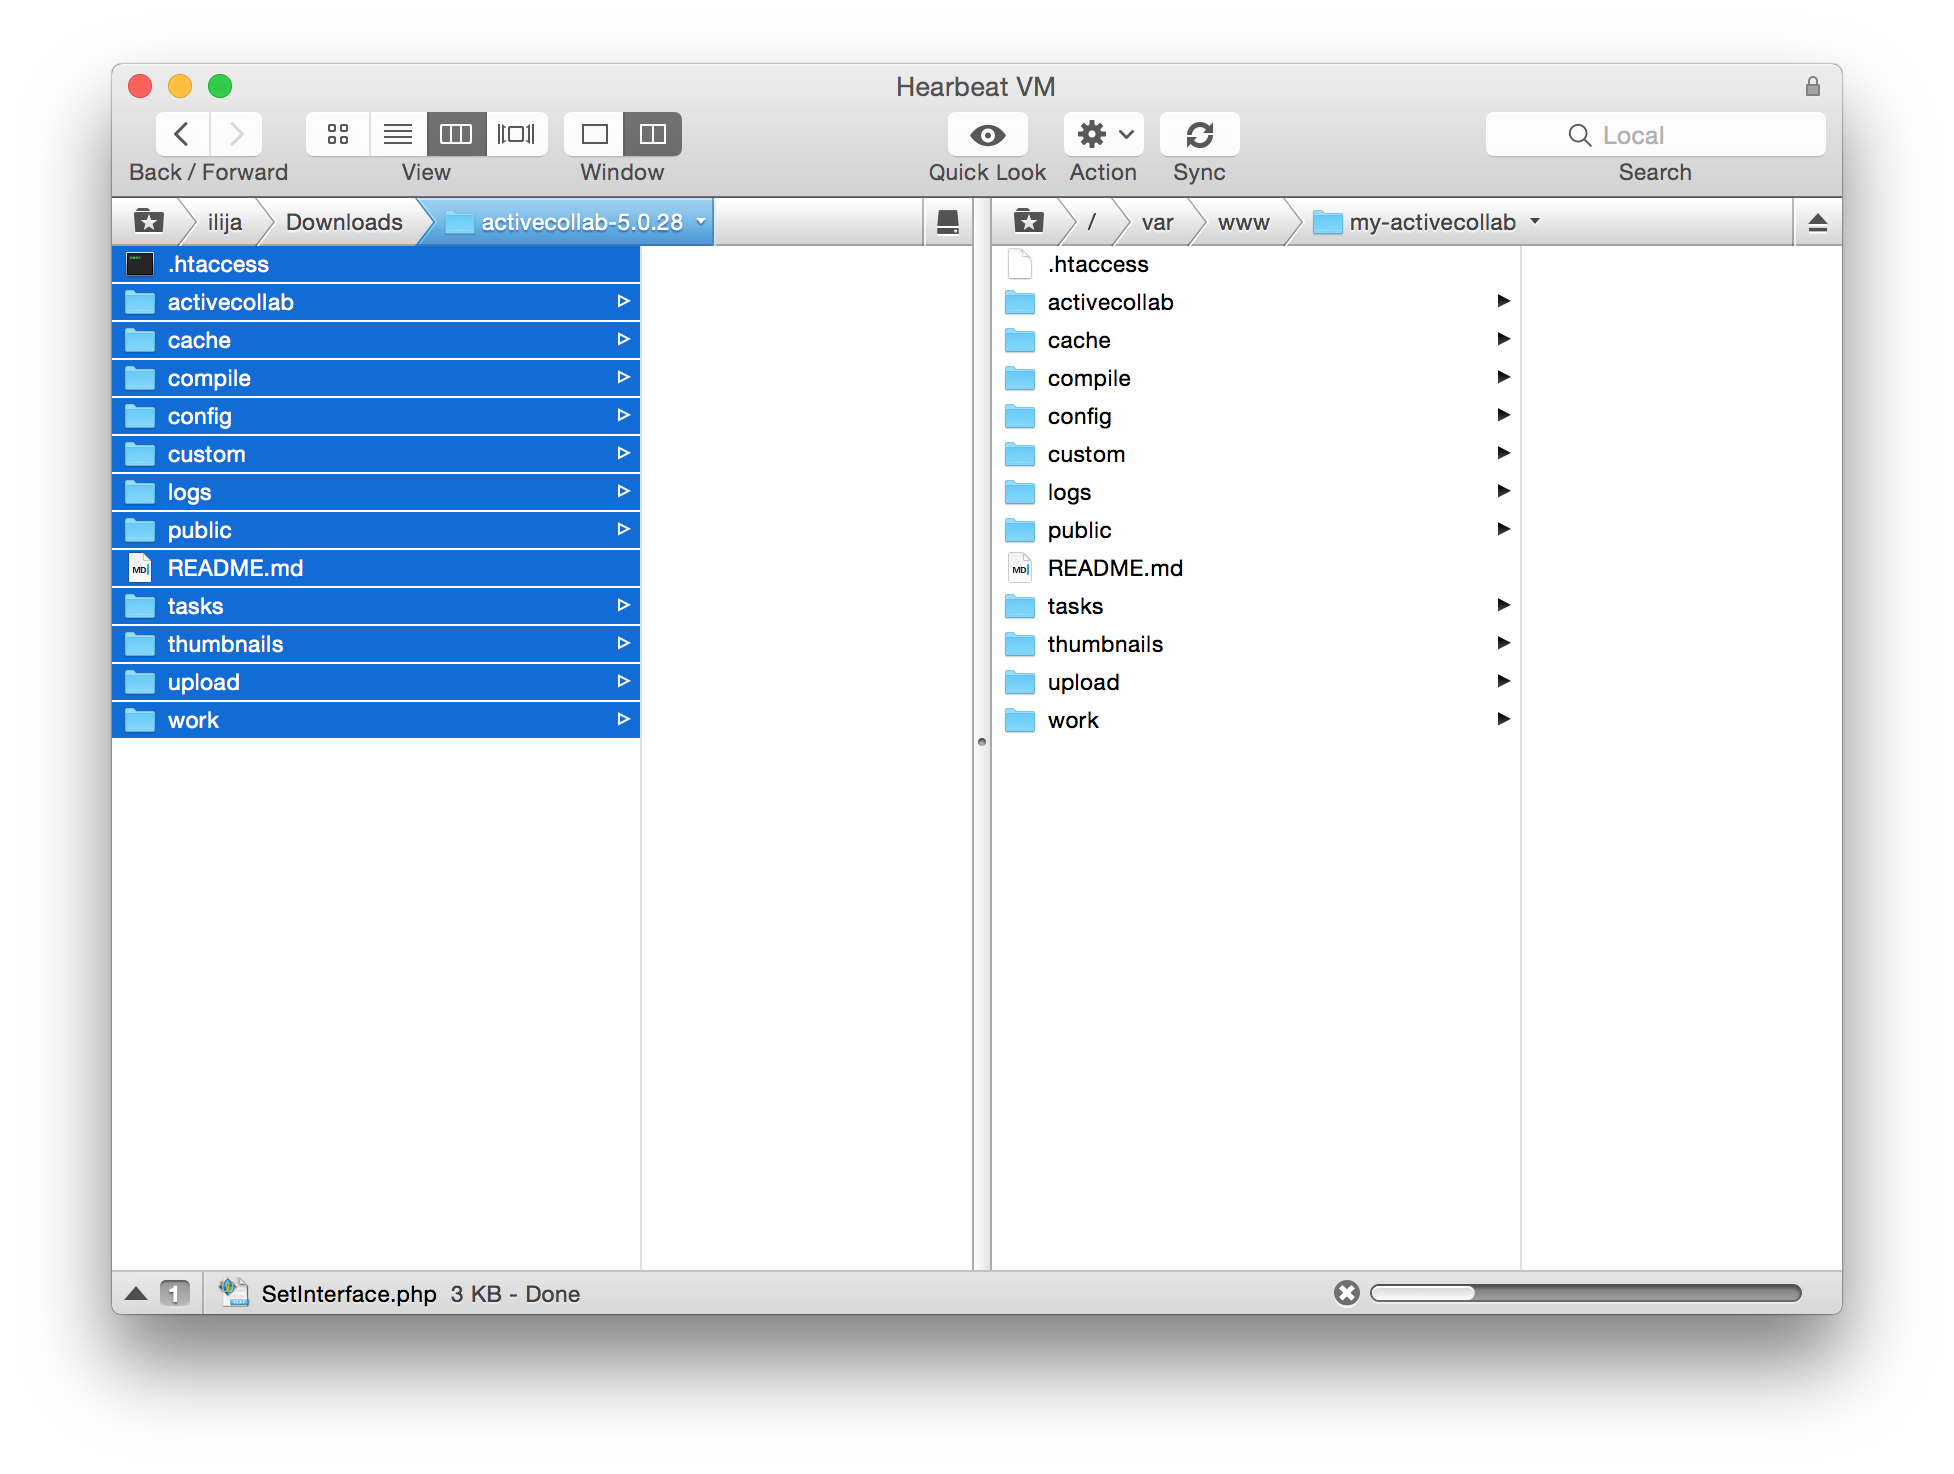
- Unpack the archive and upload the files to a folder on your web server,

- Type the path of your ActiveCollab 7 in your browser to start the installer (the location of the folder on your server where you uploaded AC files in the previous step, eg. www.yoursite.com/projects).
nginx URL Rewriting
if (!-e $request_filename) { rewrite ^/assets/(.*)$ /assets/$1 last;
rewrite ^/avatars/(.*)$ /avatars/$1 last;
rewrite ^/wallpapers/(.*)$ /wallpapers/$1 last;
rewrite ^/verify-existence$ /verify.php last;
rewrite ^/proxy.php$ /proxy.php last;
rewrite ^/api/v([0-9]*)/(.*)$ /api.php?path_info=$2&api_version=$1 last;
rewrite ^$ /router.php last;
rewrite ^(.*) /router.php?path_info=$1 last;
}
- ActiveCollab first checks if your server meets the requirements. Green means "OK", orange means "OK, but could be better" and red shows errors you need to fix before proceeding.
- The installer then collects MySQL connection parameters, and validates that ActiveCollab can connect to the database.
- Finally, ActiveCollab collects the license owner information and completes the installation.
Importing Trial Data #
- Contact support@activecollab.com and request a backup of your data,
- Wait for the email. It will contain instructions how to import your trial data. Execute the command:
php tasks/activecollab-cli.php import_cloud_data
That command will download the data, import it, and do the proper checks and clean-up, - Delete all .php files in the /cache directory,
- Delete all .php files in the /compile directory.
You should then be able to see all the trial projects and users in your self-hosted ActiveCollab.
Notes
Partial import (eg. copying just some projects) is not possible. You can only import everything from the free trial at once - and it will overwrite any existing data in the self-hosted ActiveCollab.
After you're finished with the installation, you need to configure Cron Jobs, Document Search (optional, if you want to use search), and Mailing.