Google Drive API Integration
Google has made it mandatory to verify the Google Drive API, and this decision was announced here.
The Google tutorial is available at the link.
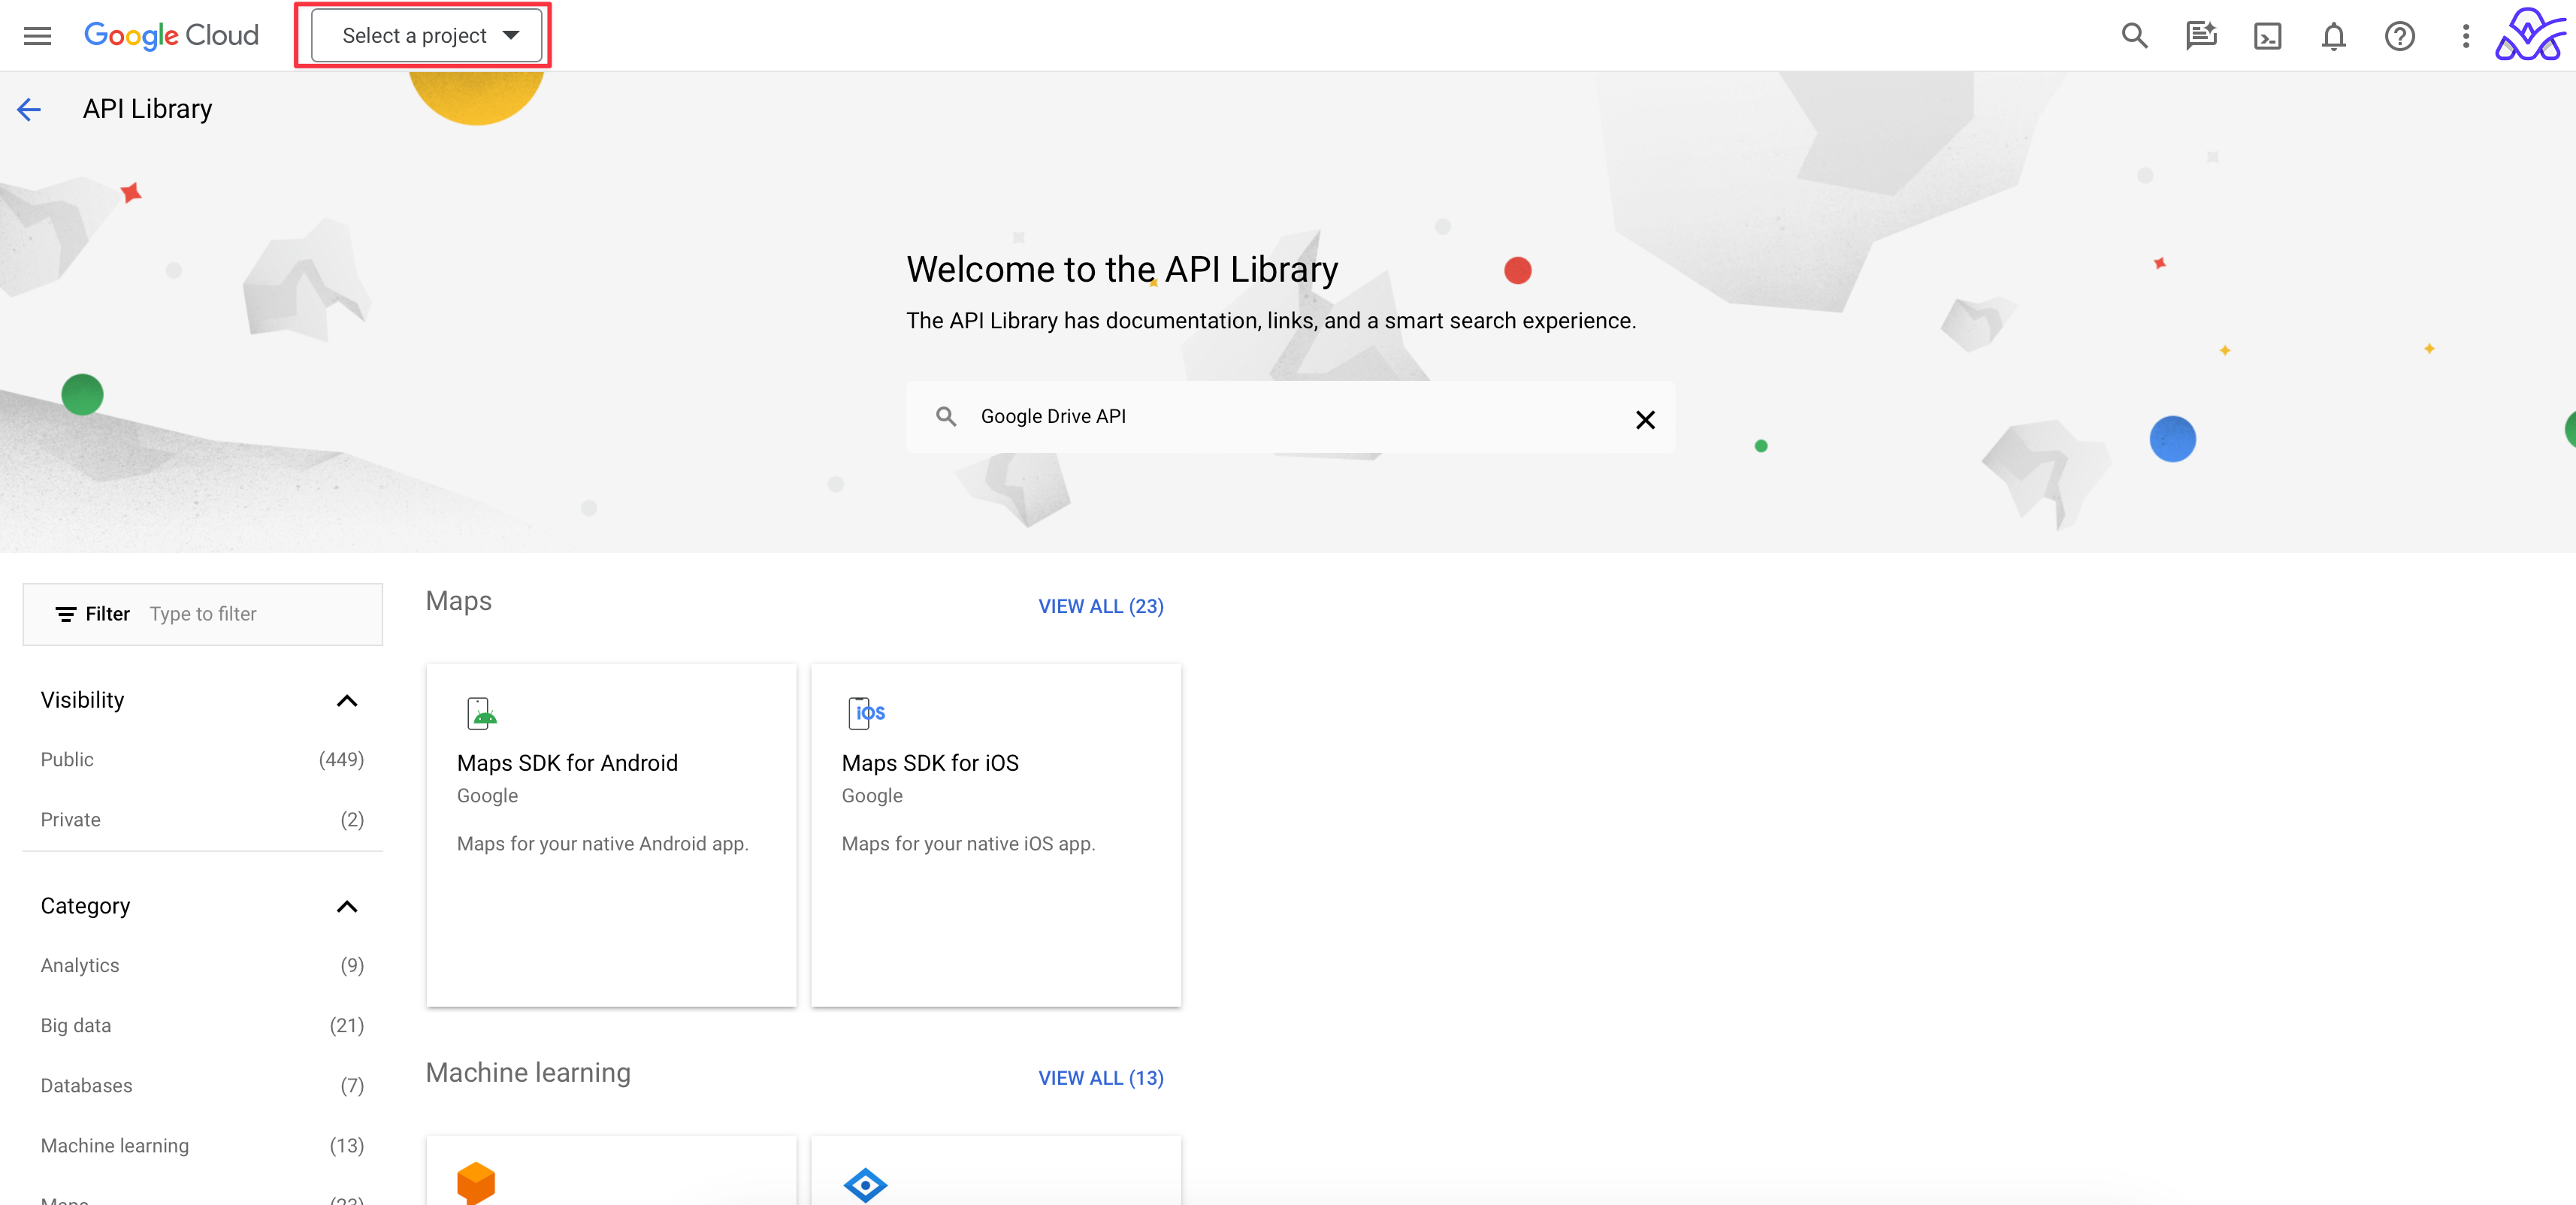
As the first step, you need to visit the page at the link.
Then, at the top of the page, choose the "Select a project" button.
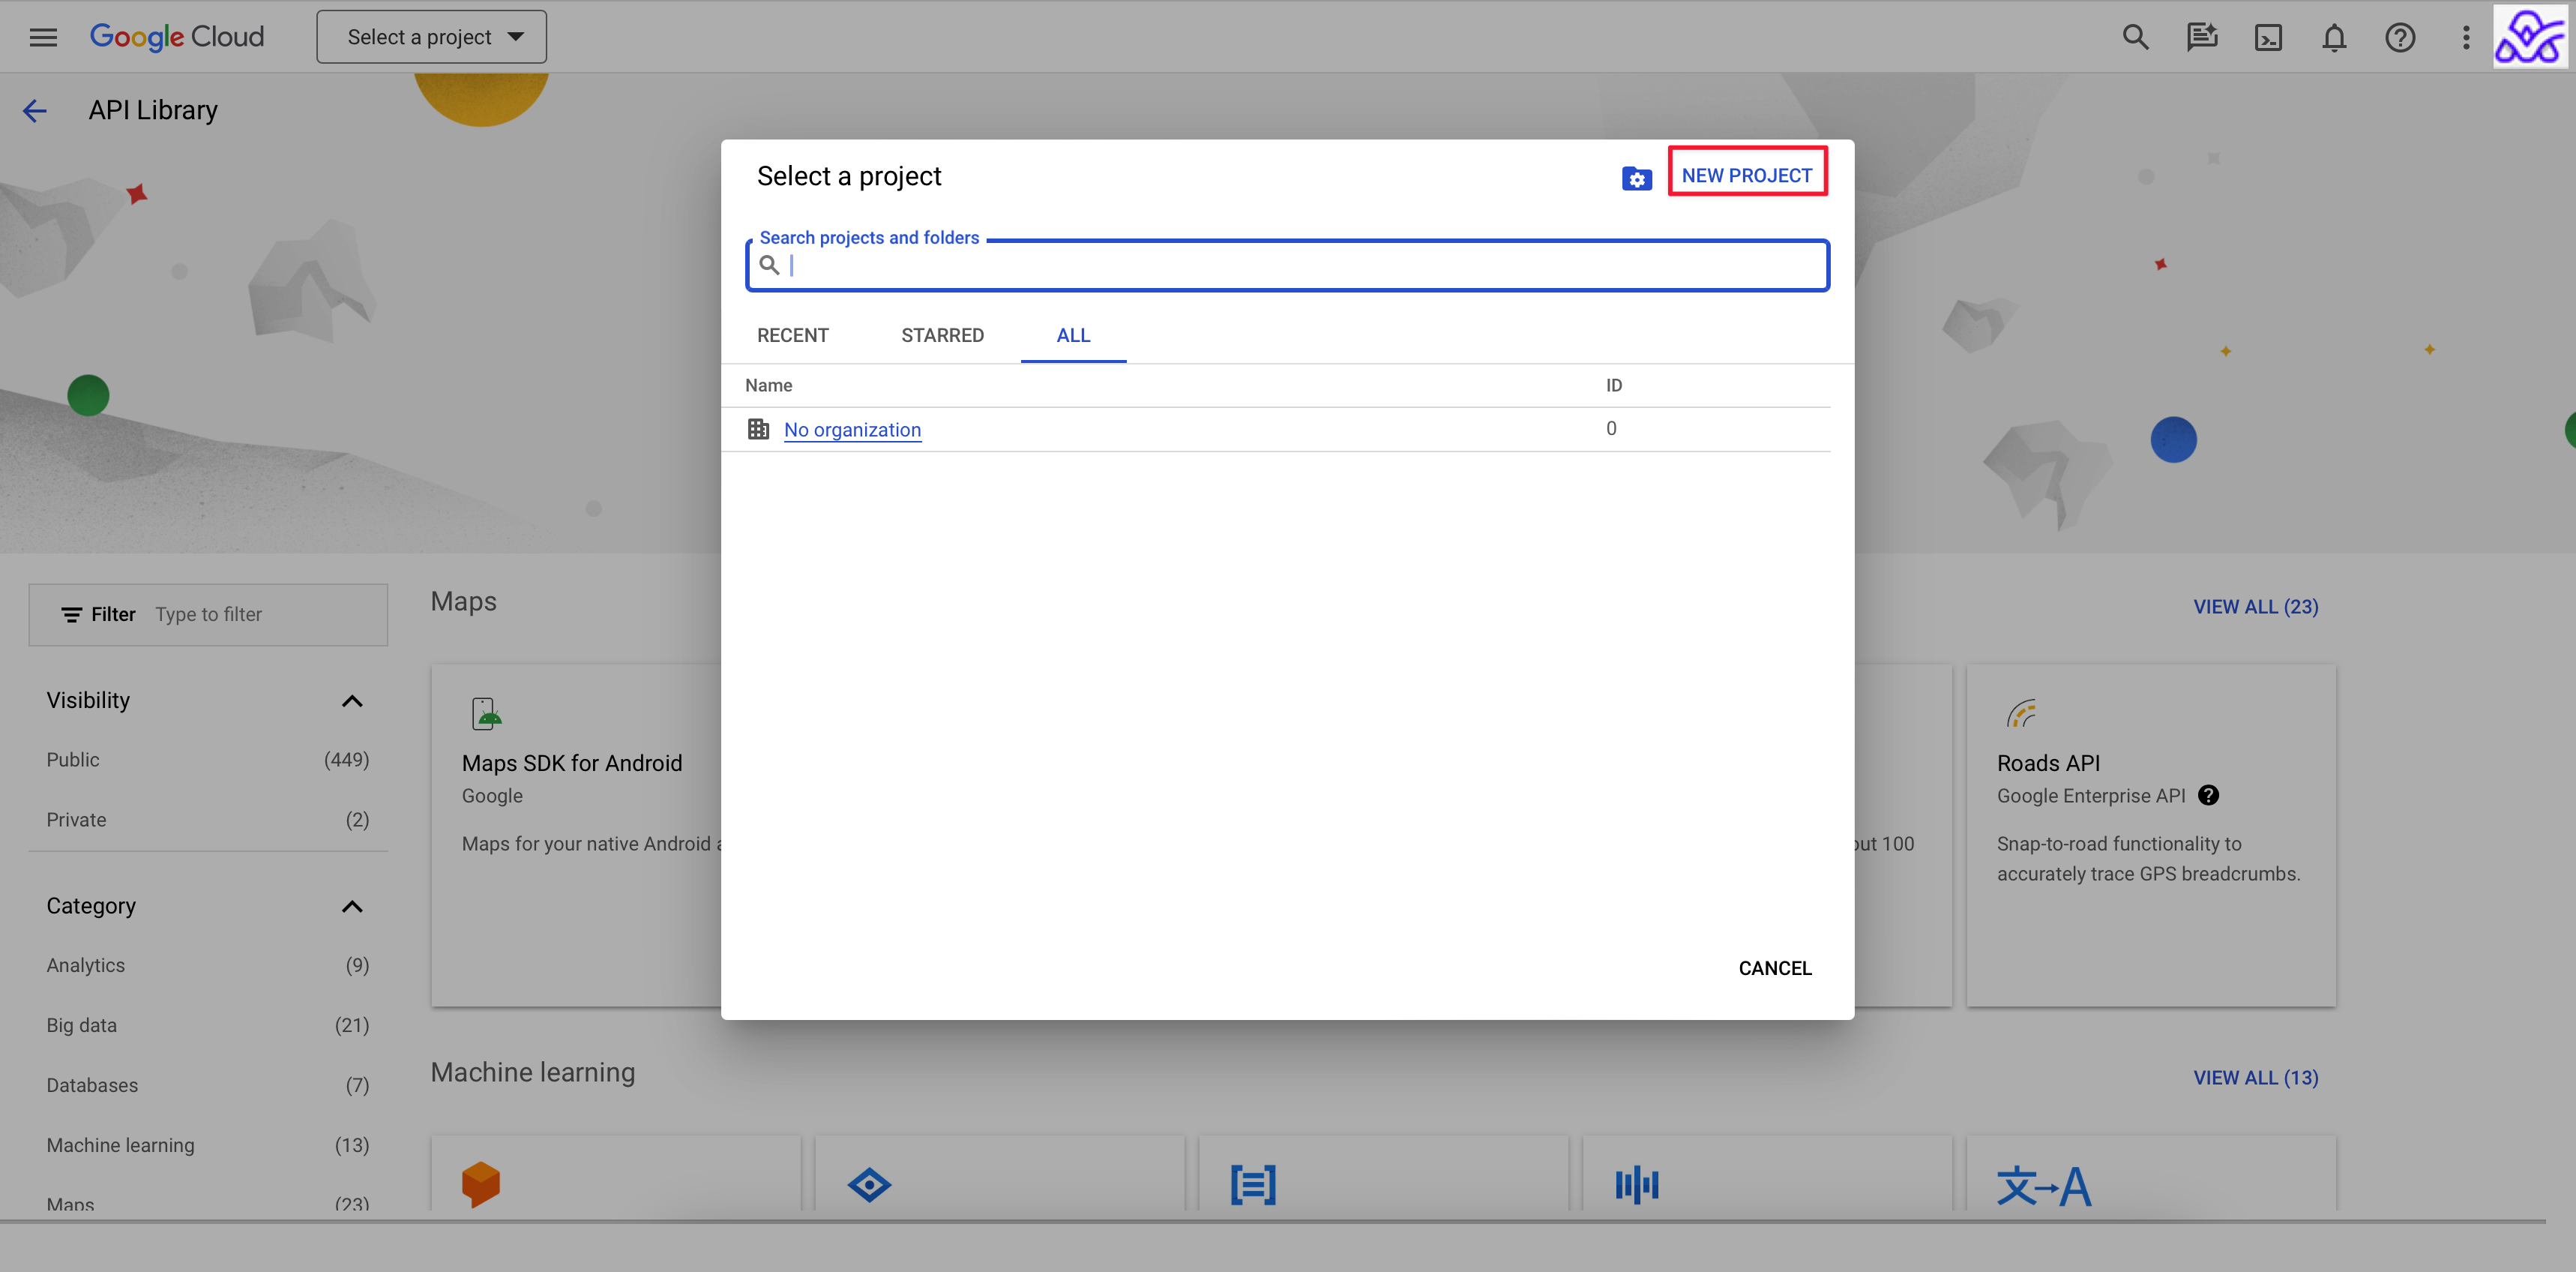
In the new window, click NEW PROJECT.
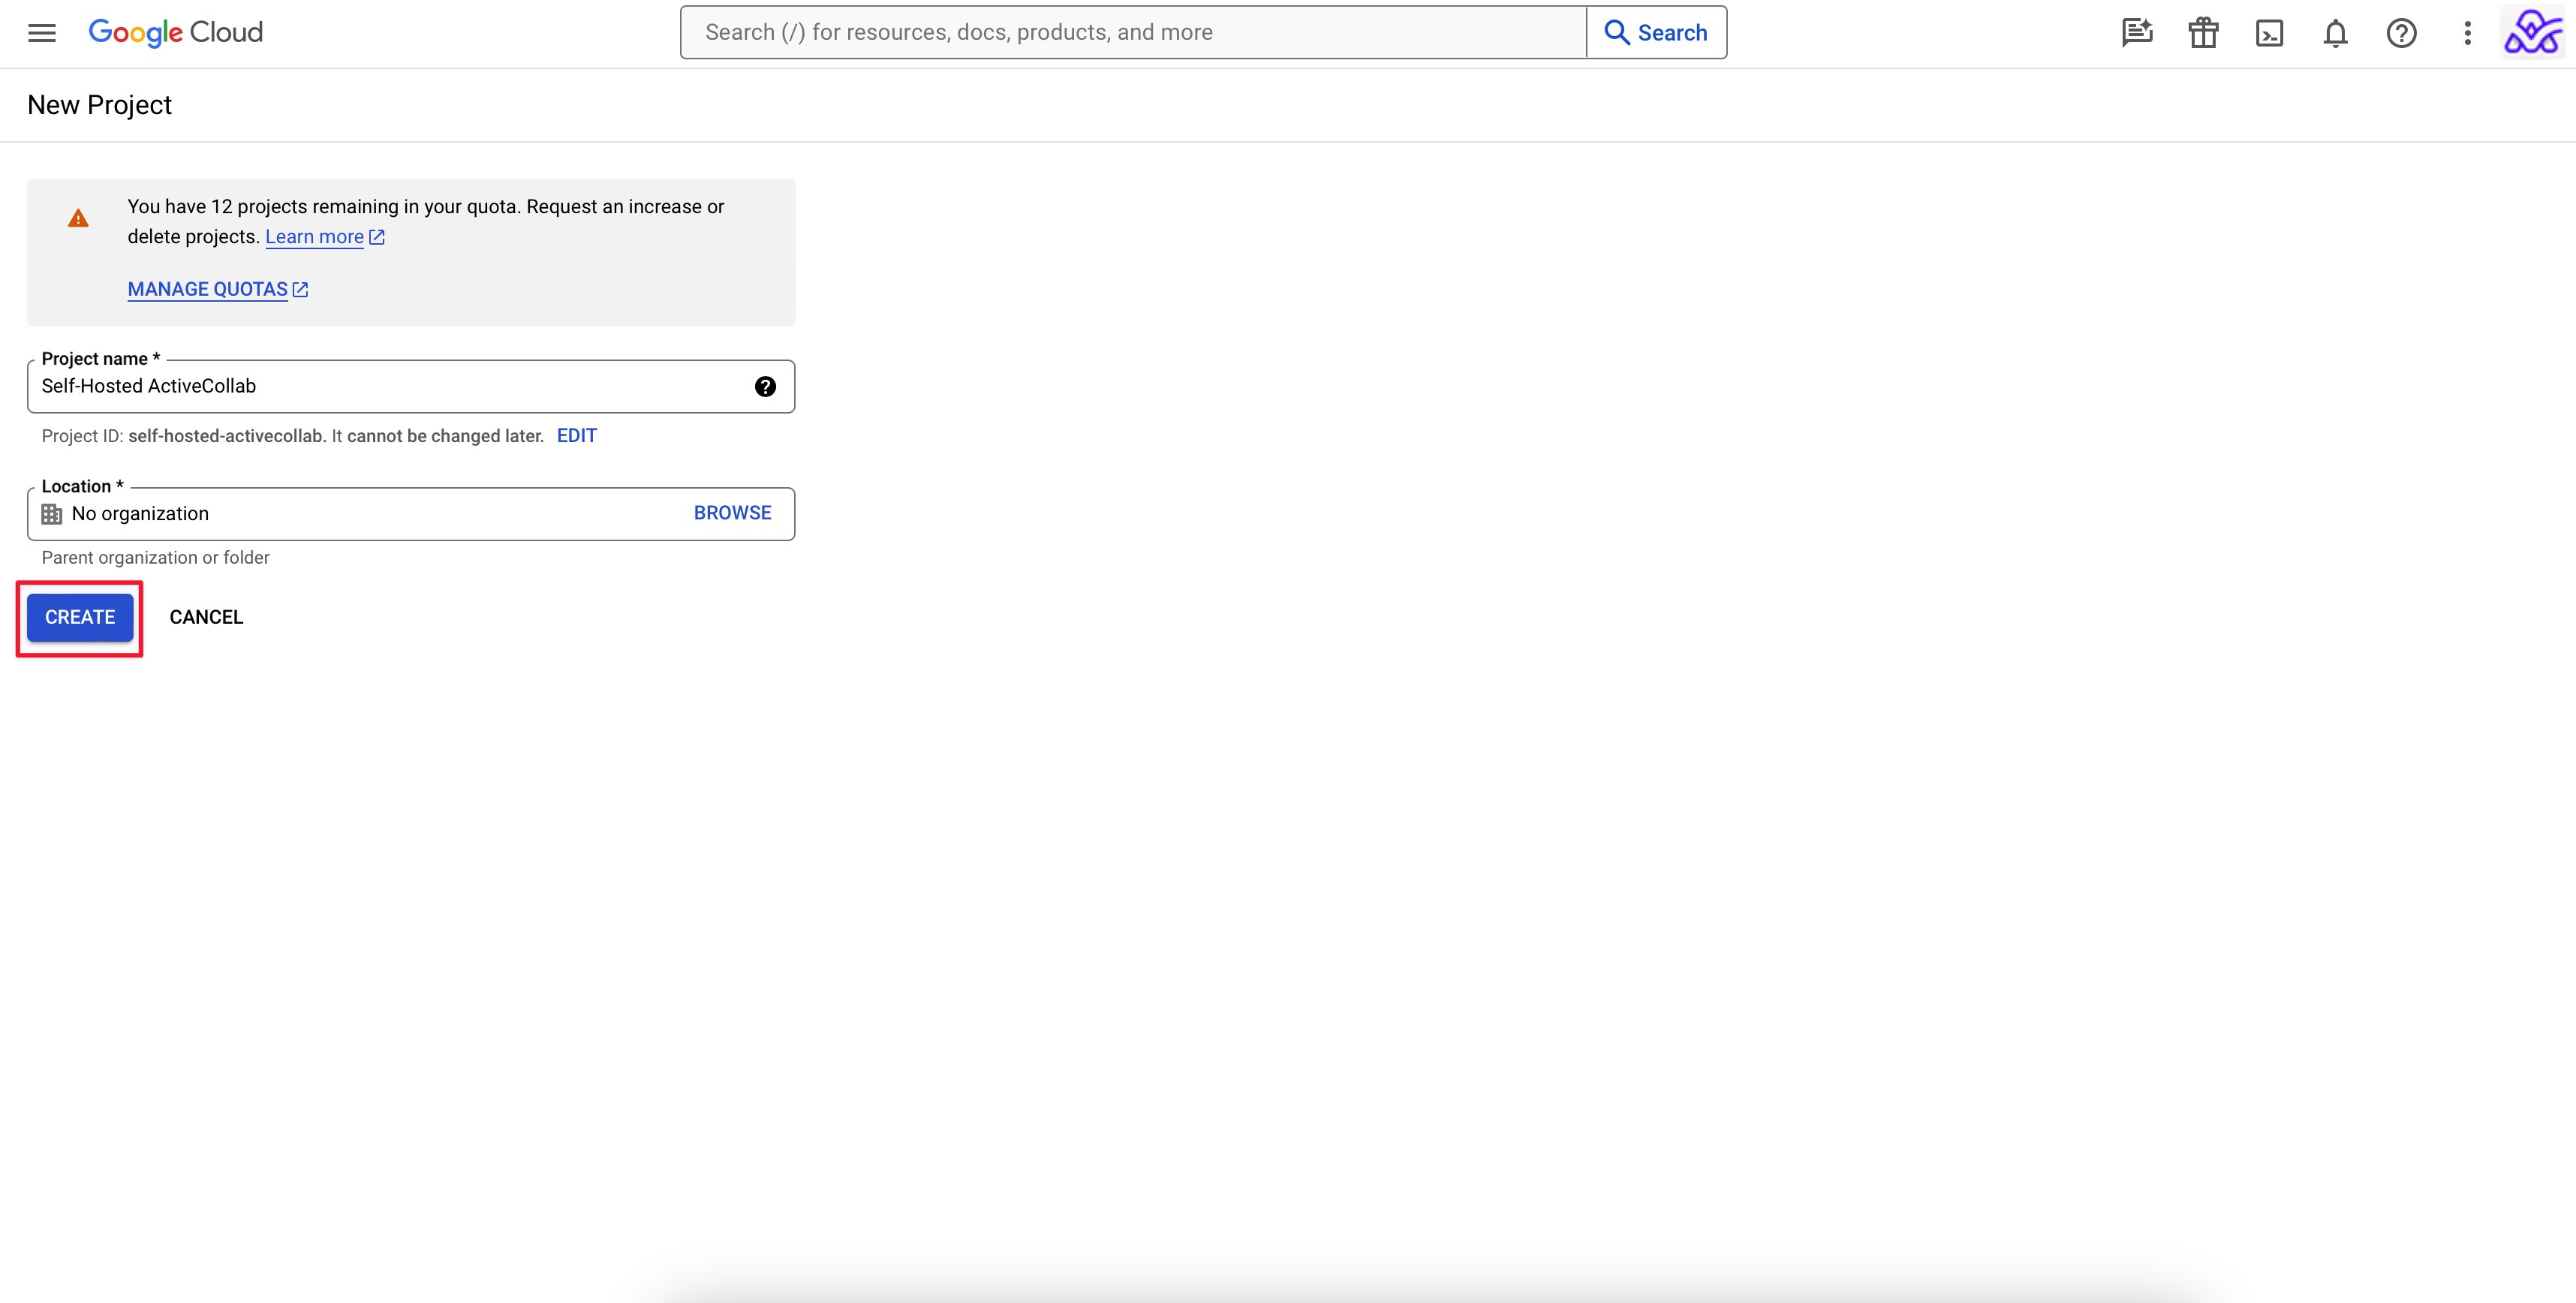
You need to enter the project name, and if you have an organization within your Google account, you can choose it too. Then click the CREATE button.
You will receive a notification that you have successfully created the project.
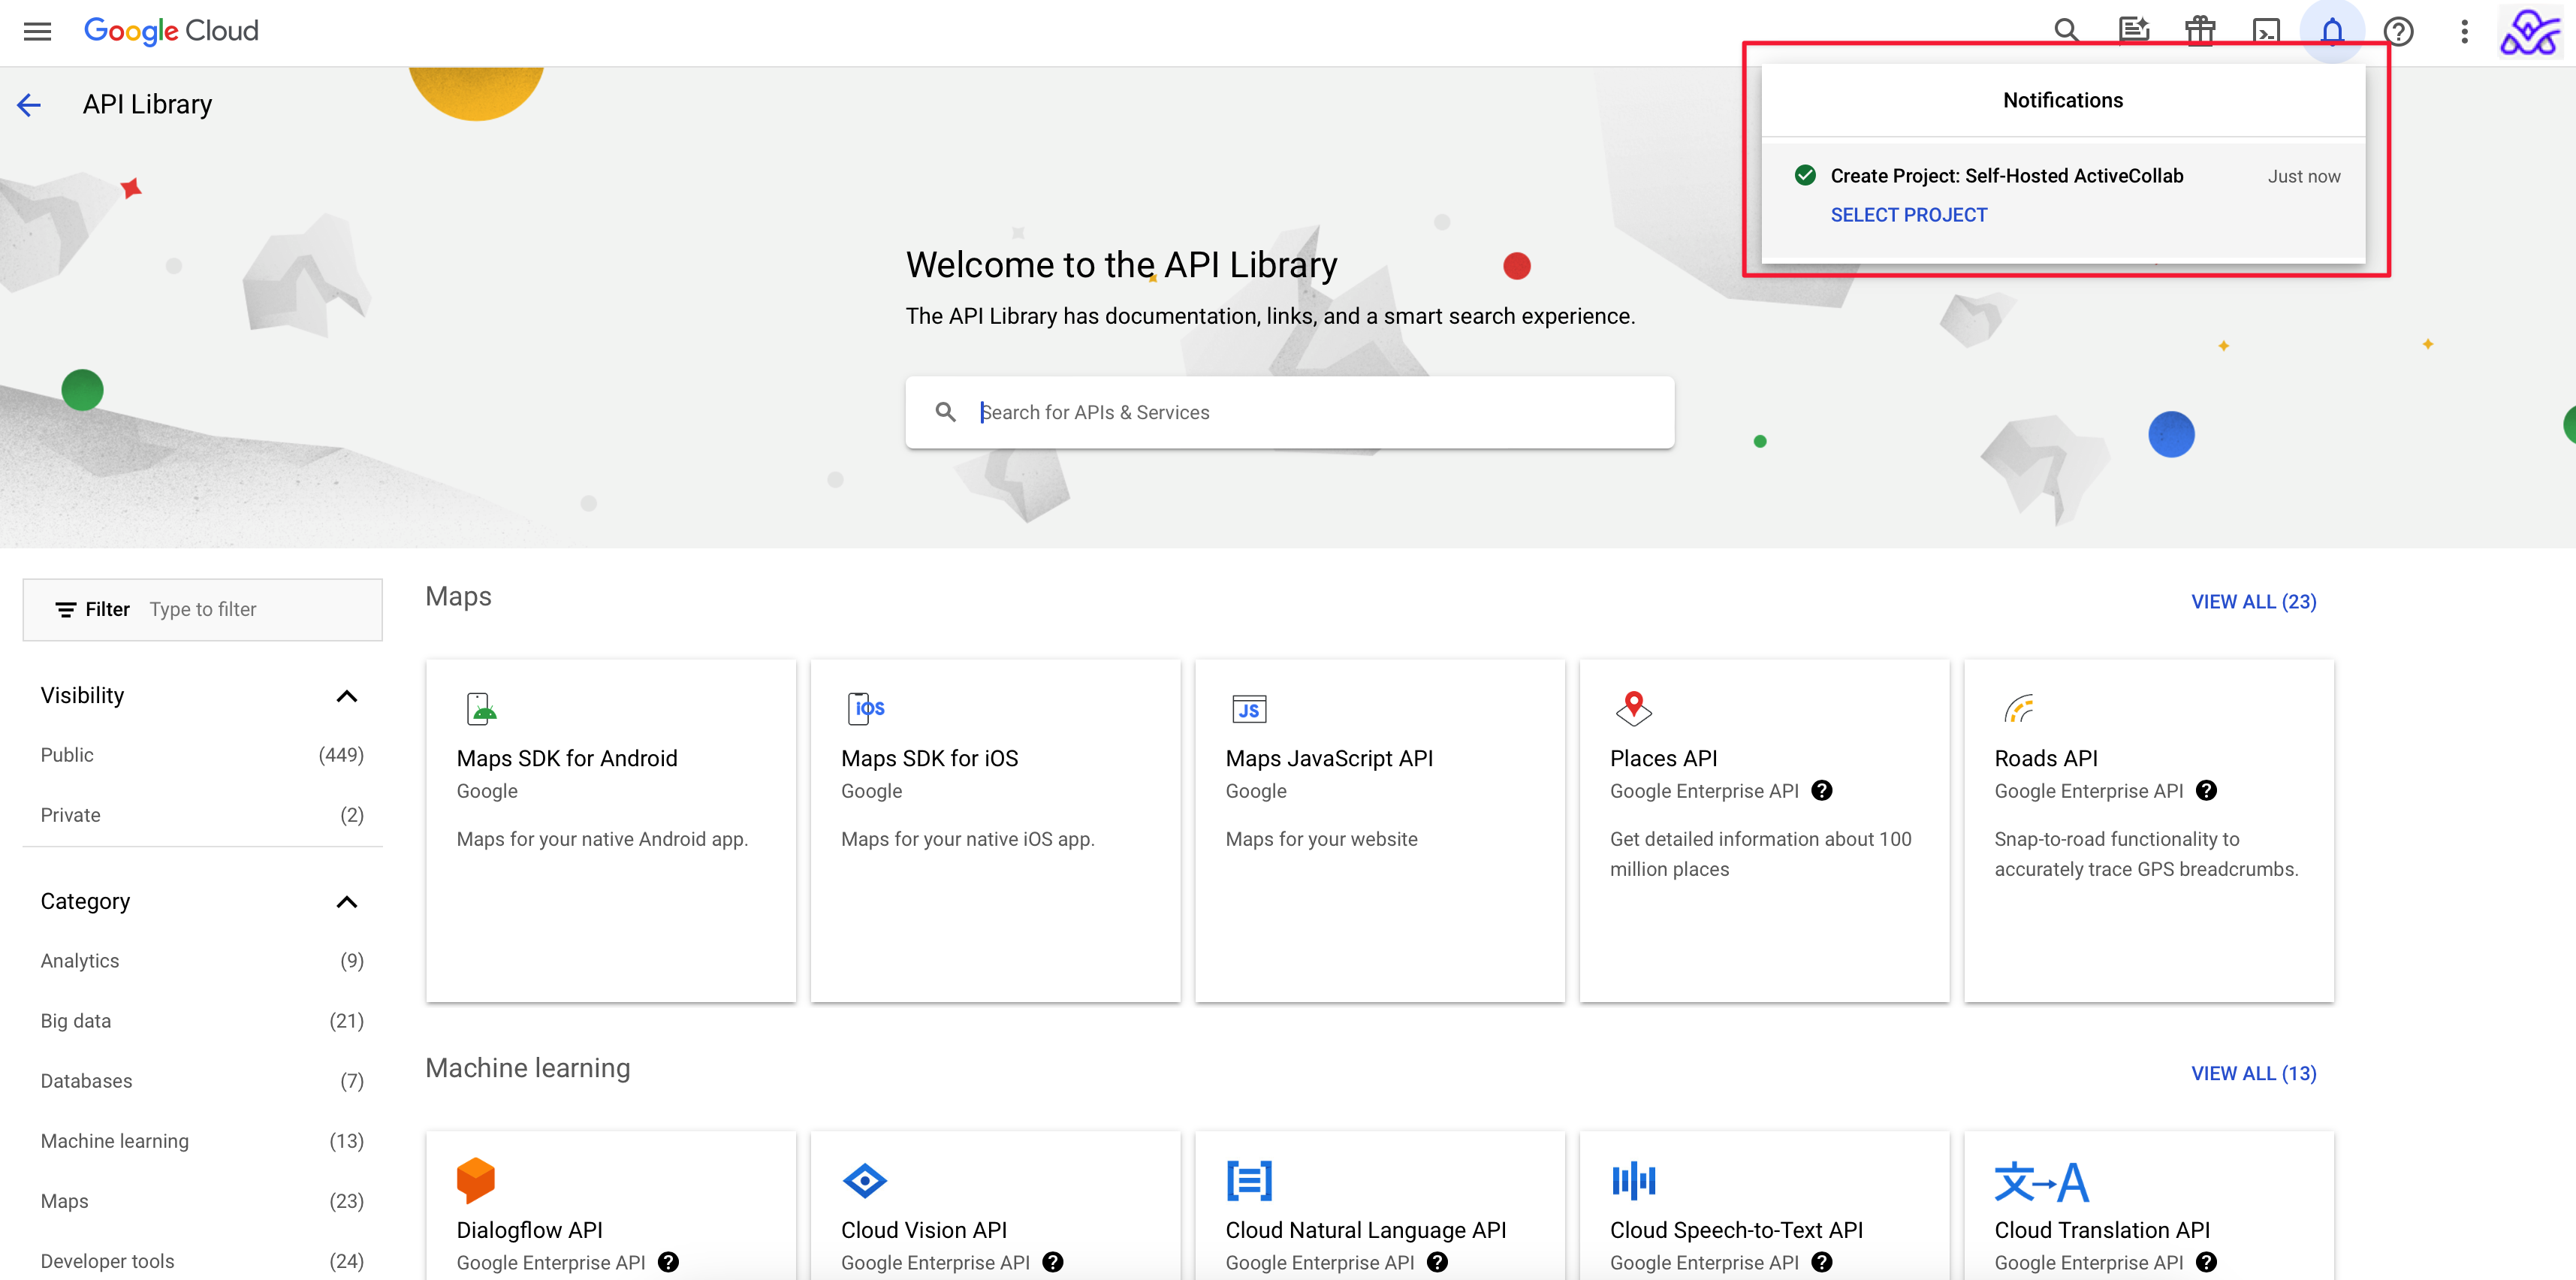
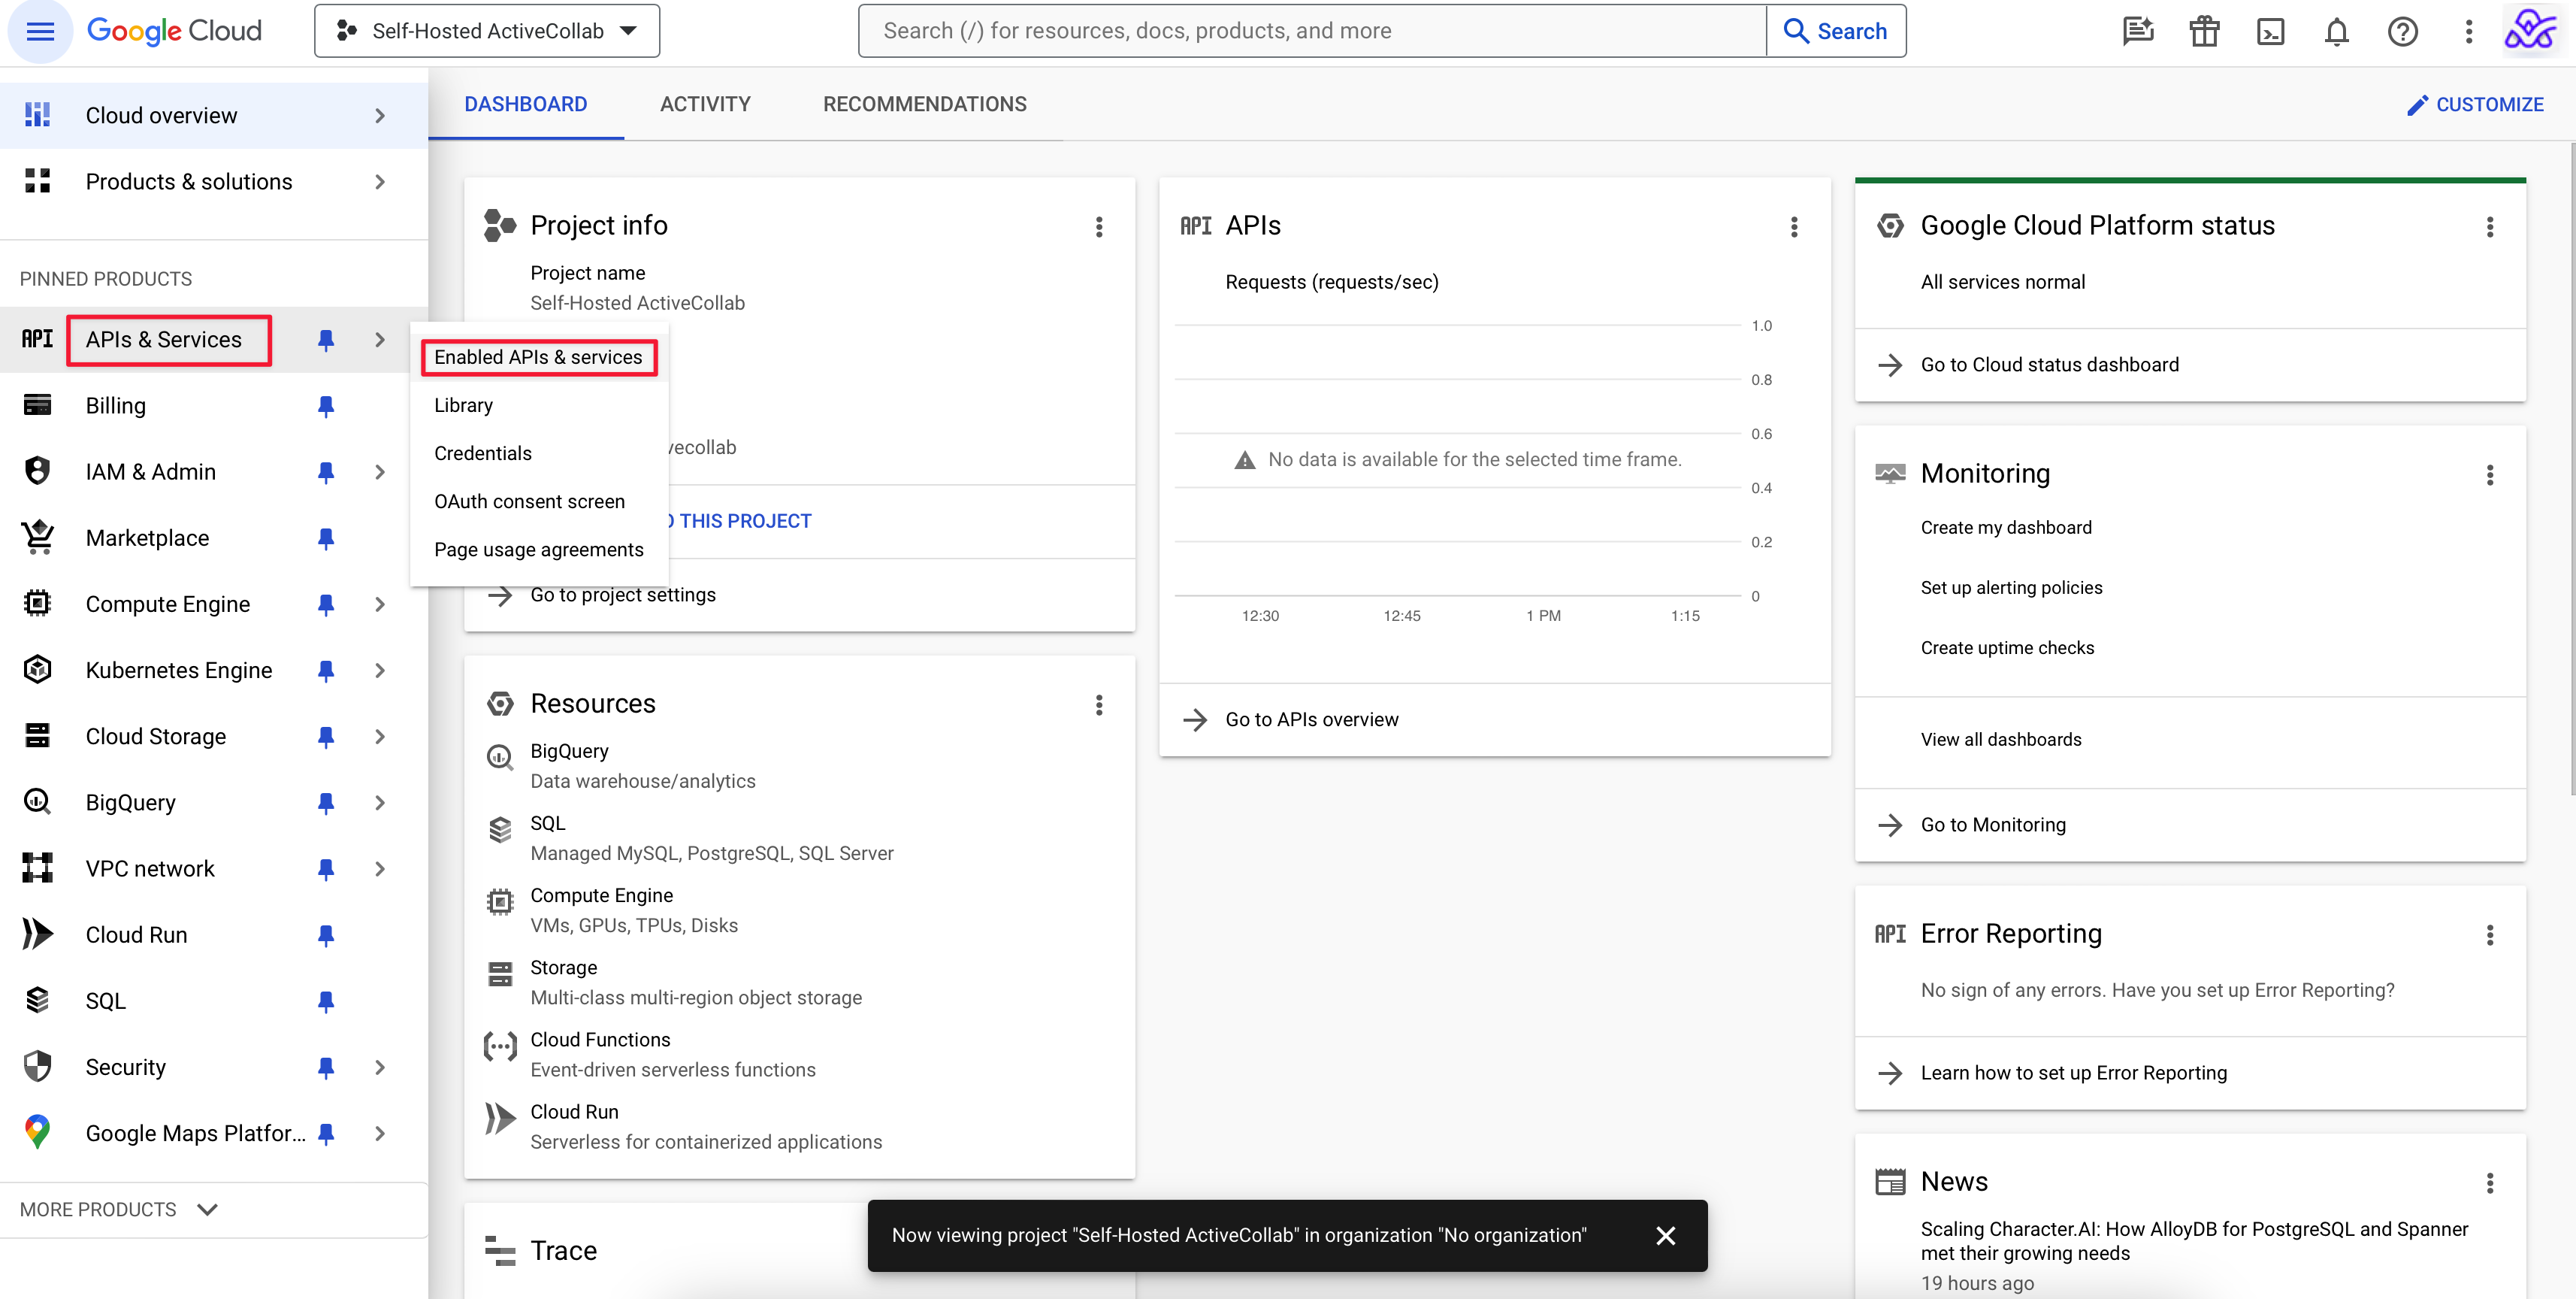
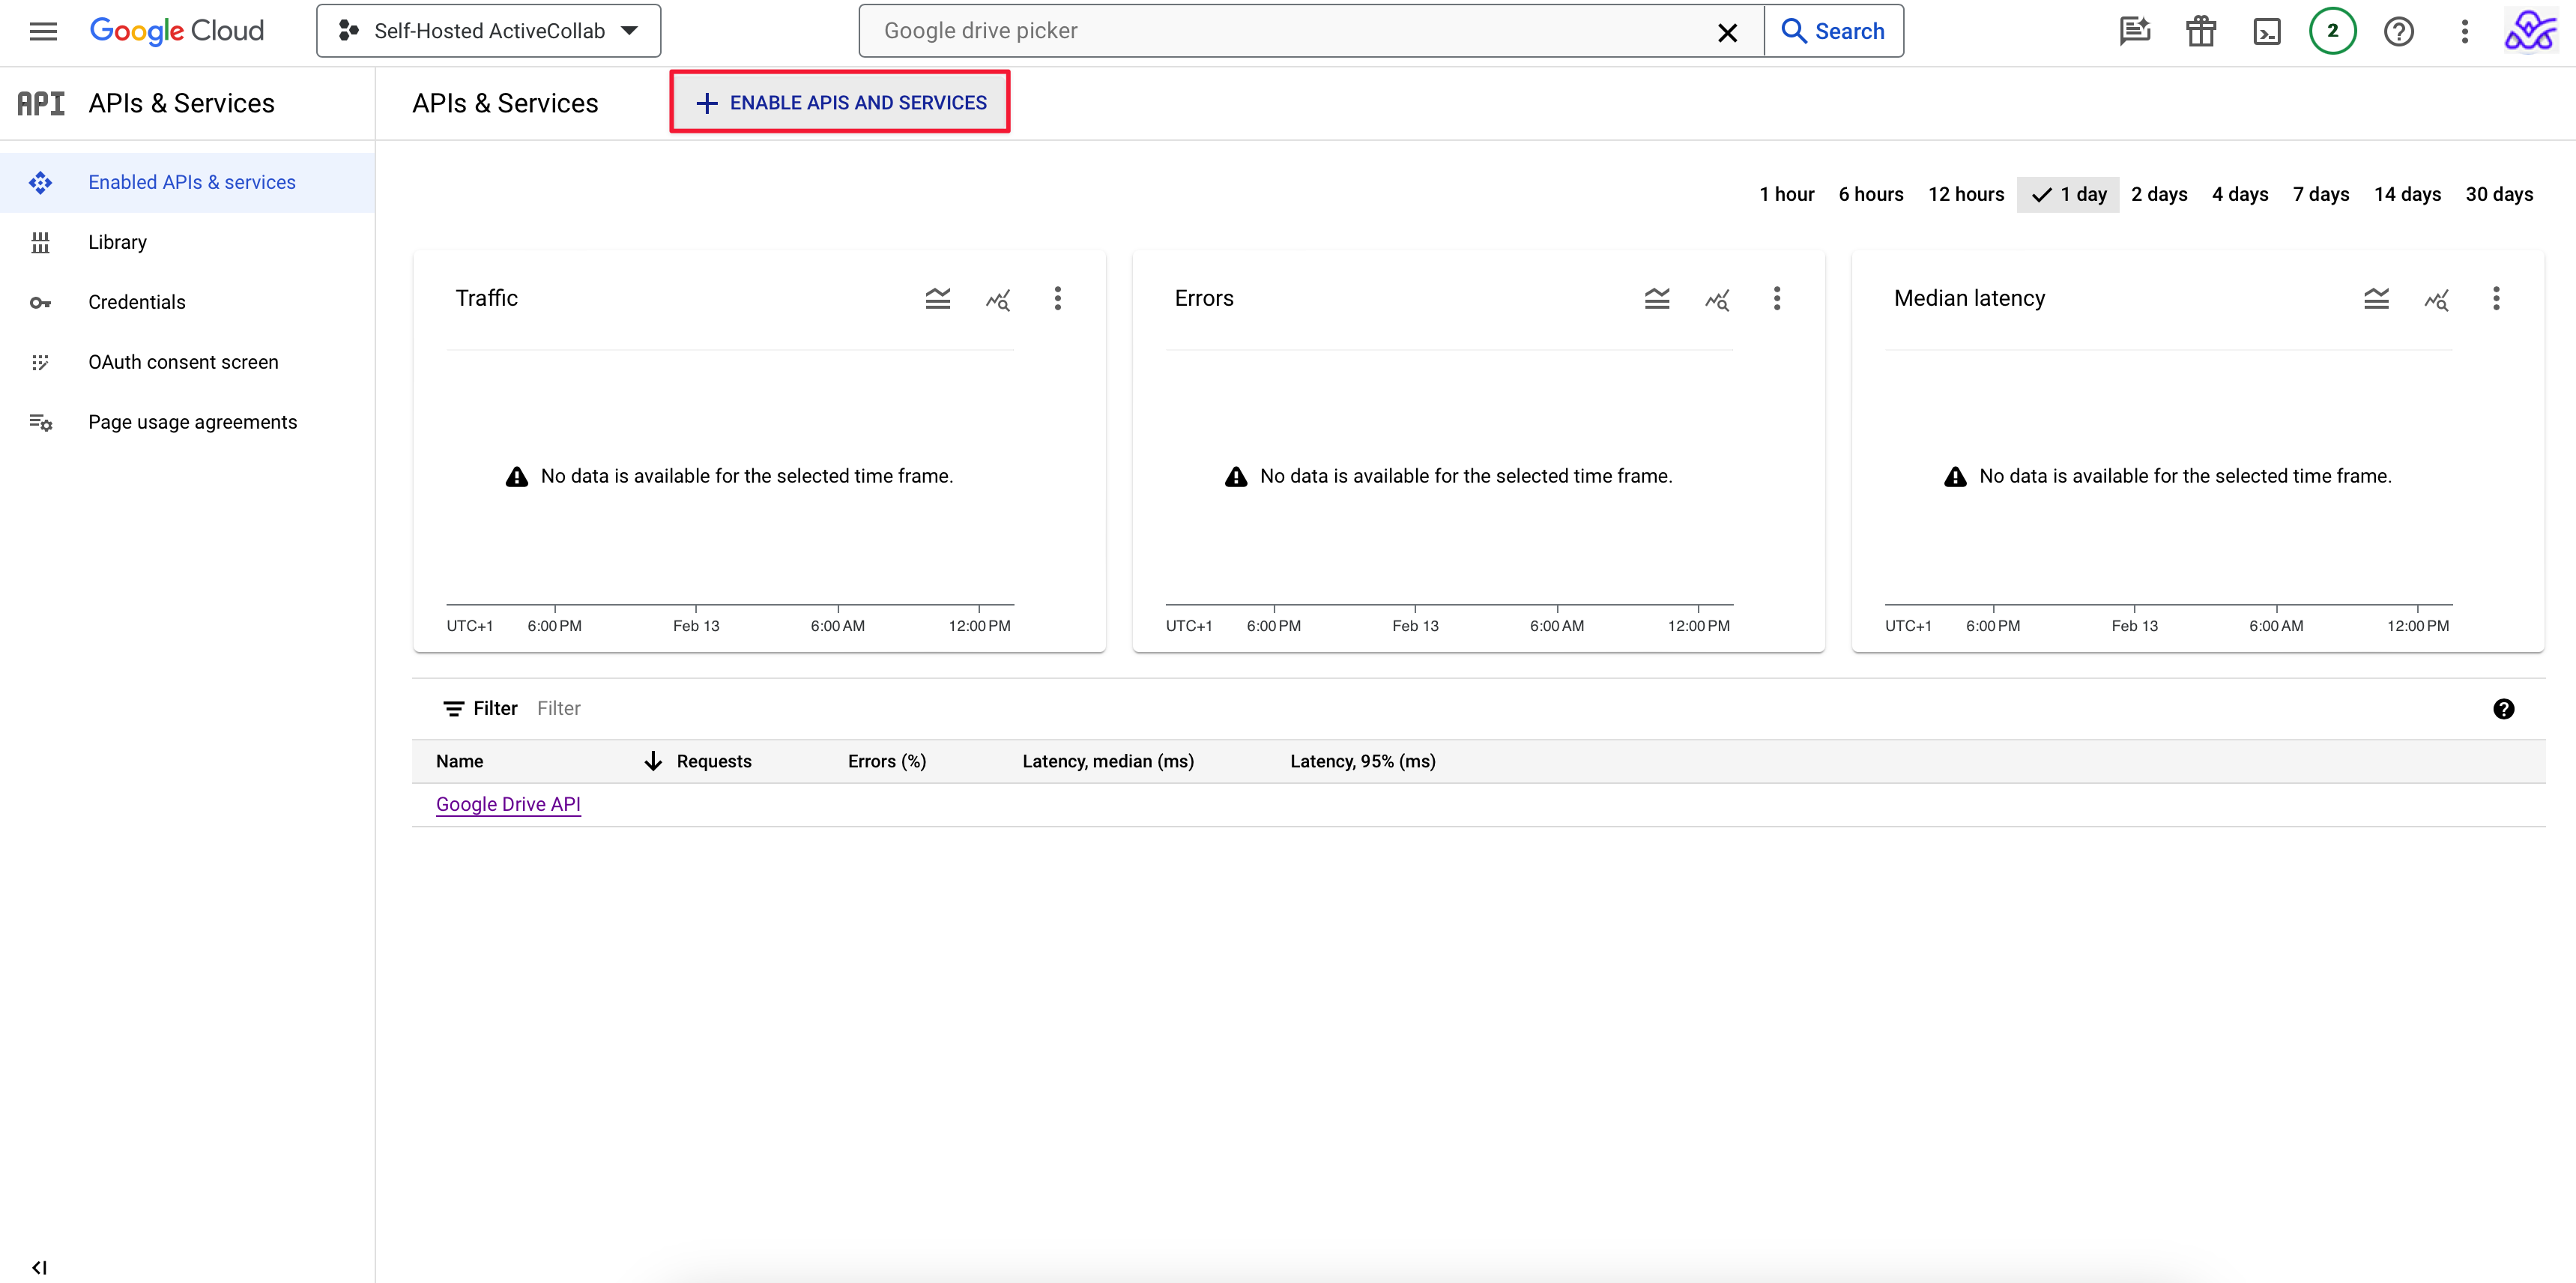
When you click the SELECT PROJECT button on the newly created project page, in the left-hand navigation menu, select APIs & Services, and then Enabled APIs & services.
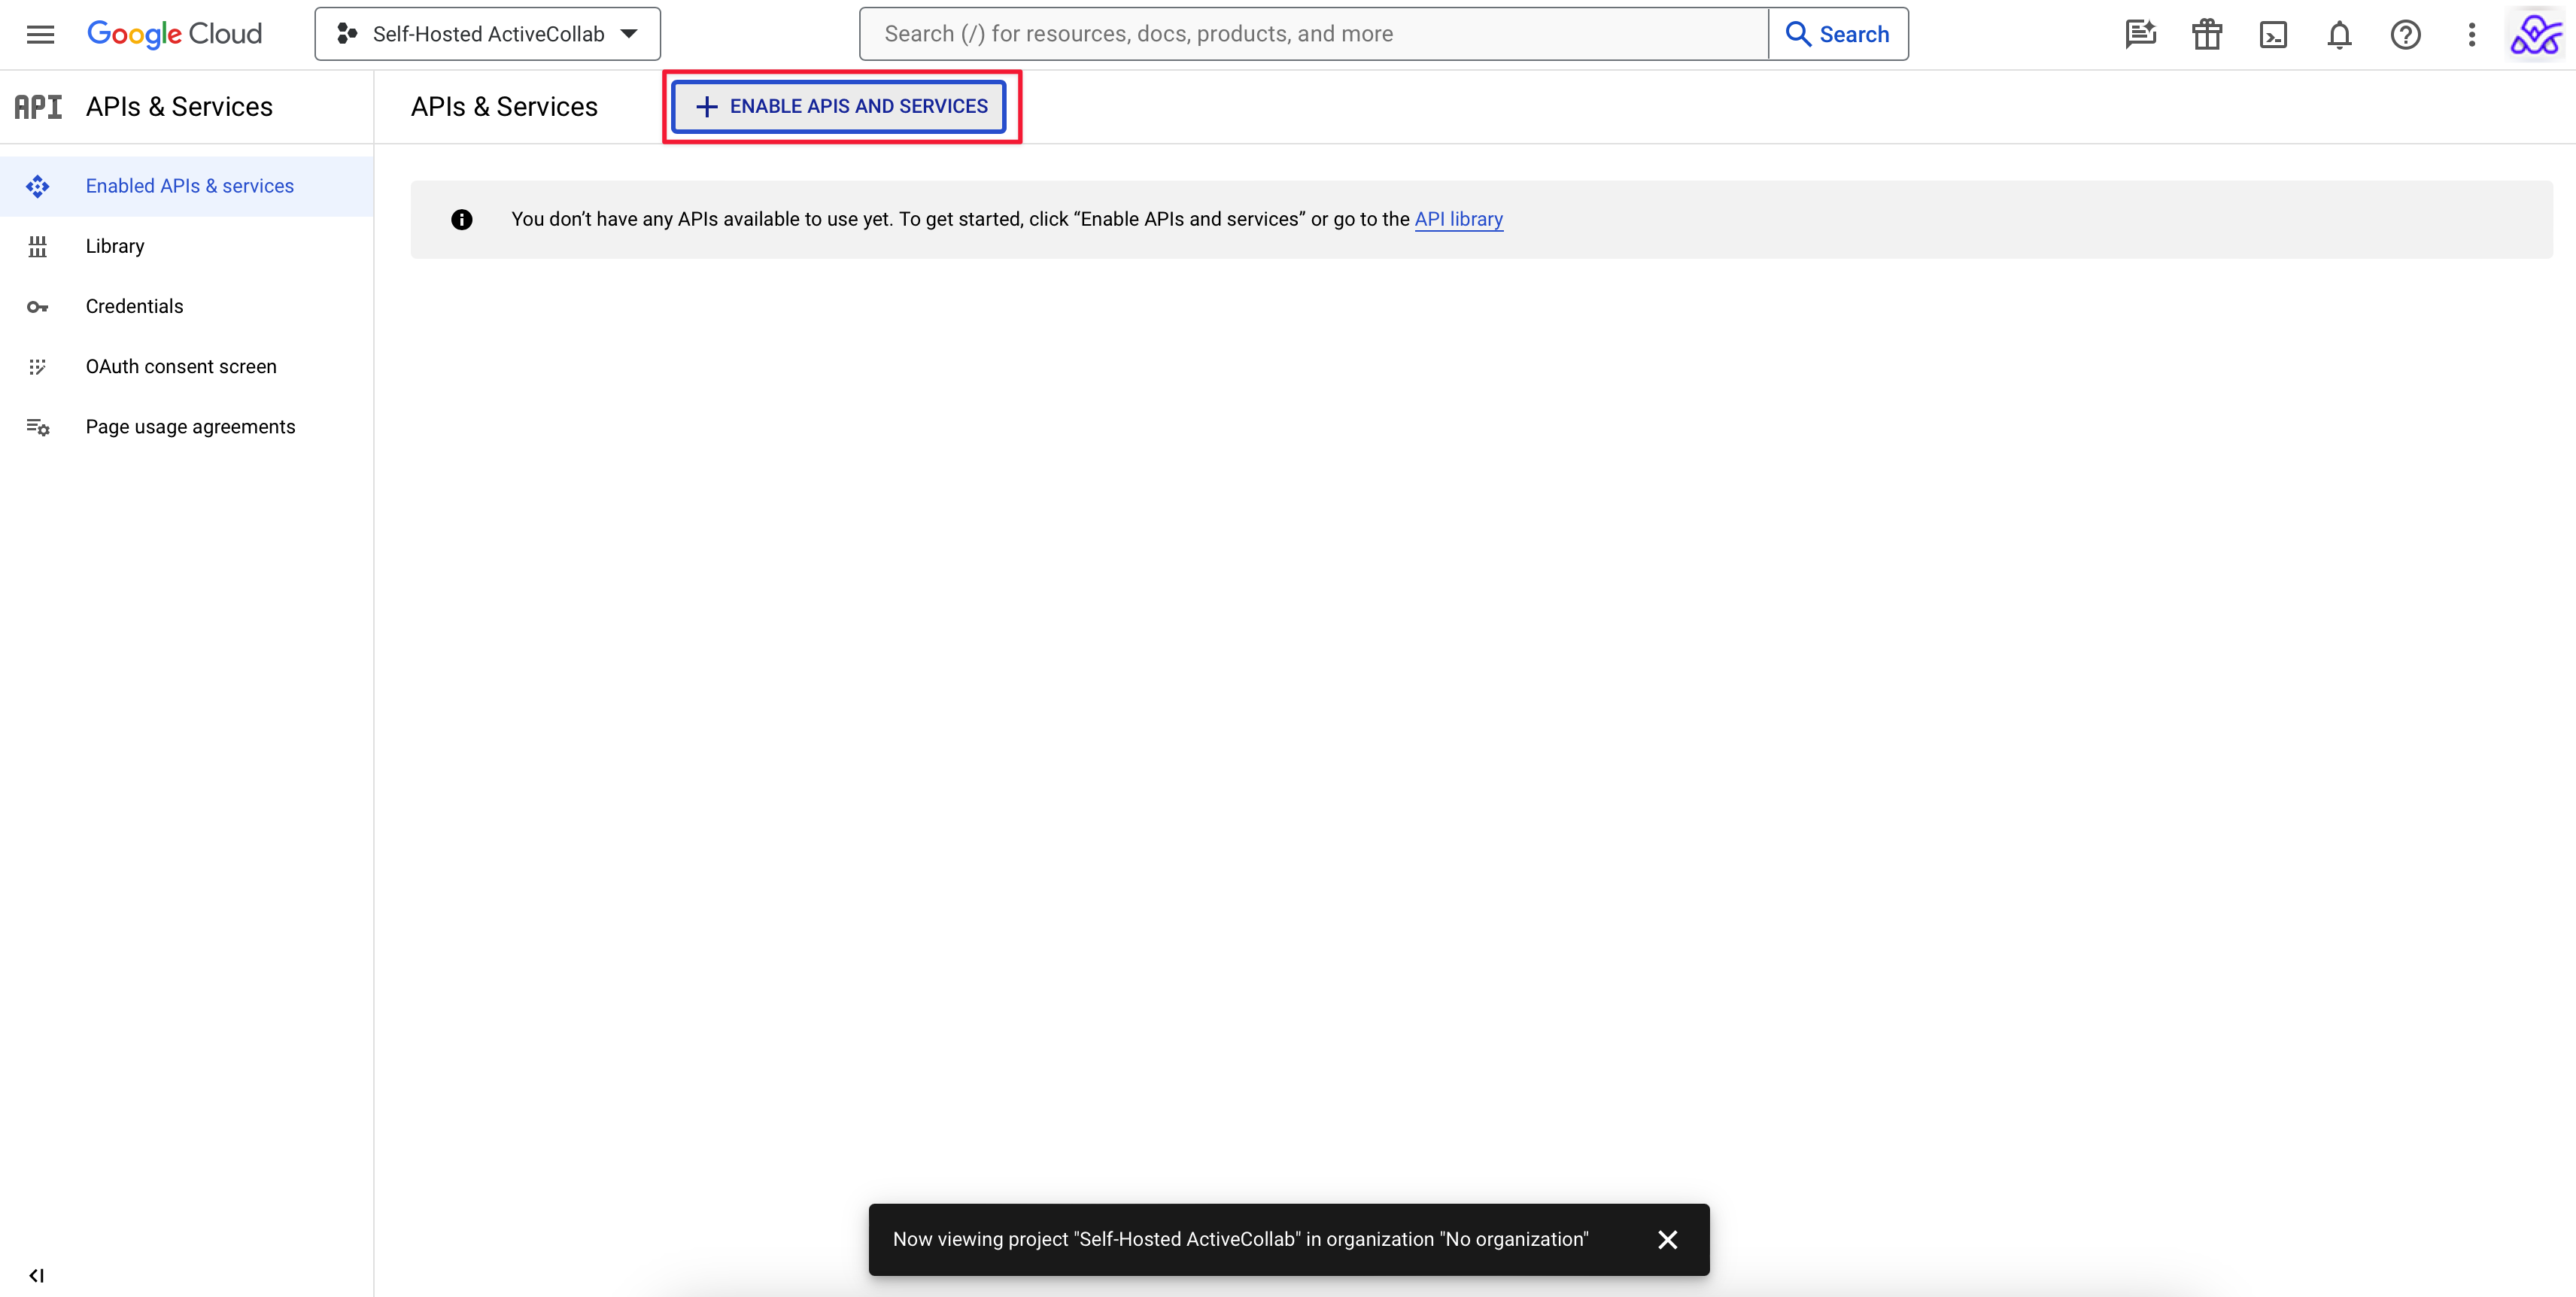
Then click on the button +ENABLE APIS AND SERVICES.
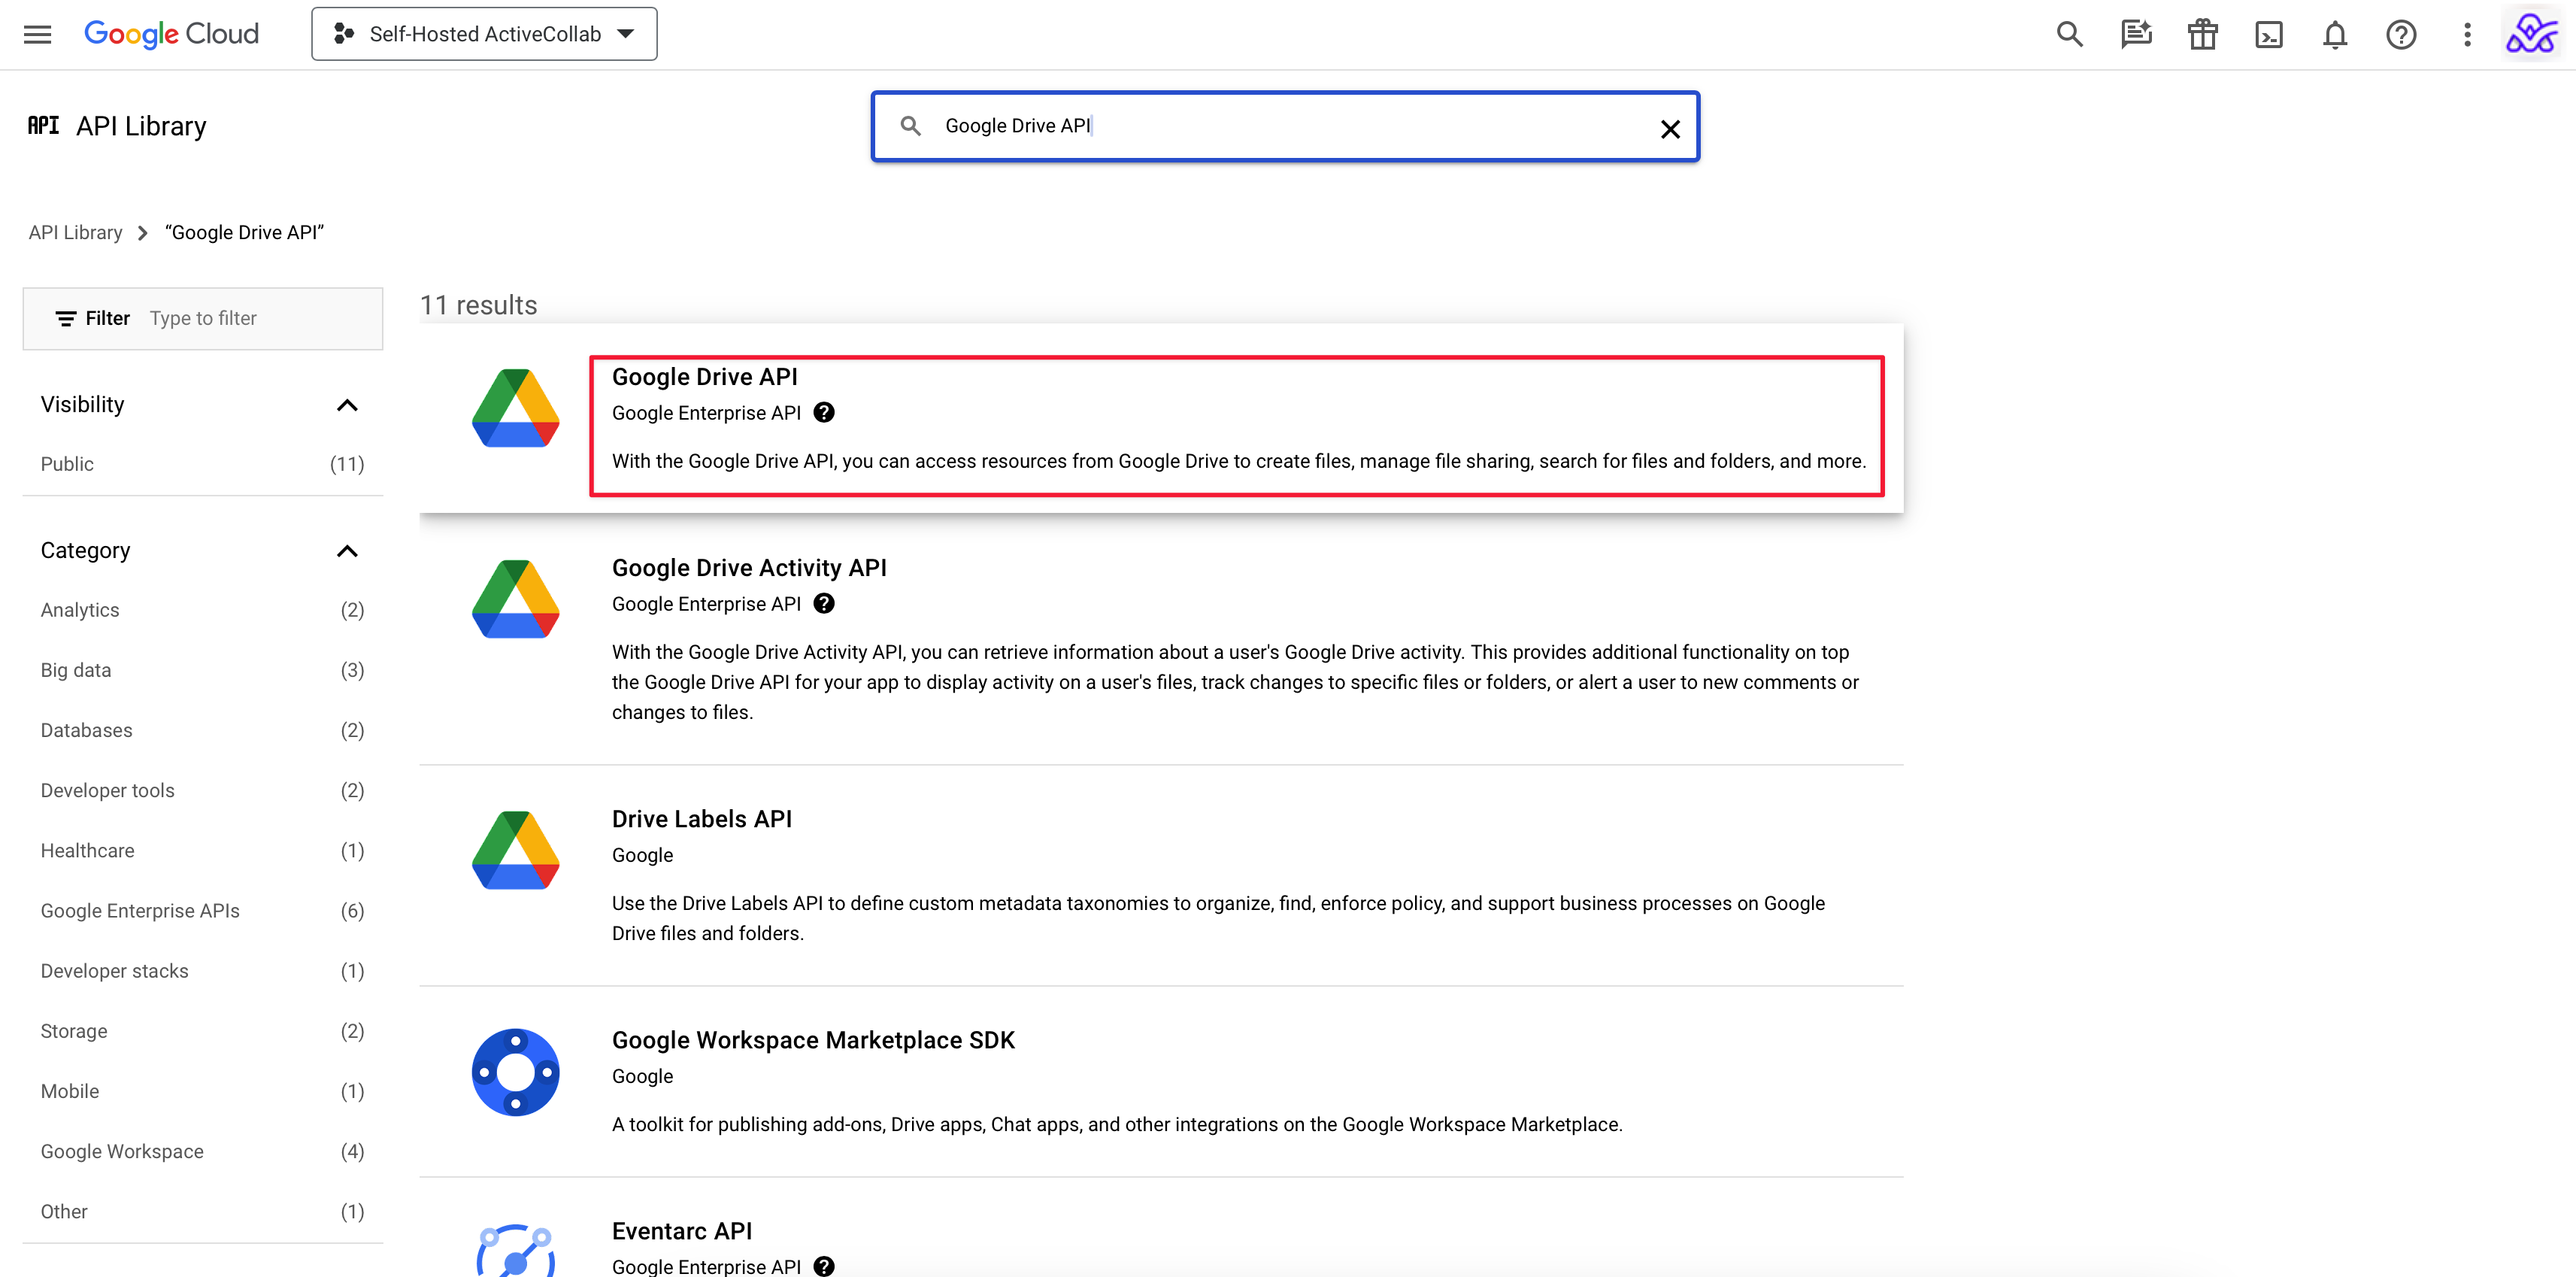
On the new page, type the words "Google Drive API" into the search bar.
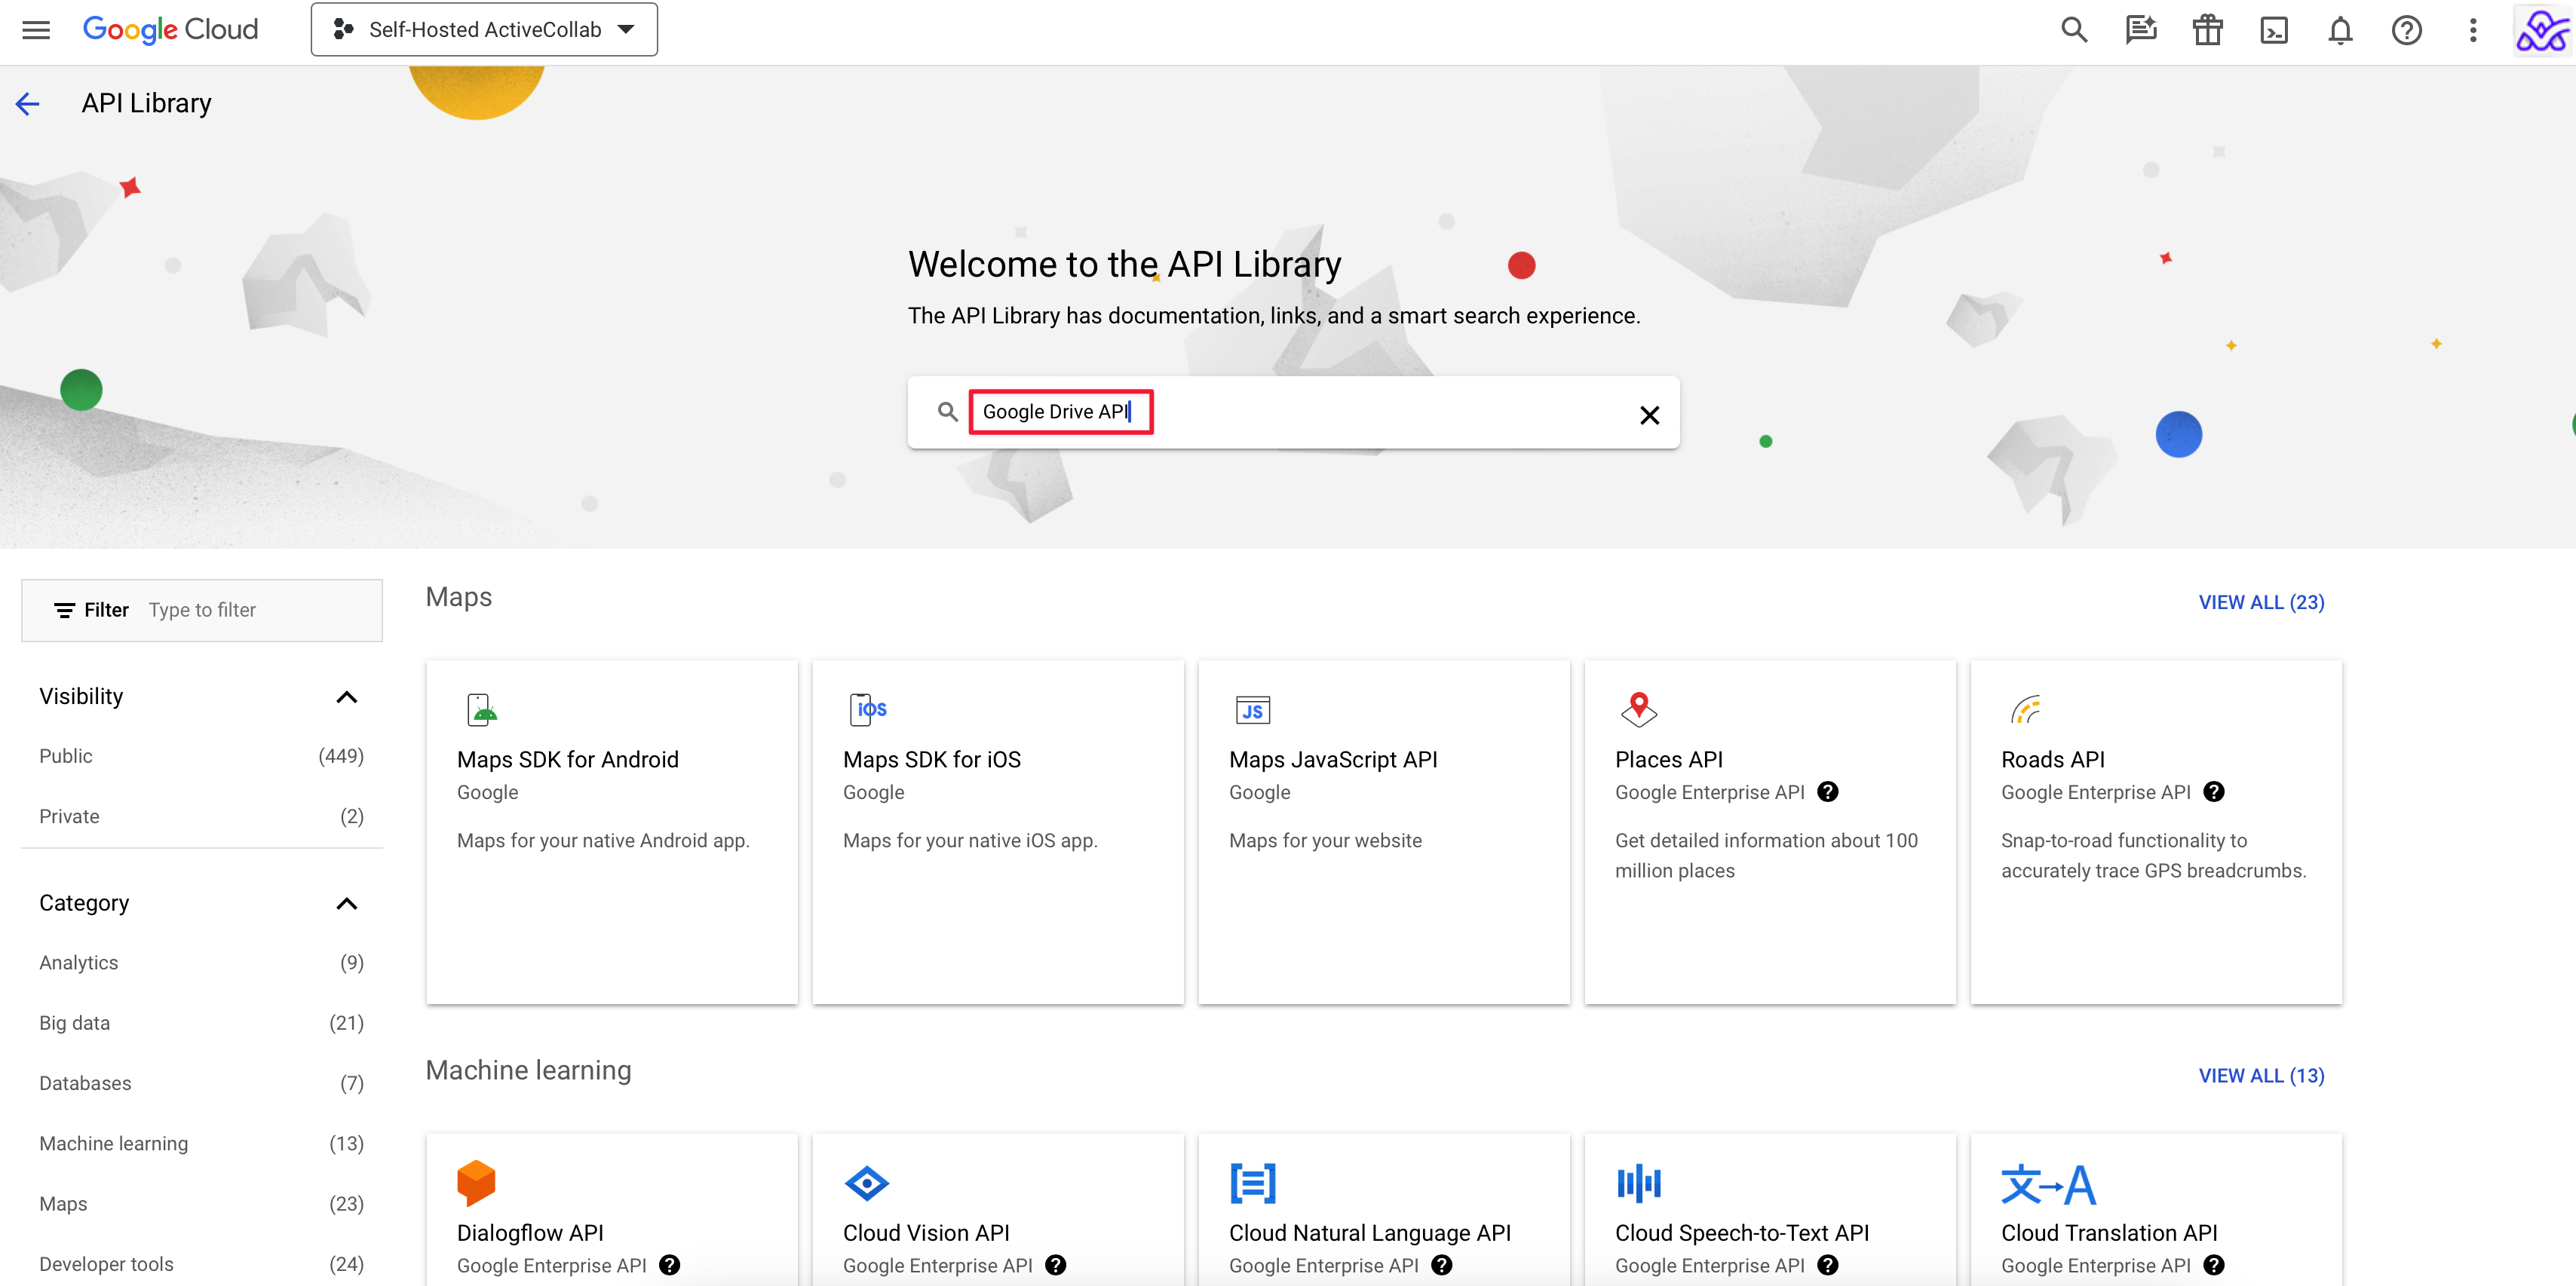
From the search results, select the Google Drive API.
Enable the Google Drive API by clicking the ENABLE button.
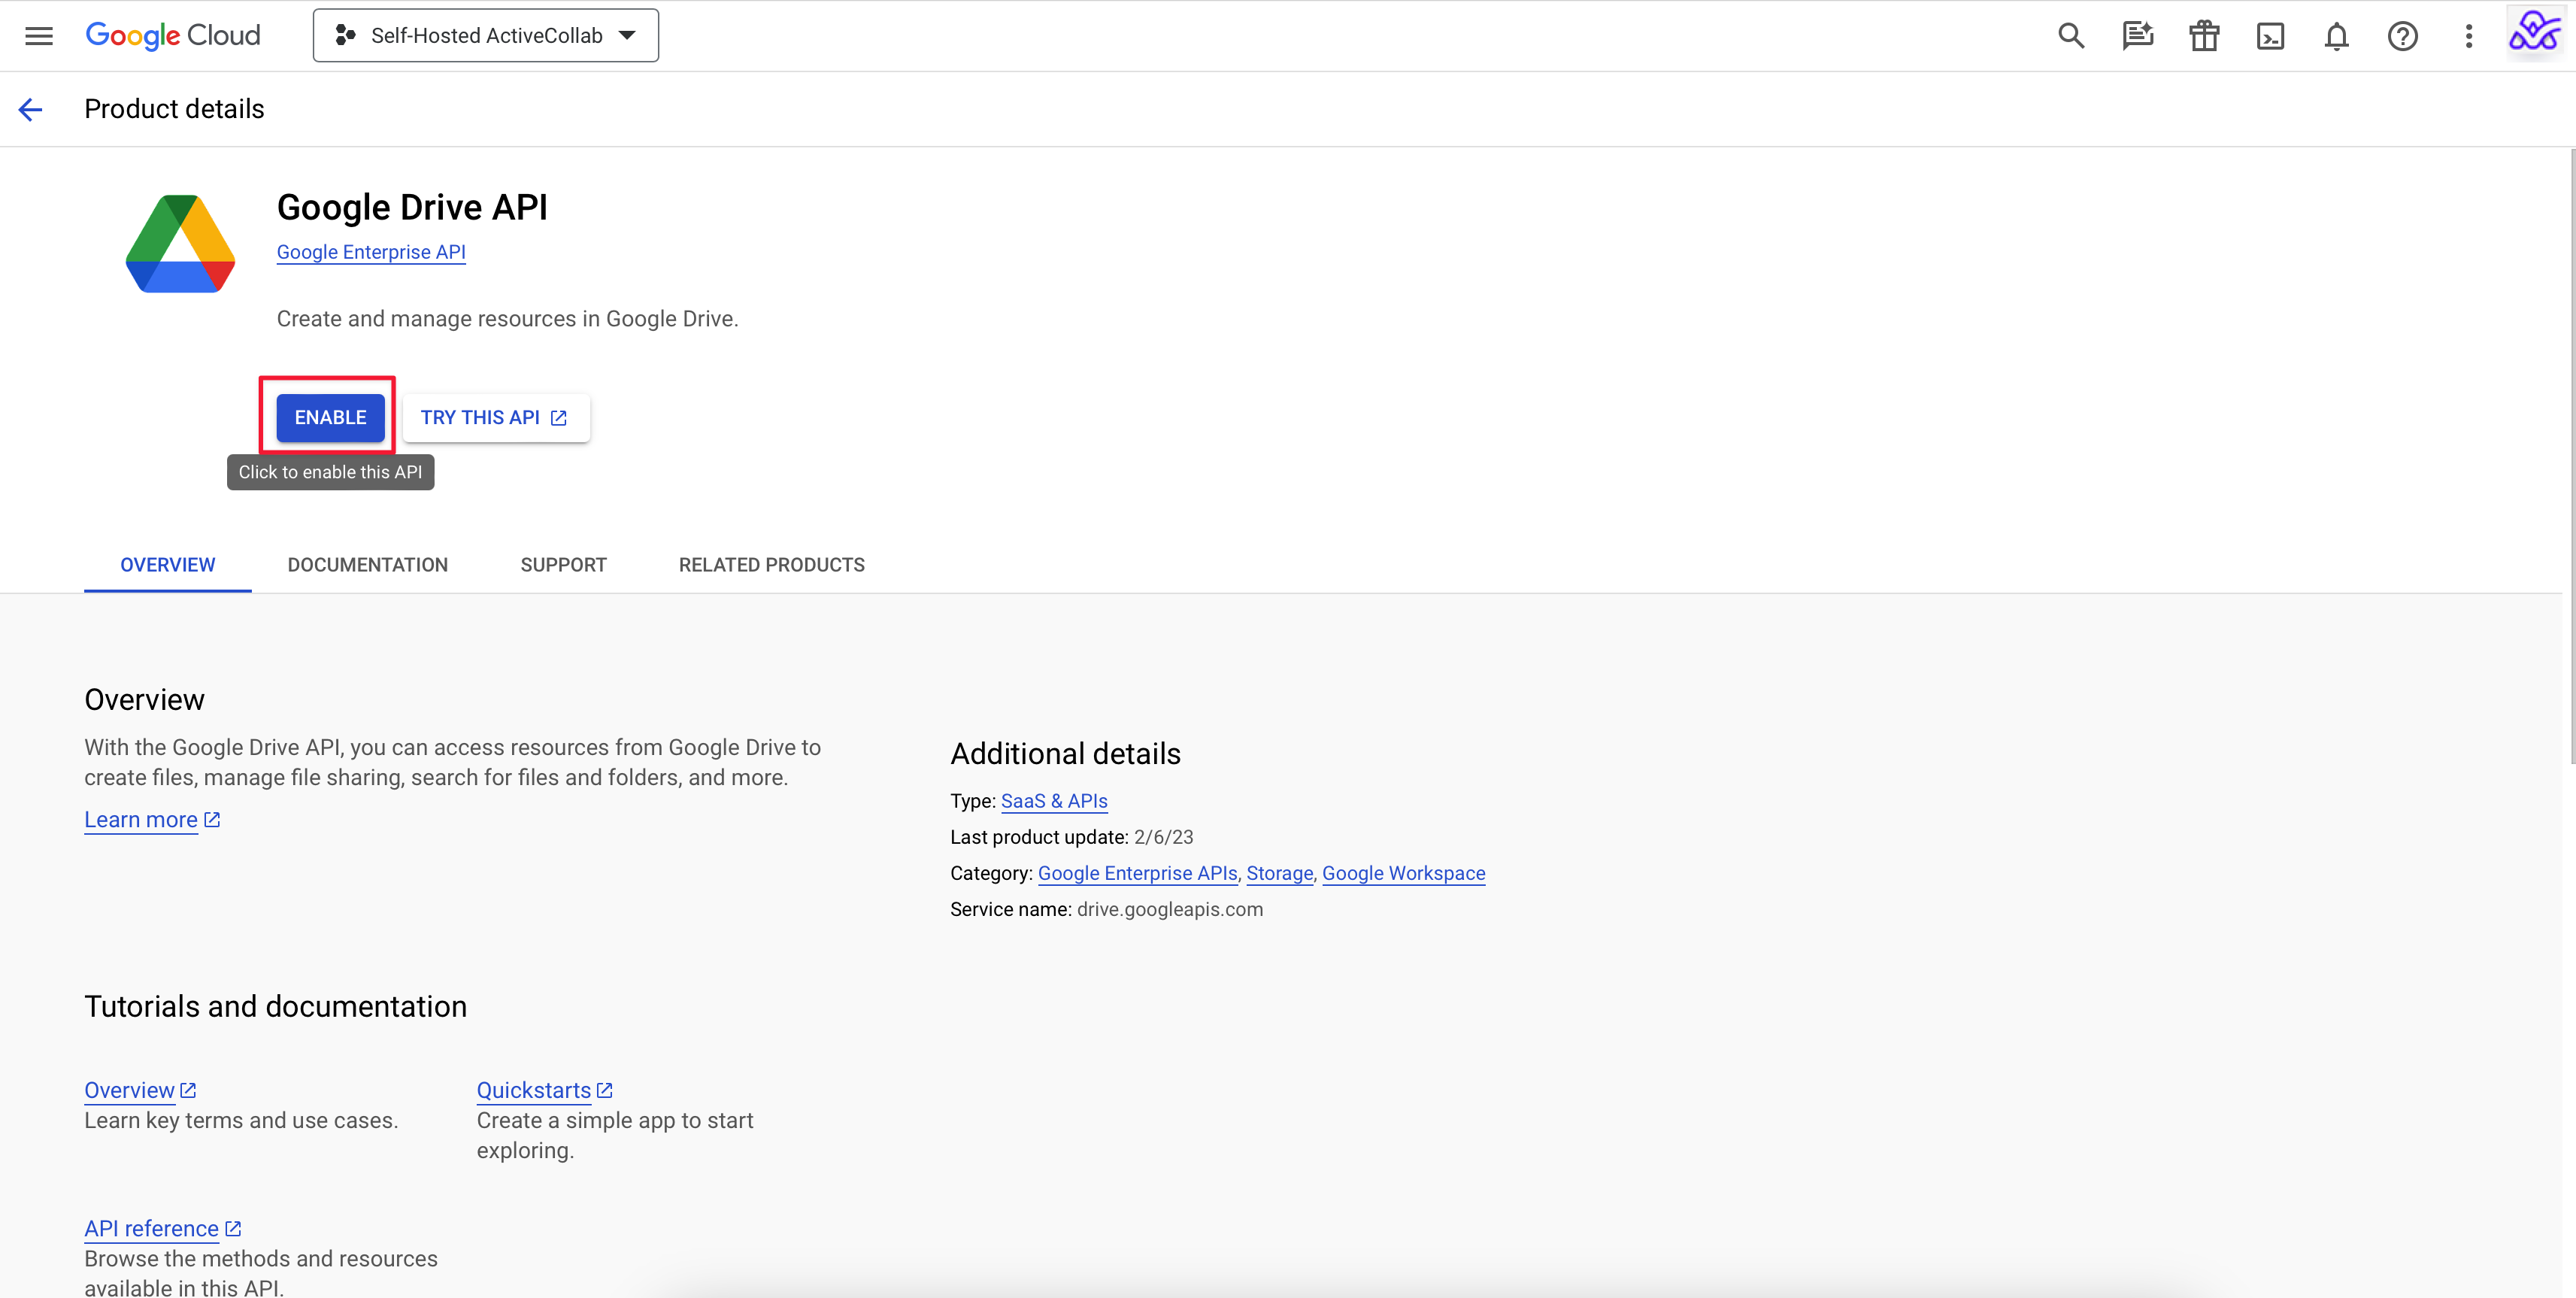
You will receive a notification that the API is enabled.
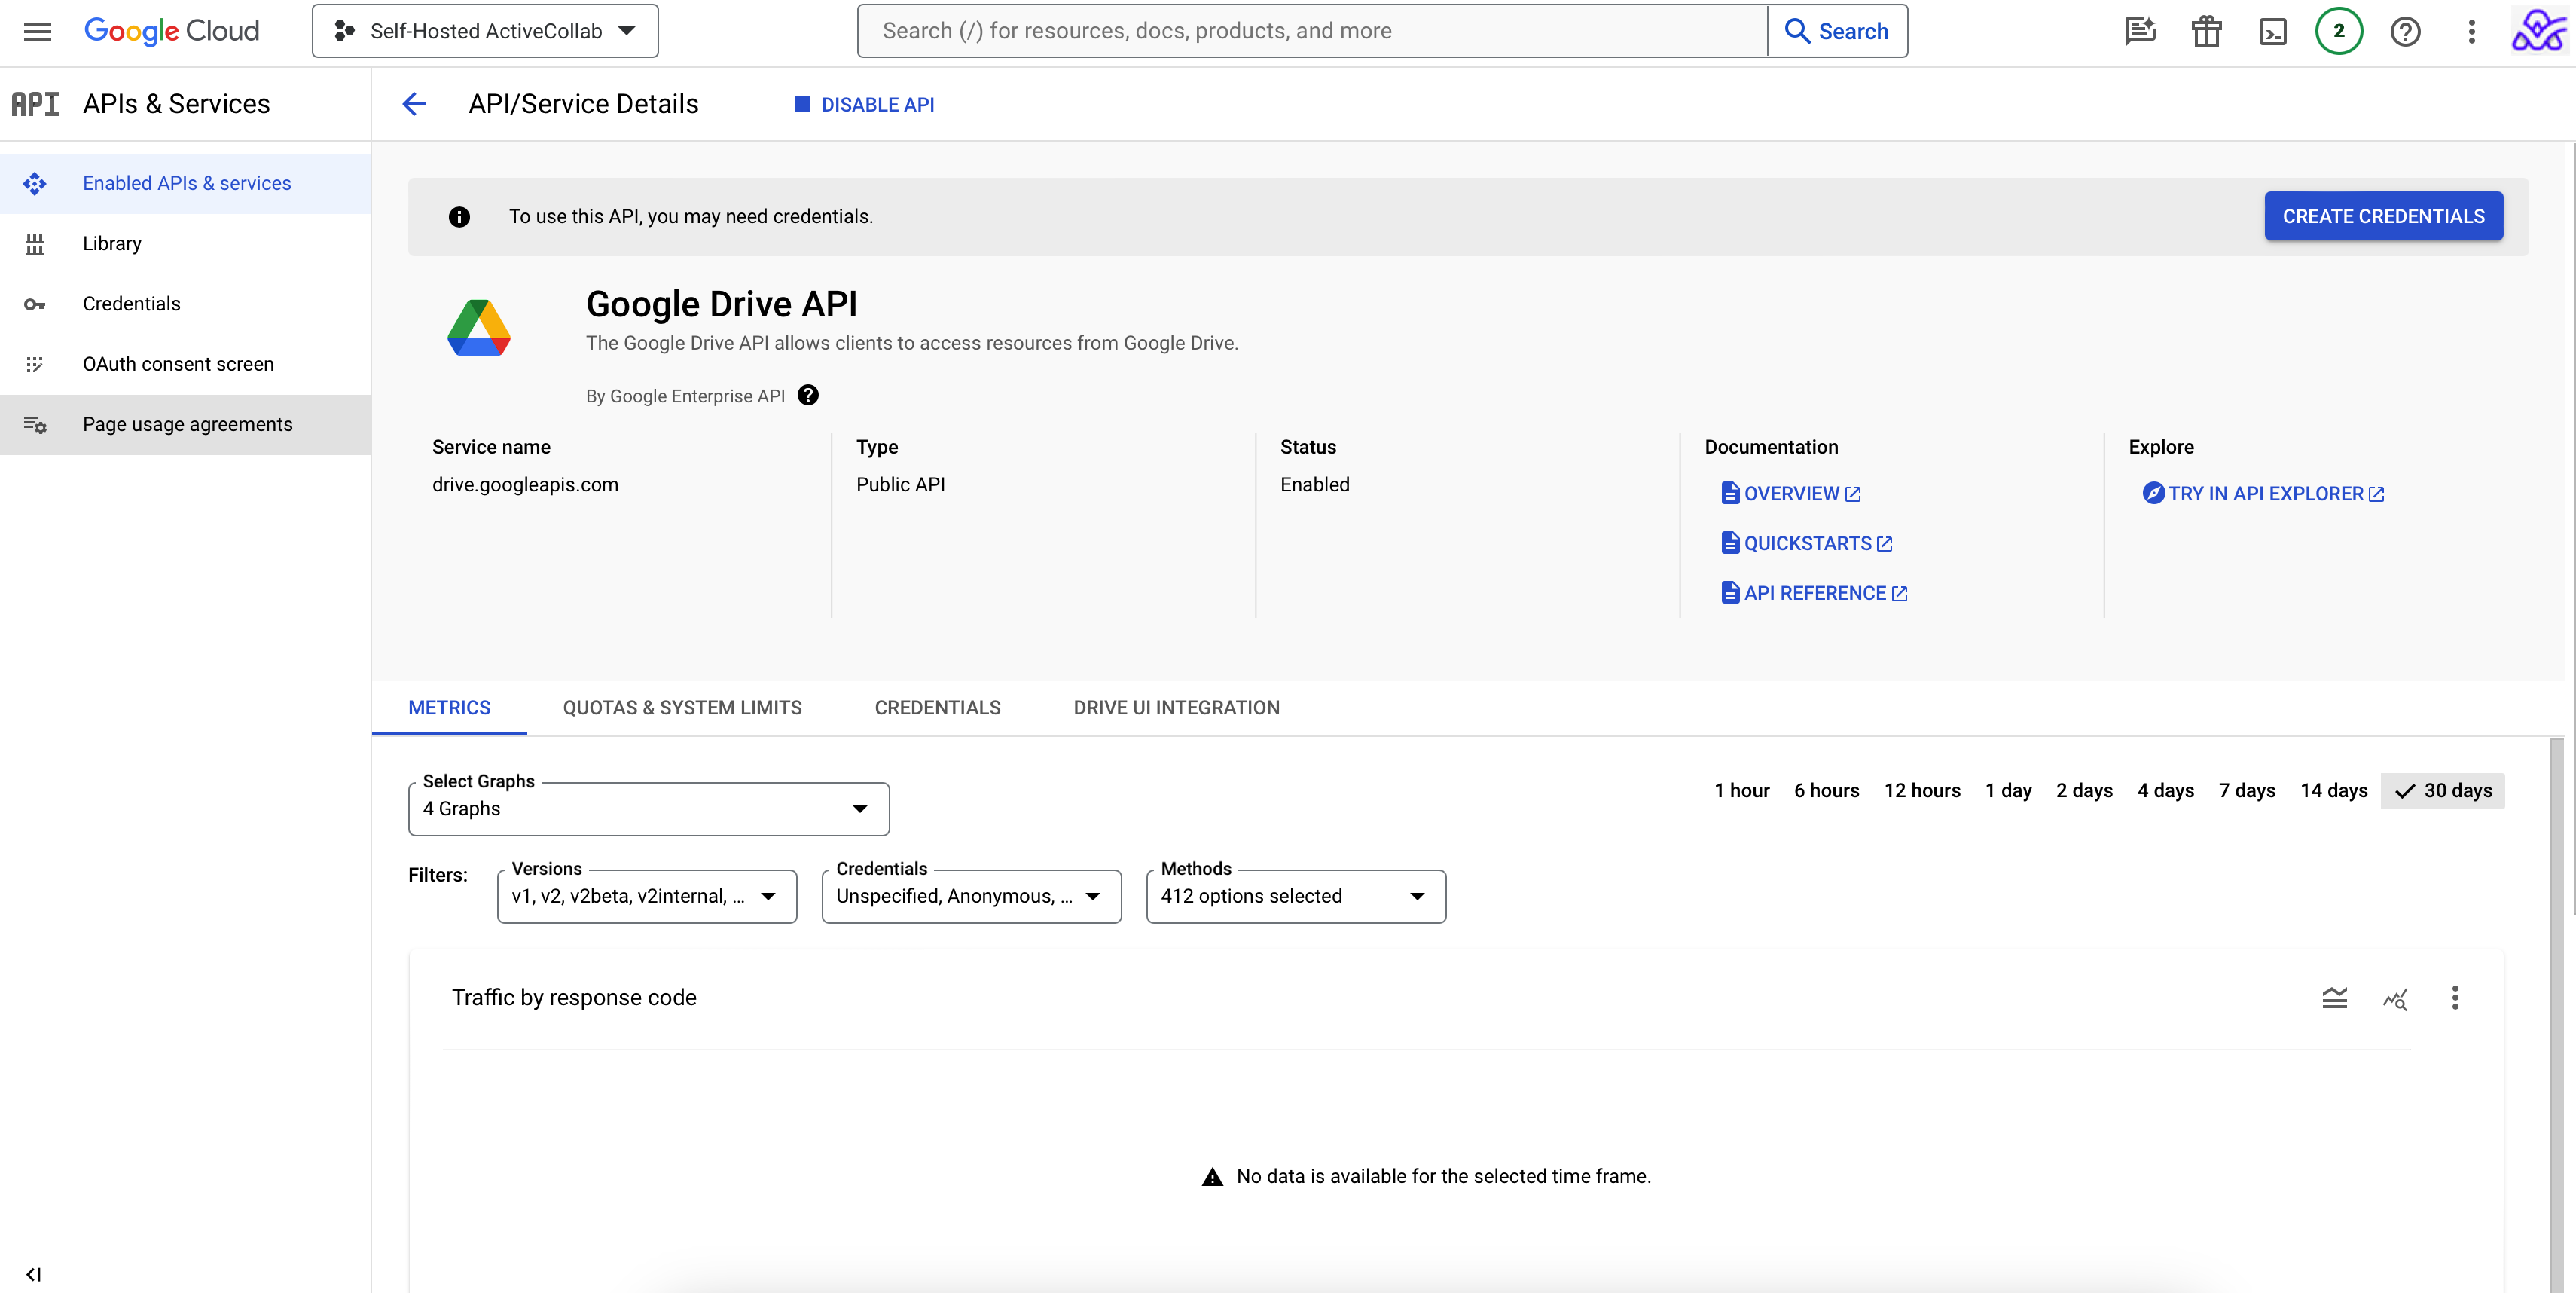
Return to the API/Service Details page.
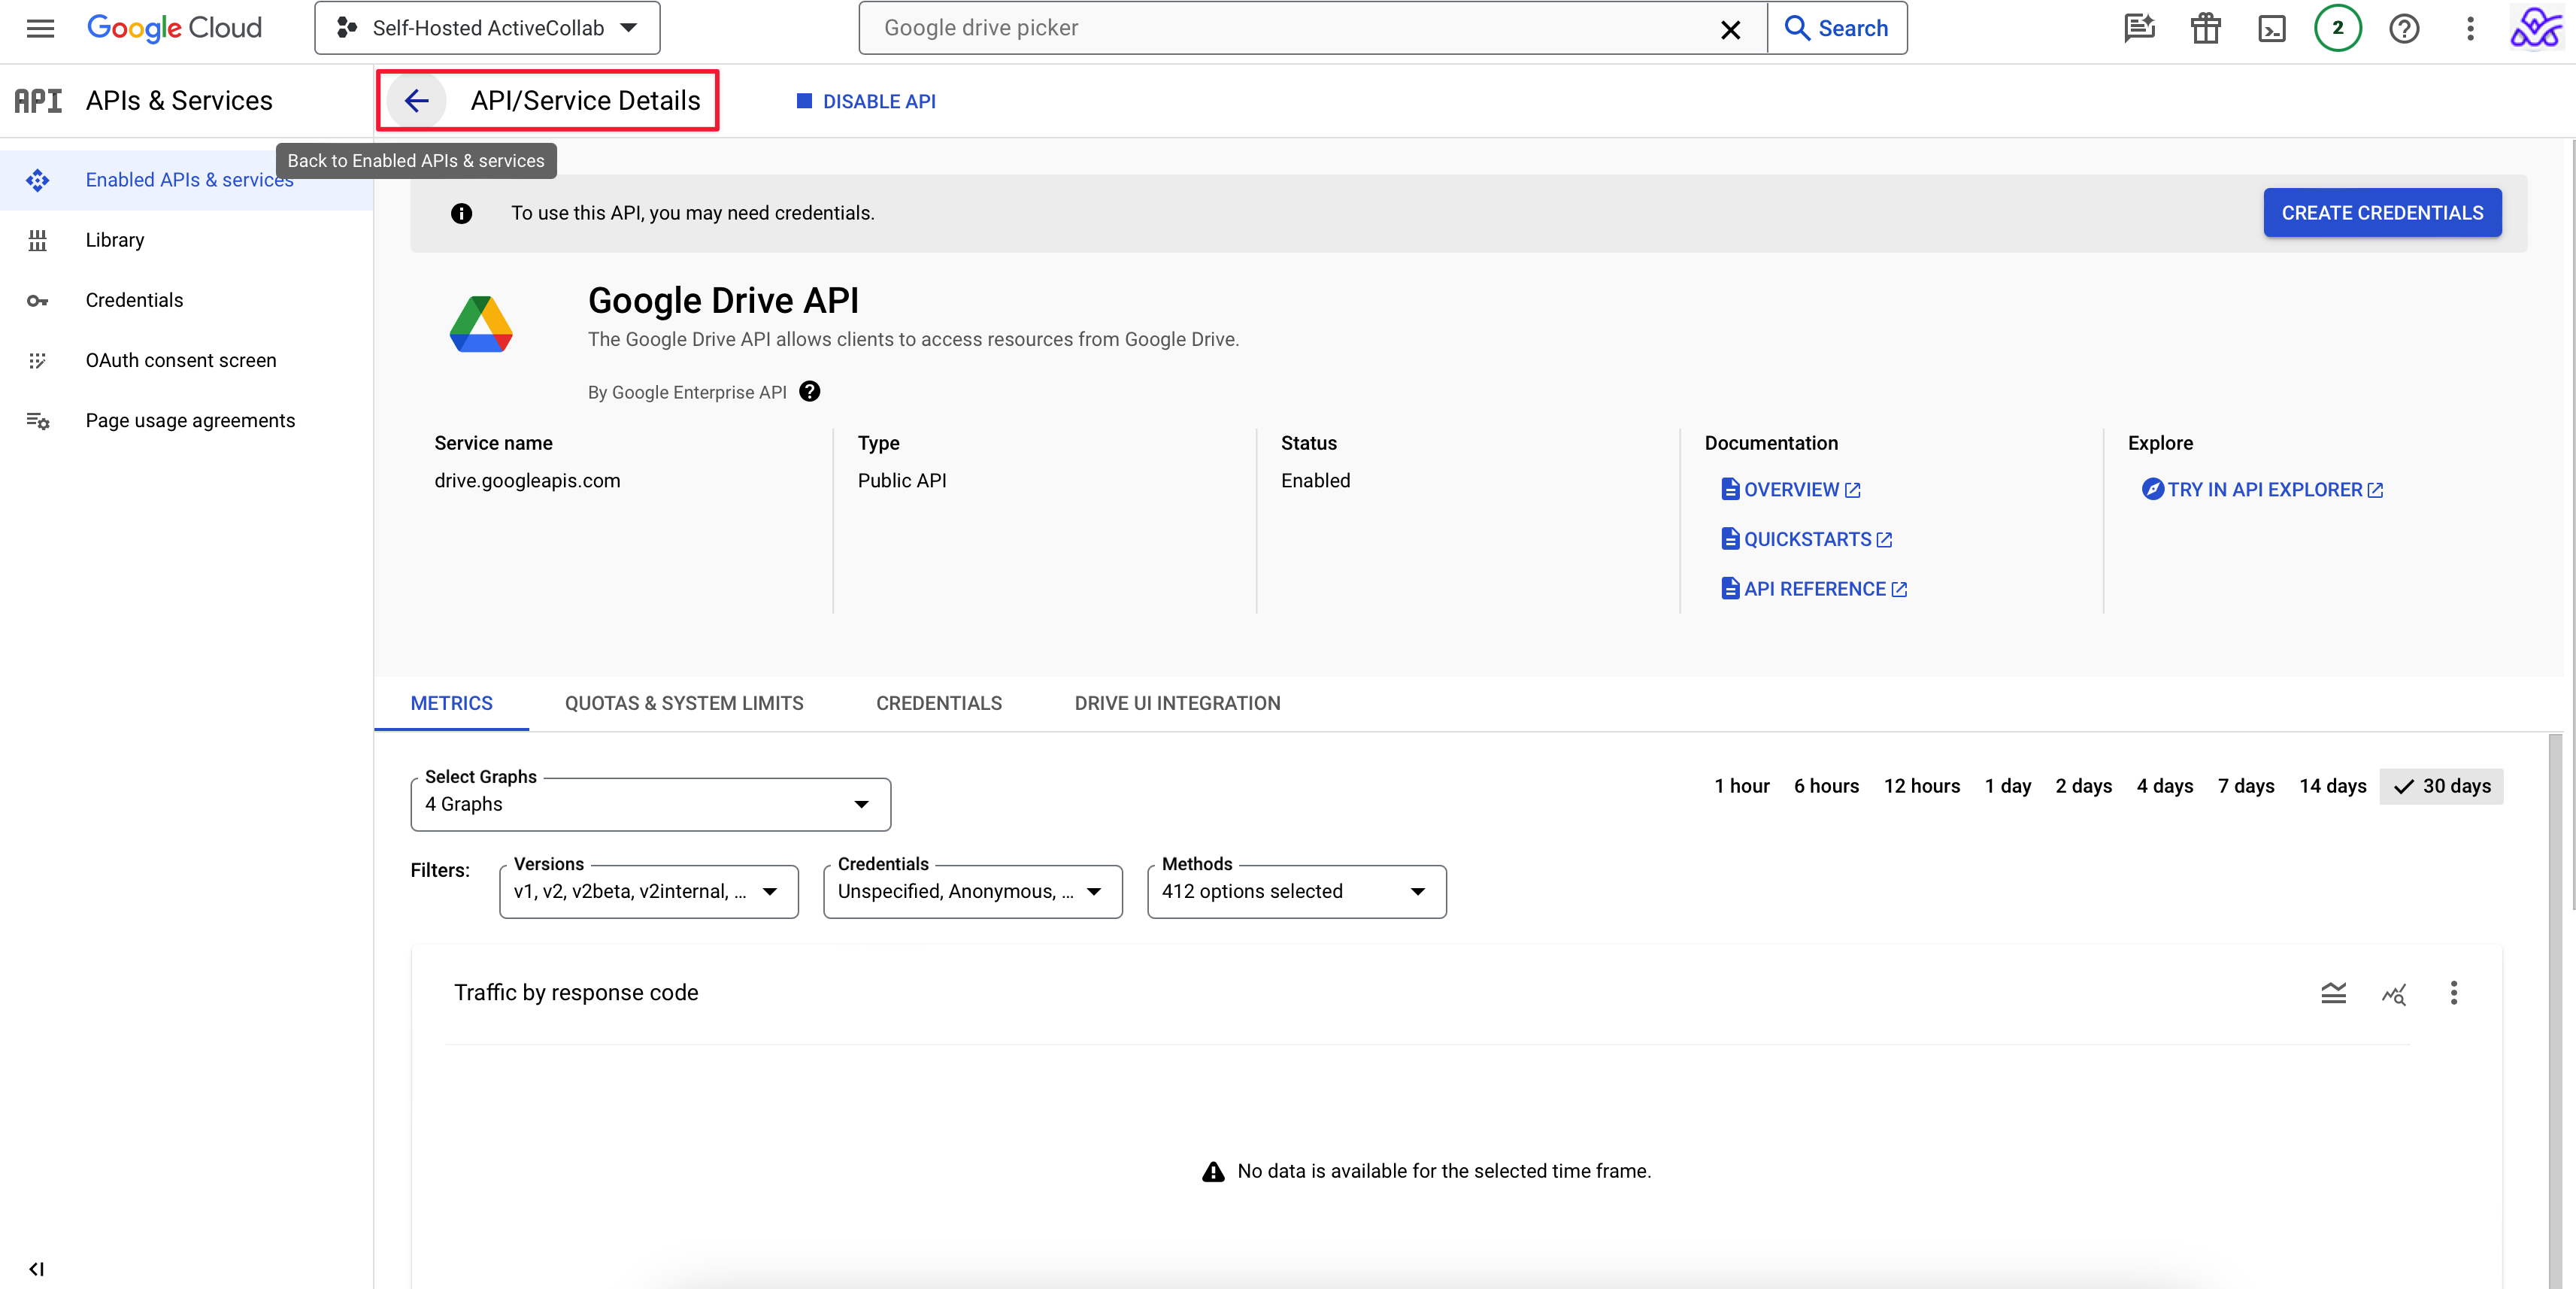
Select the option +ENABLE APIS AND SERVICES.
In the search, type Google Picker API.
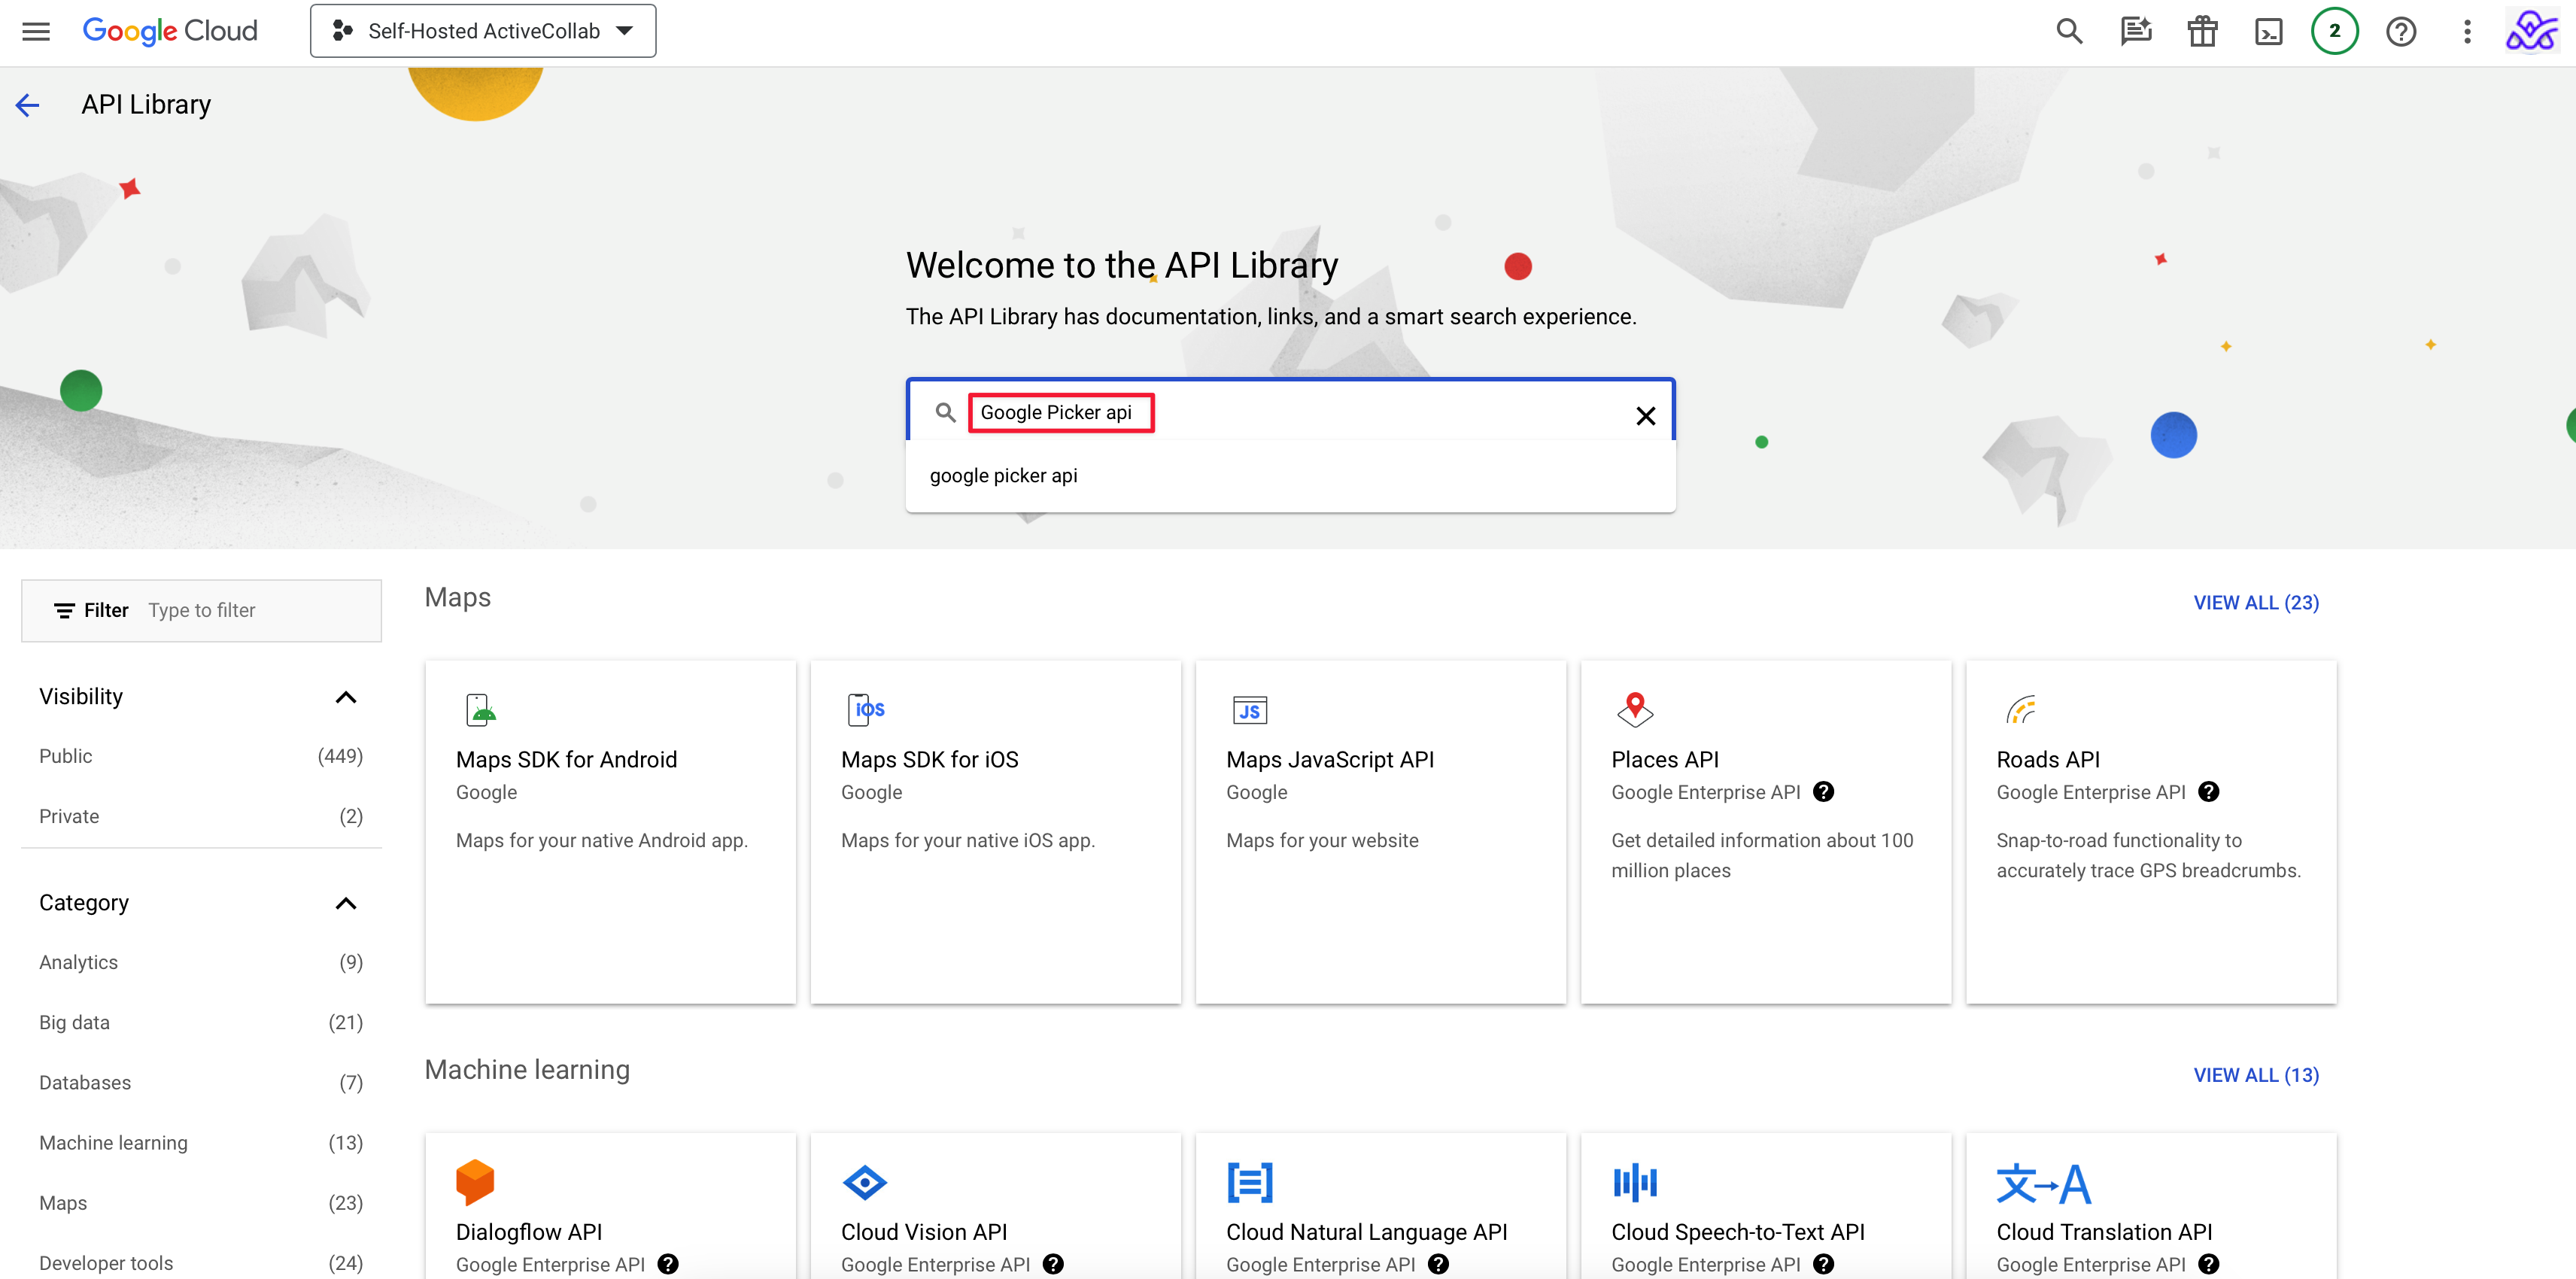
Choose the Google Picker API.

Enable the Google Picker API option.

You will receive a notification that the API is enabled.
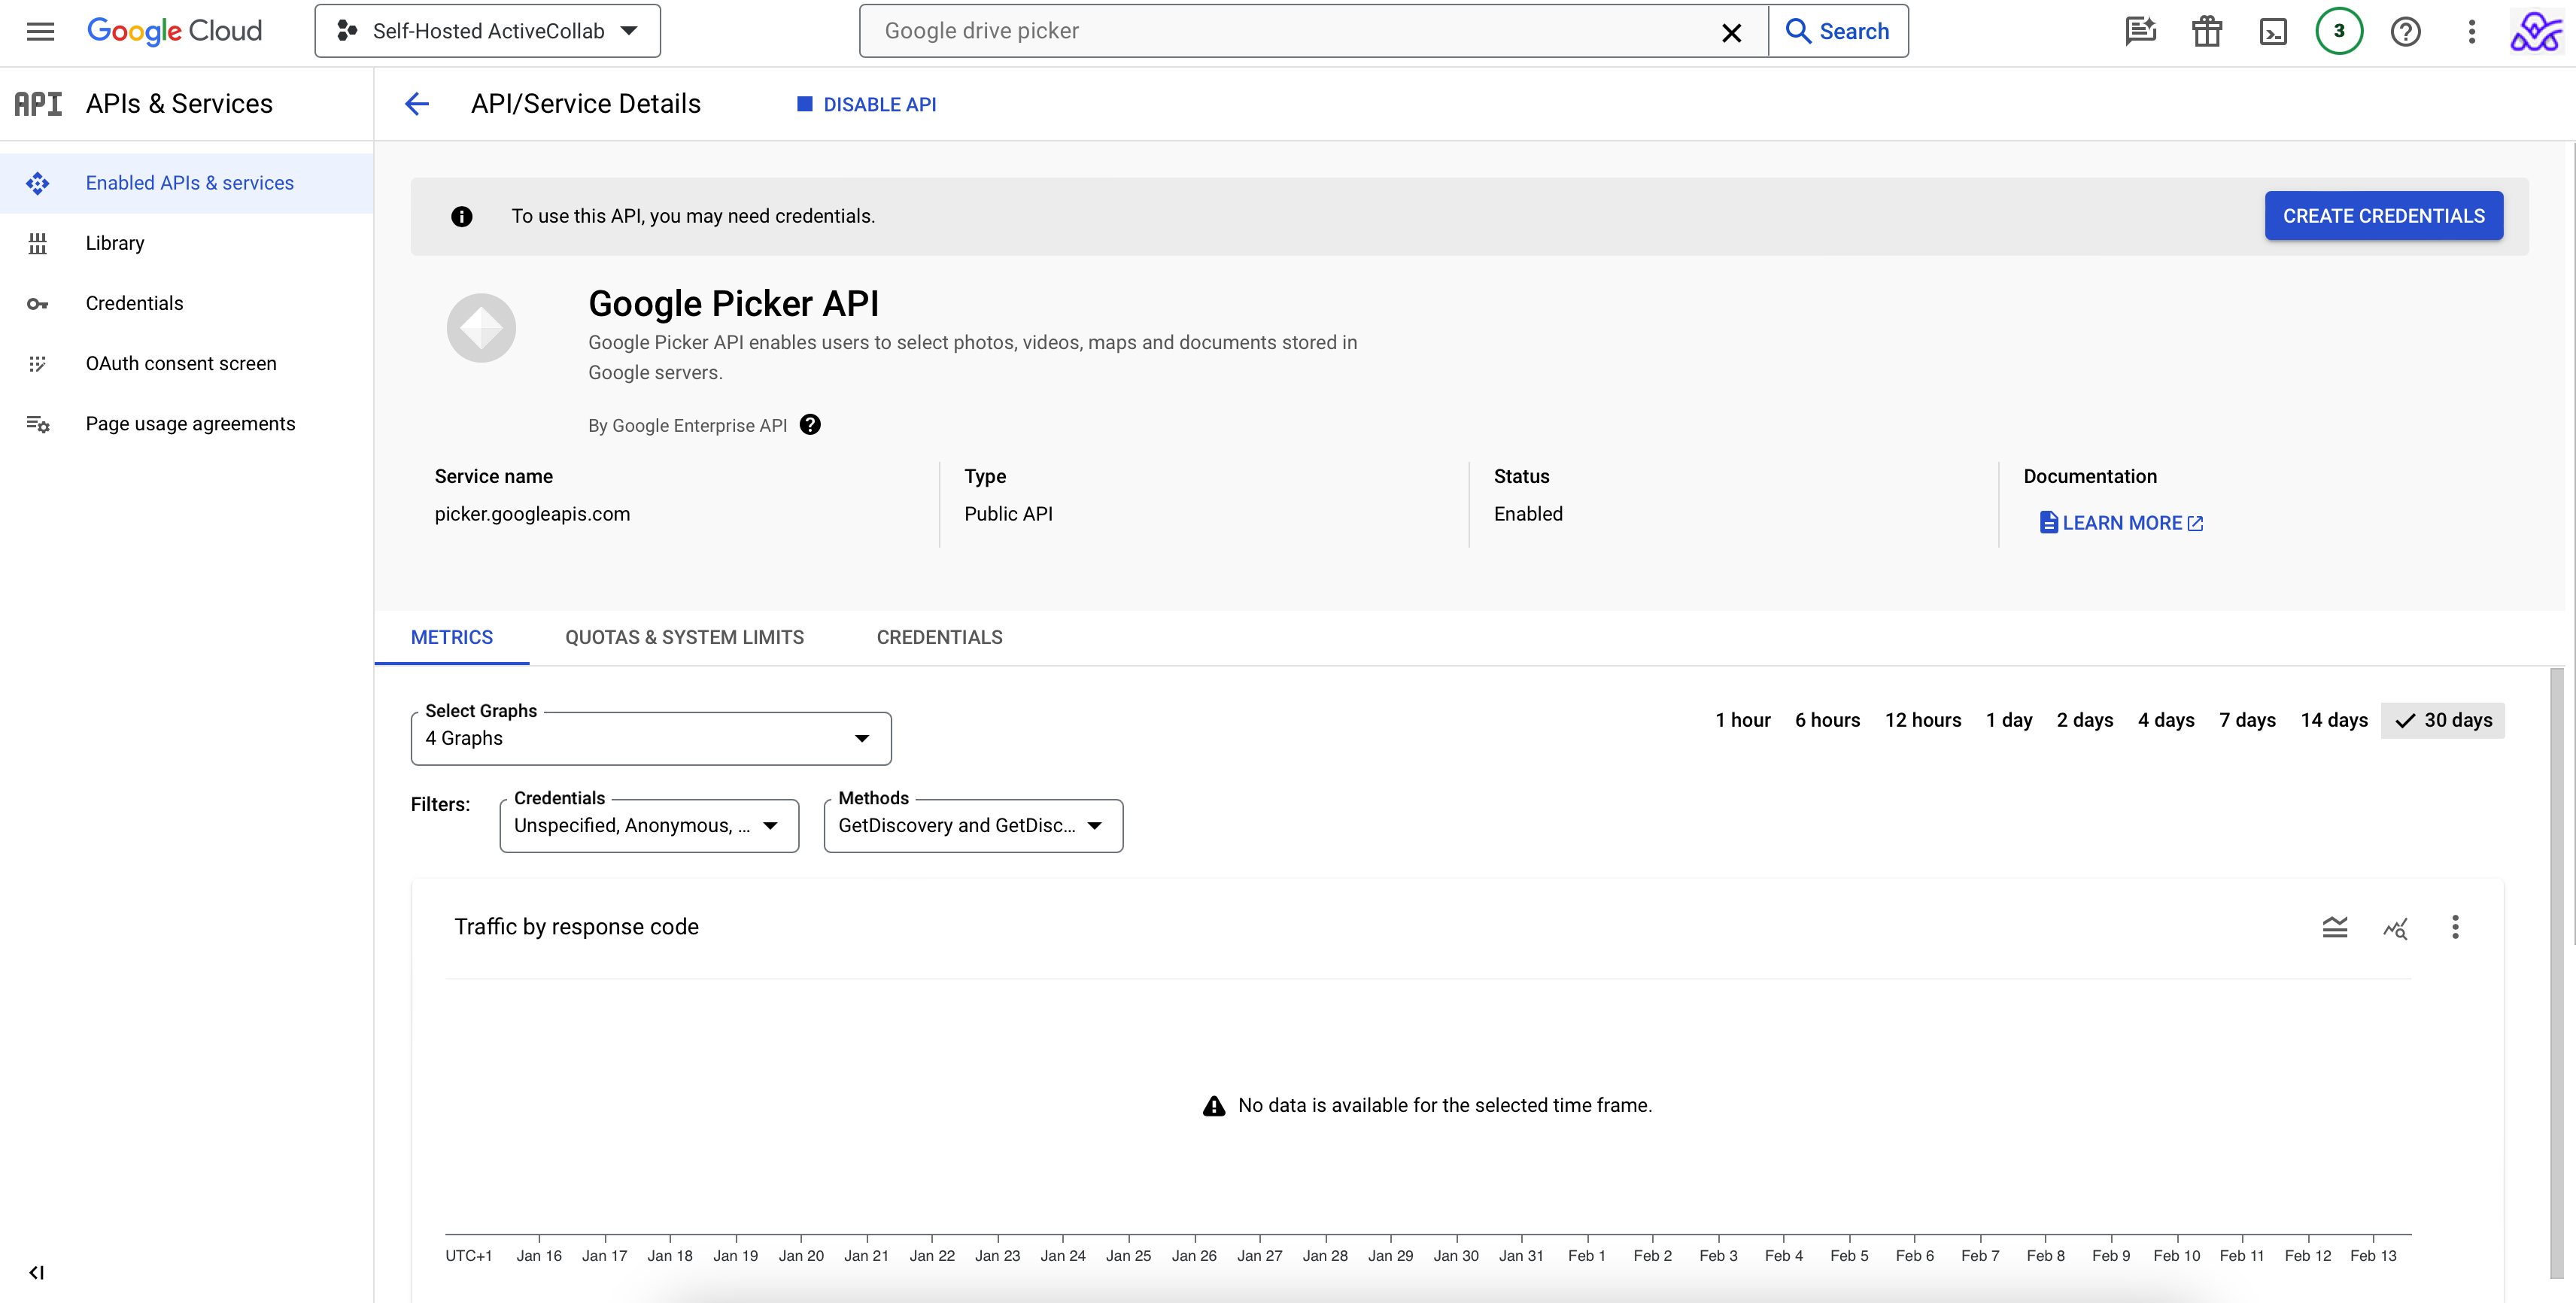
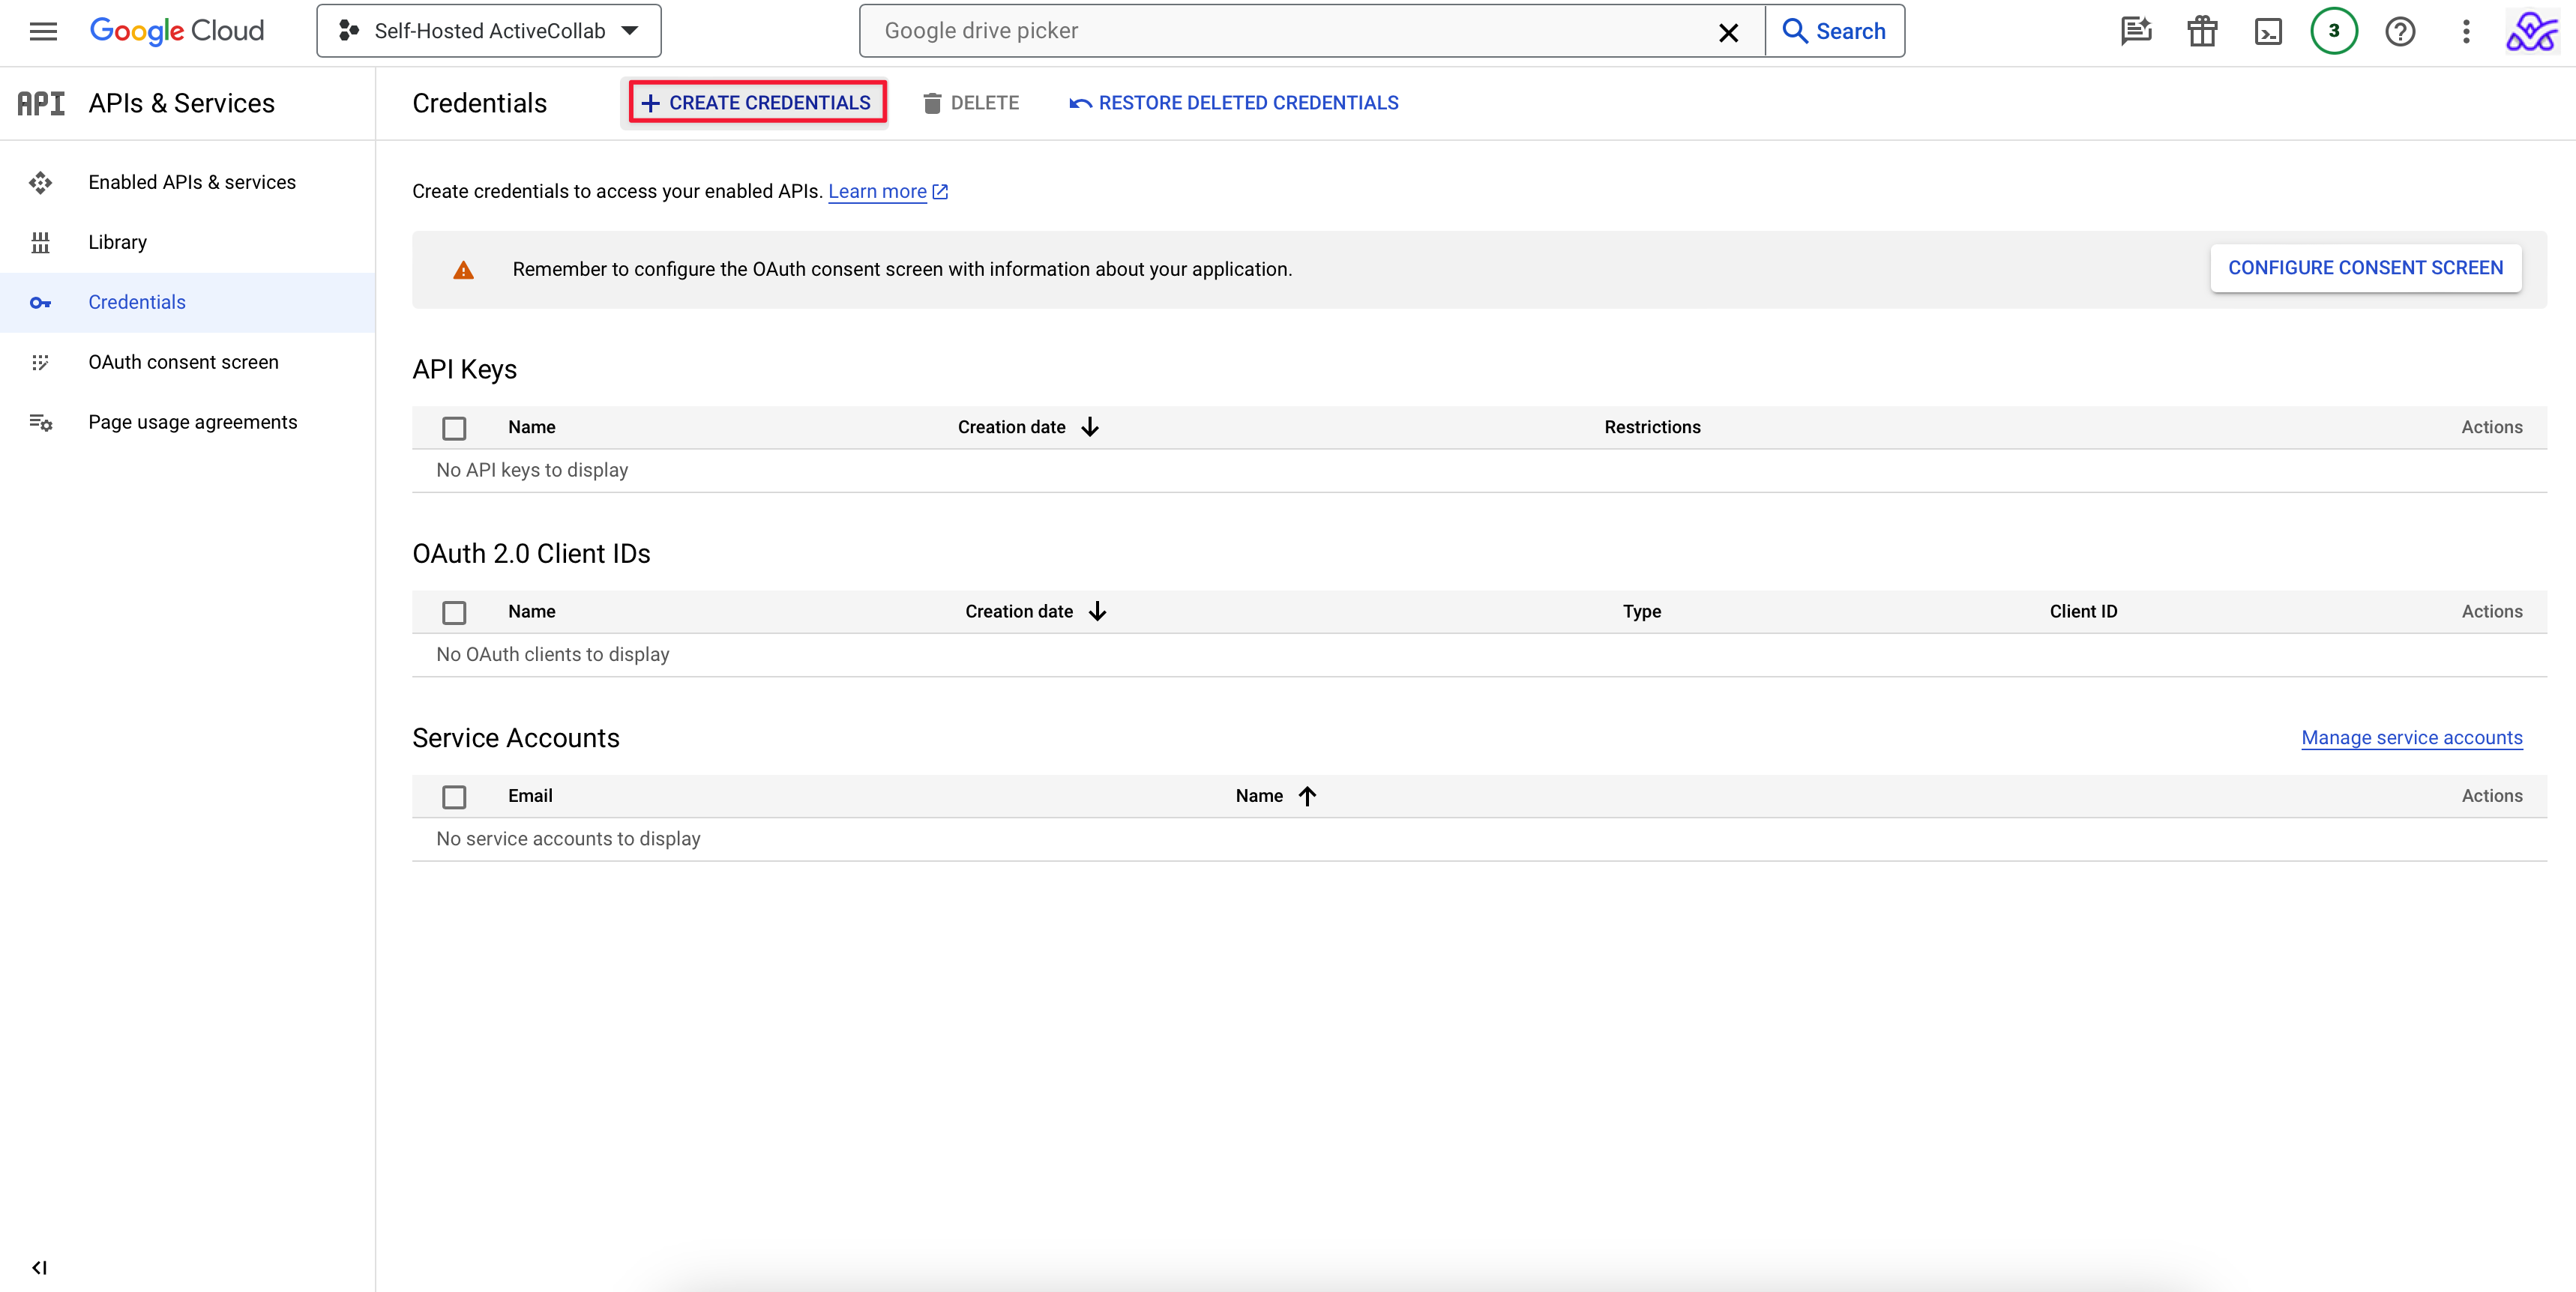
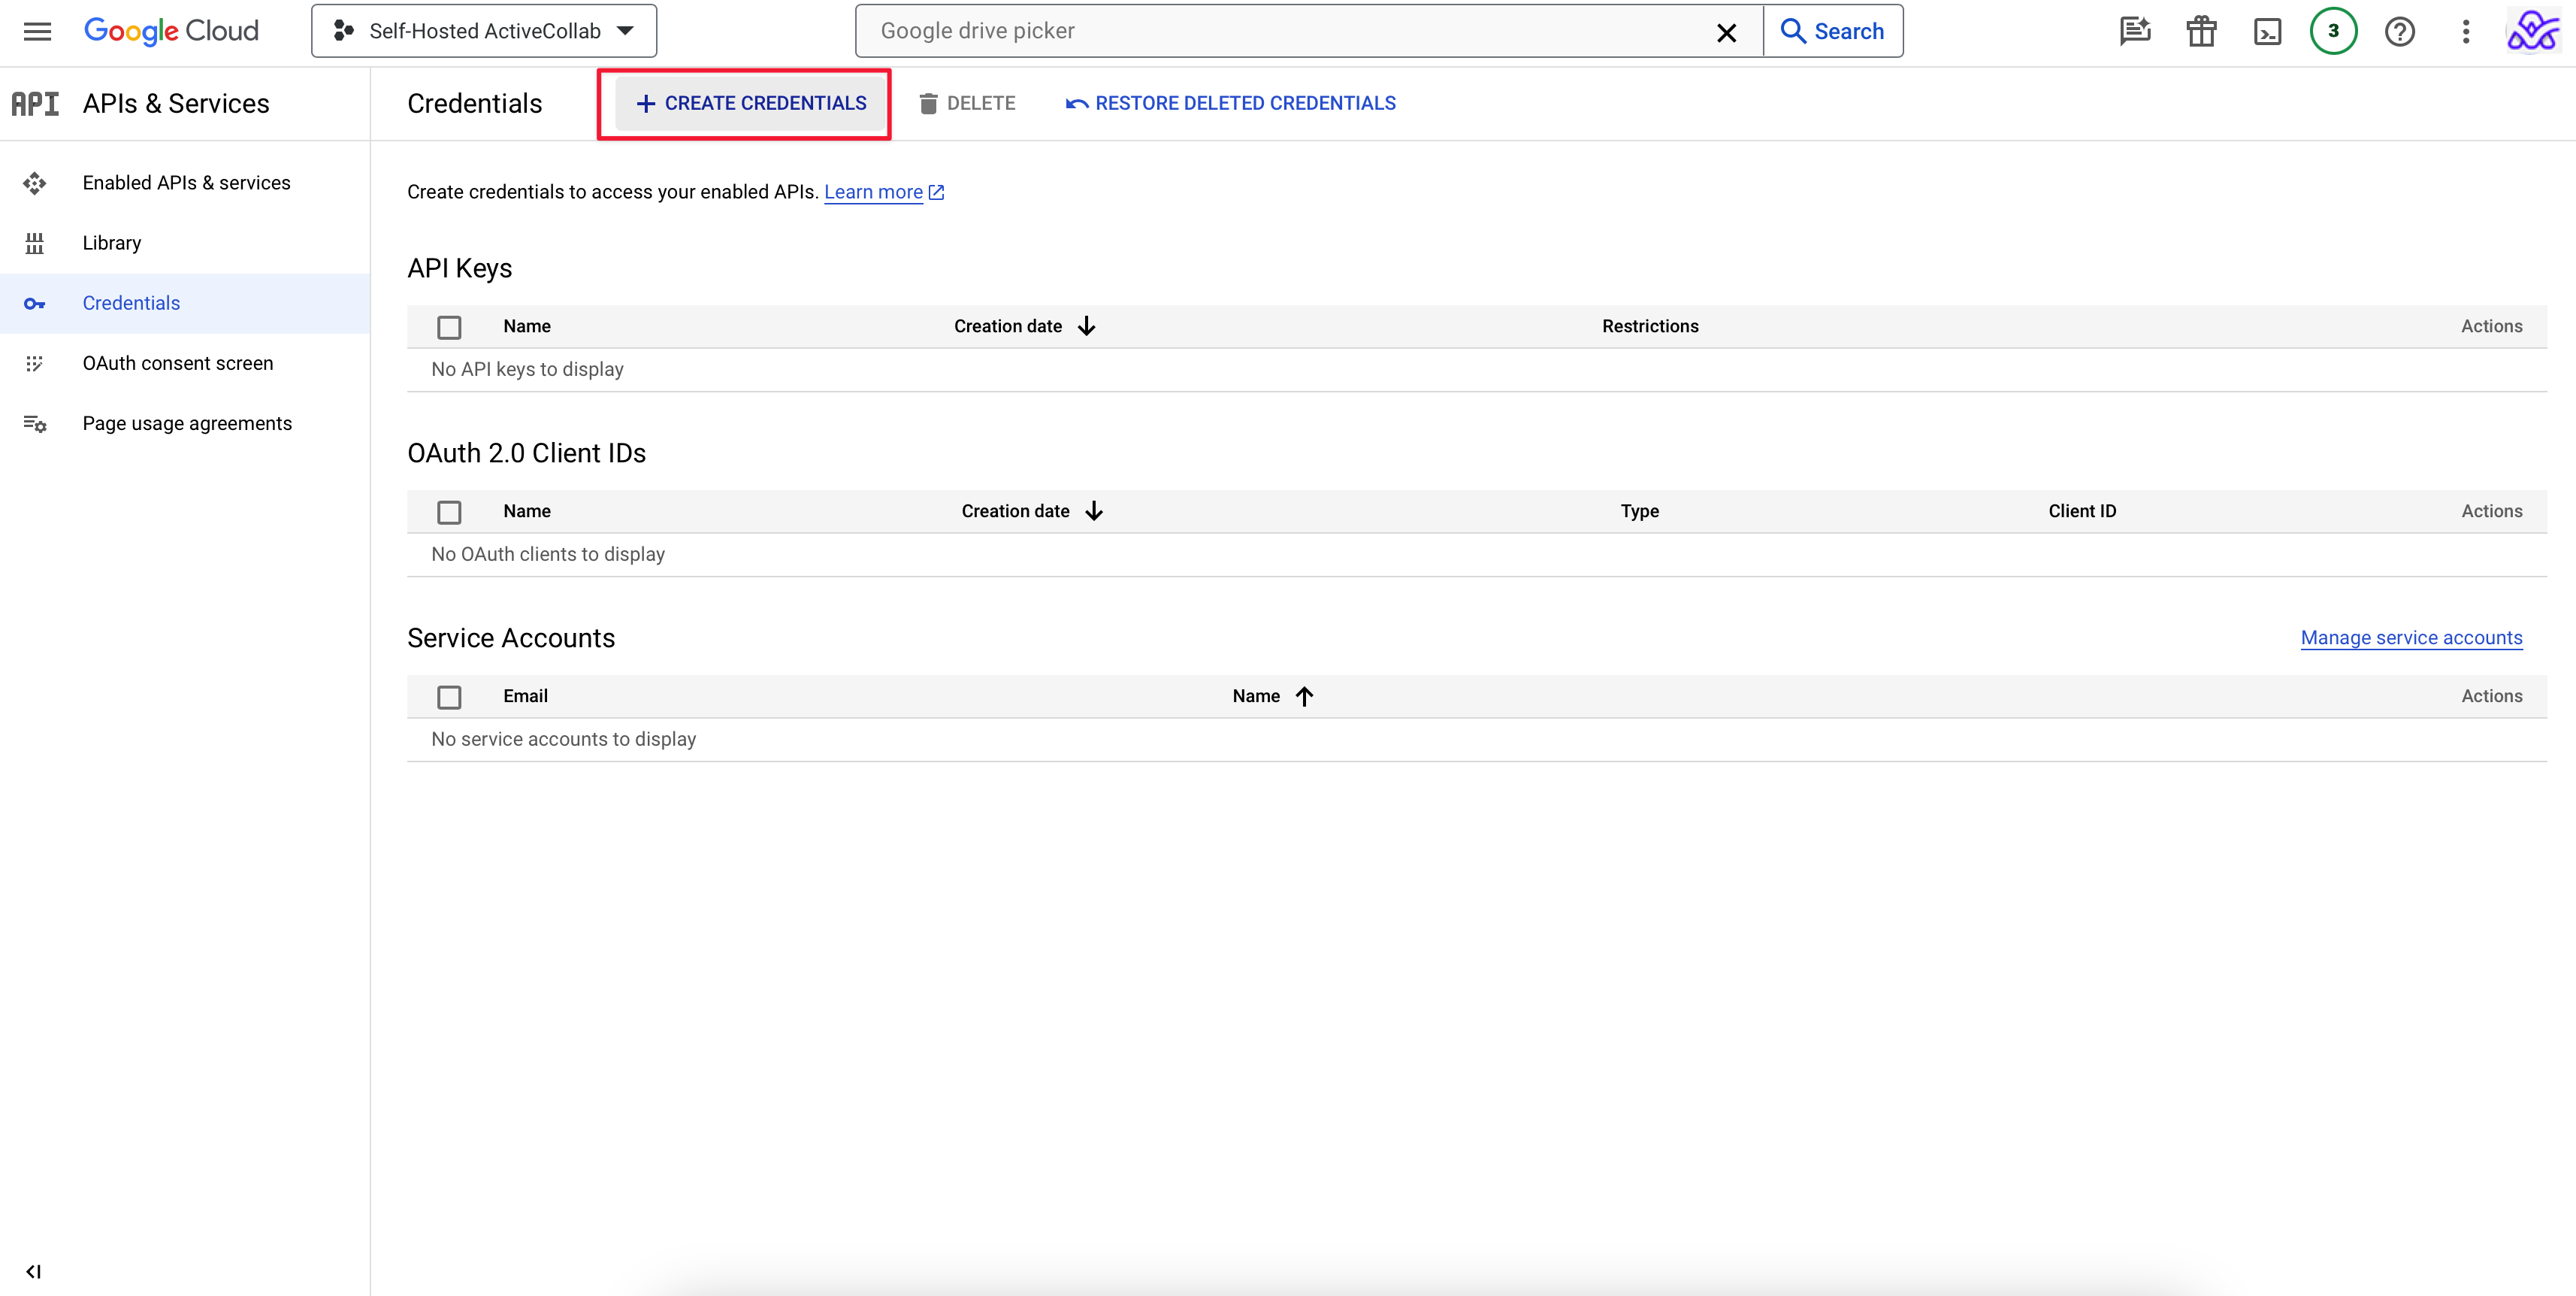
In the navigation menu, select Credentials.
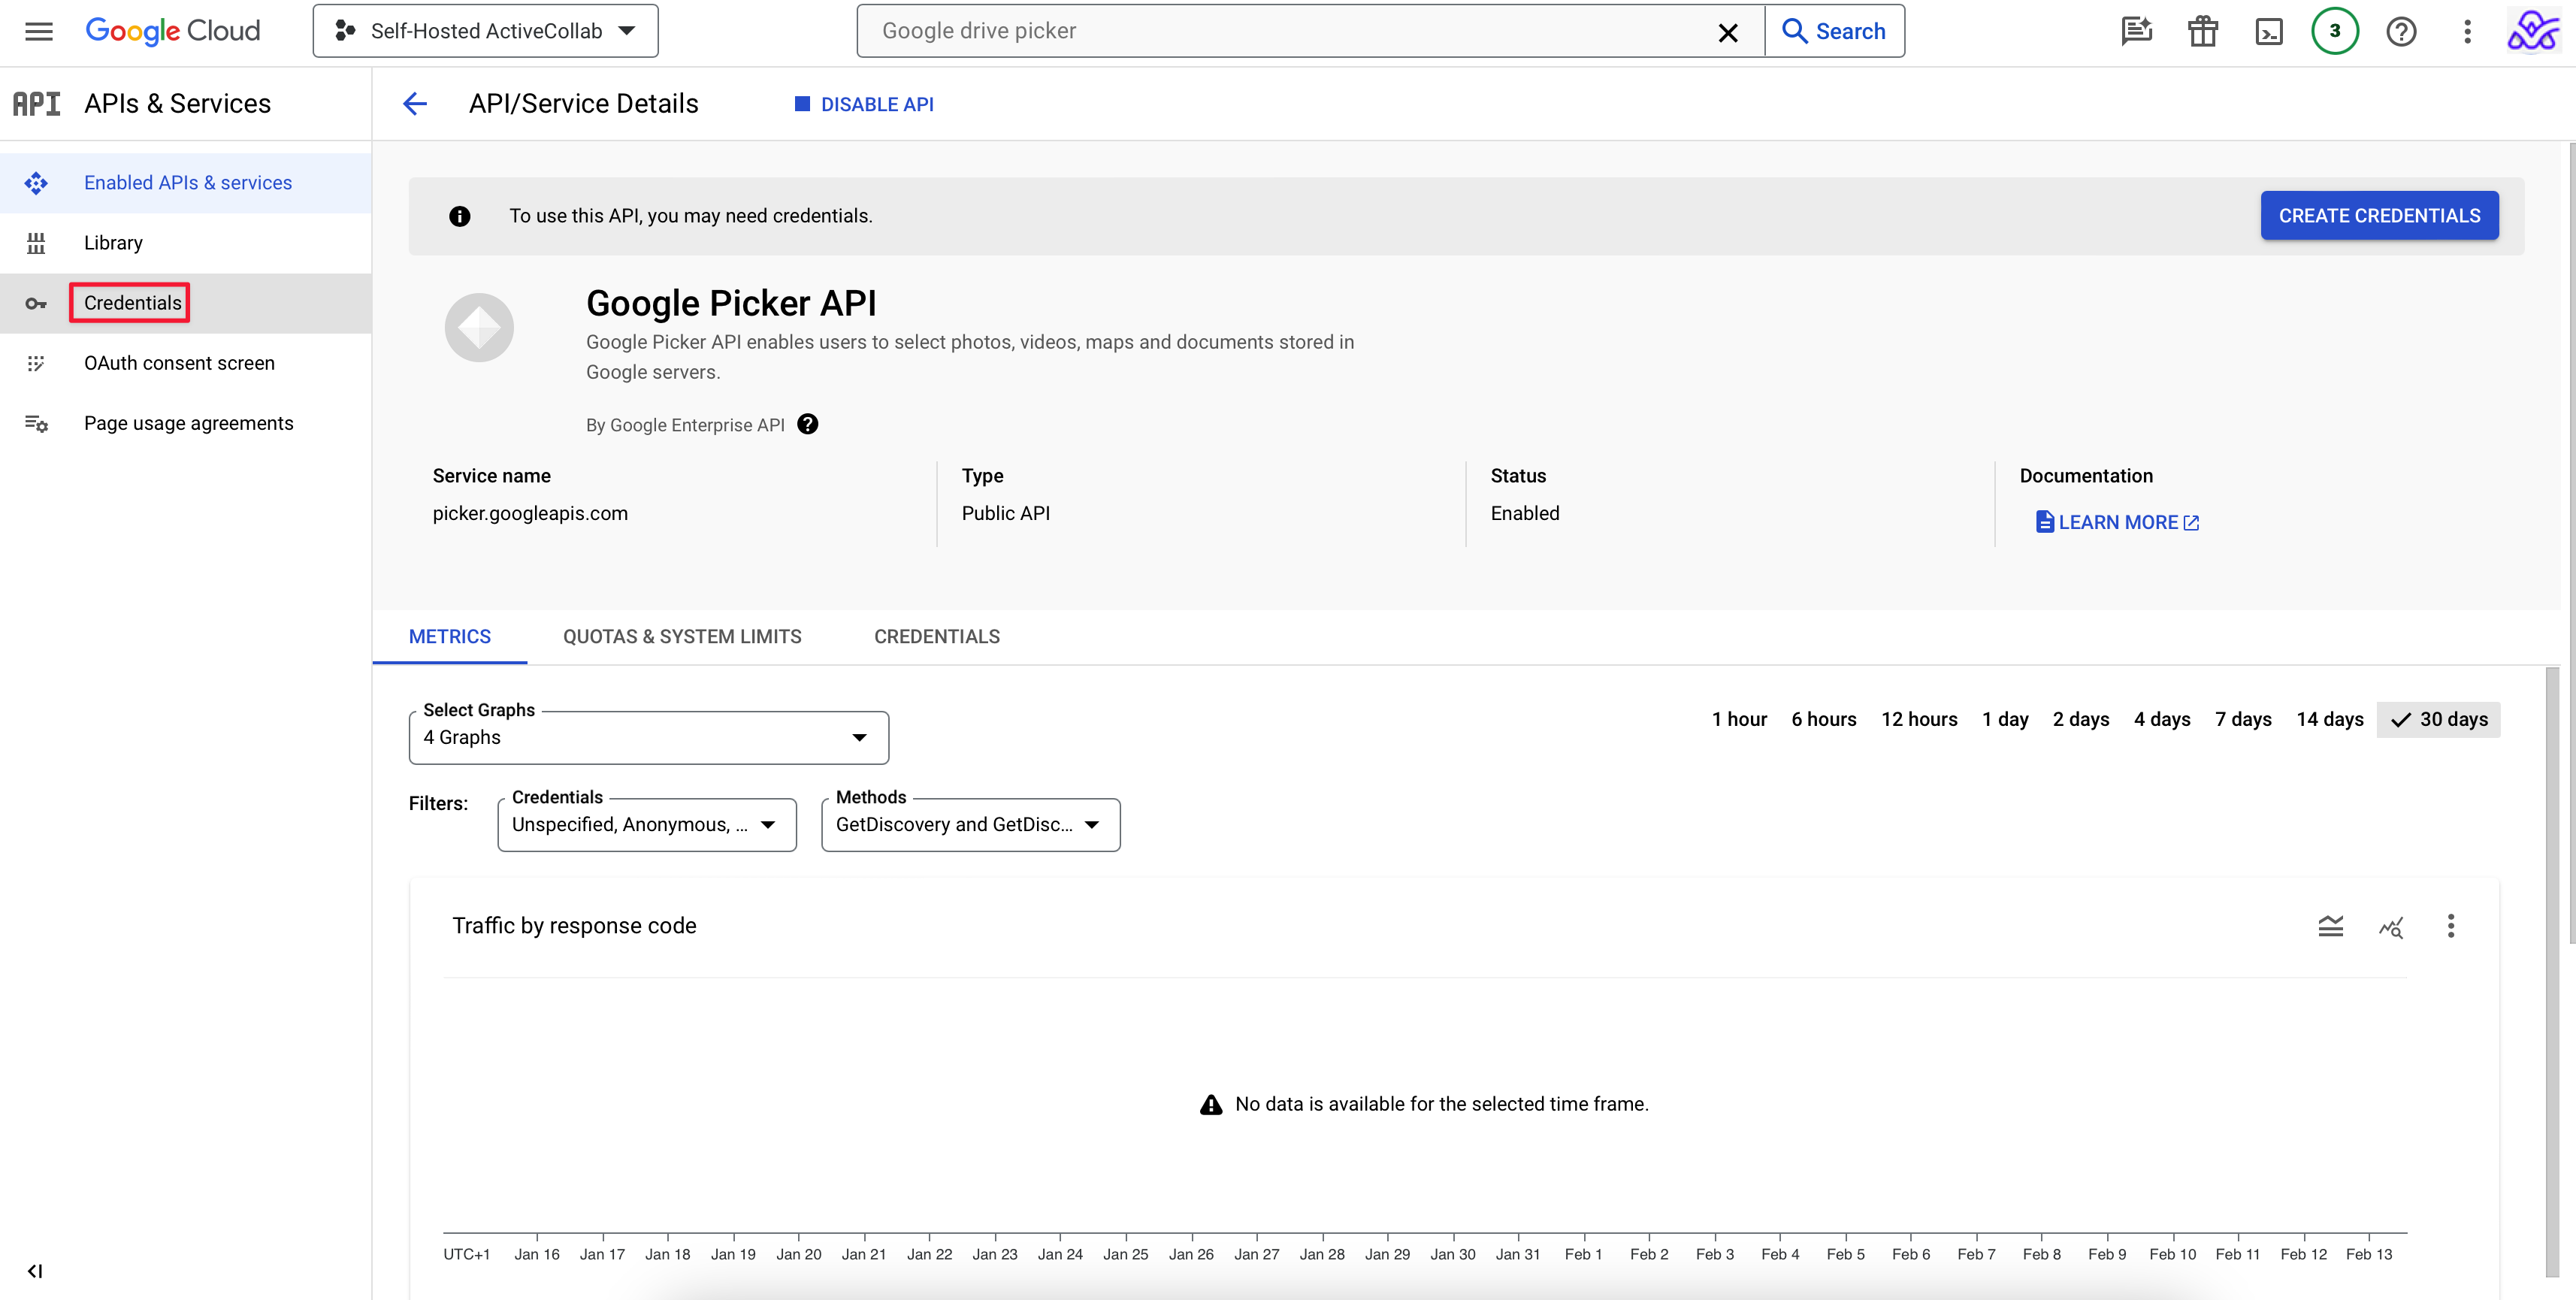
Then click +CREATE CREDENTIALS.
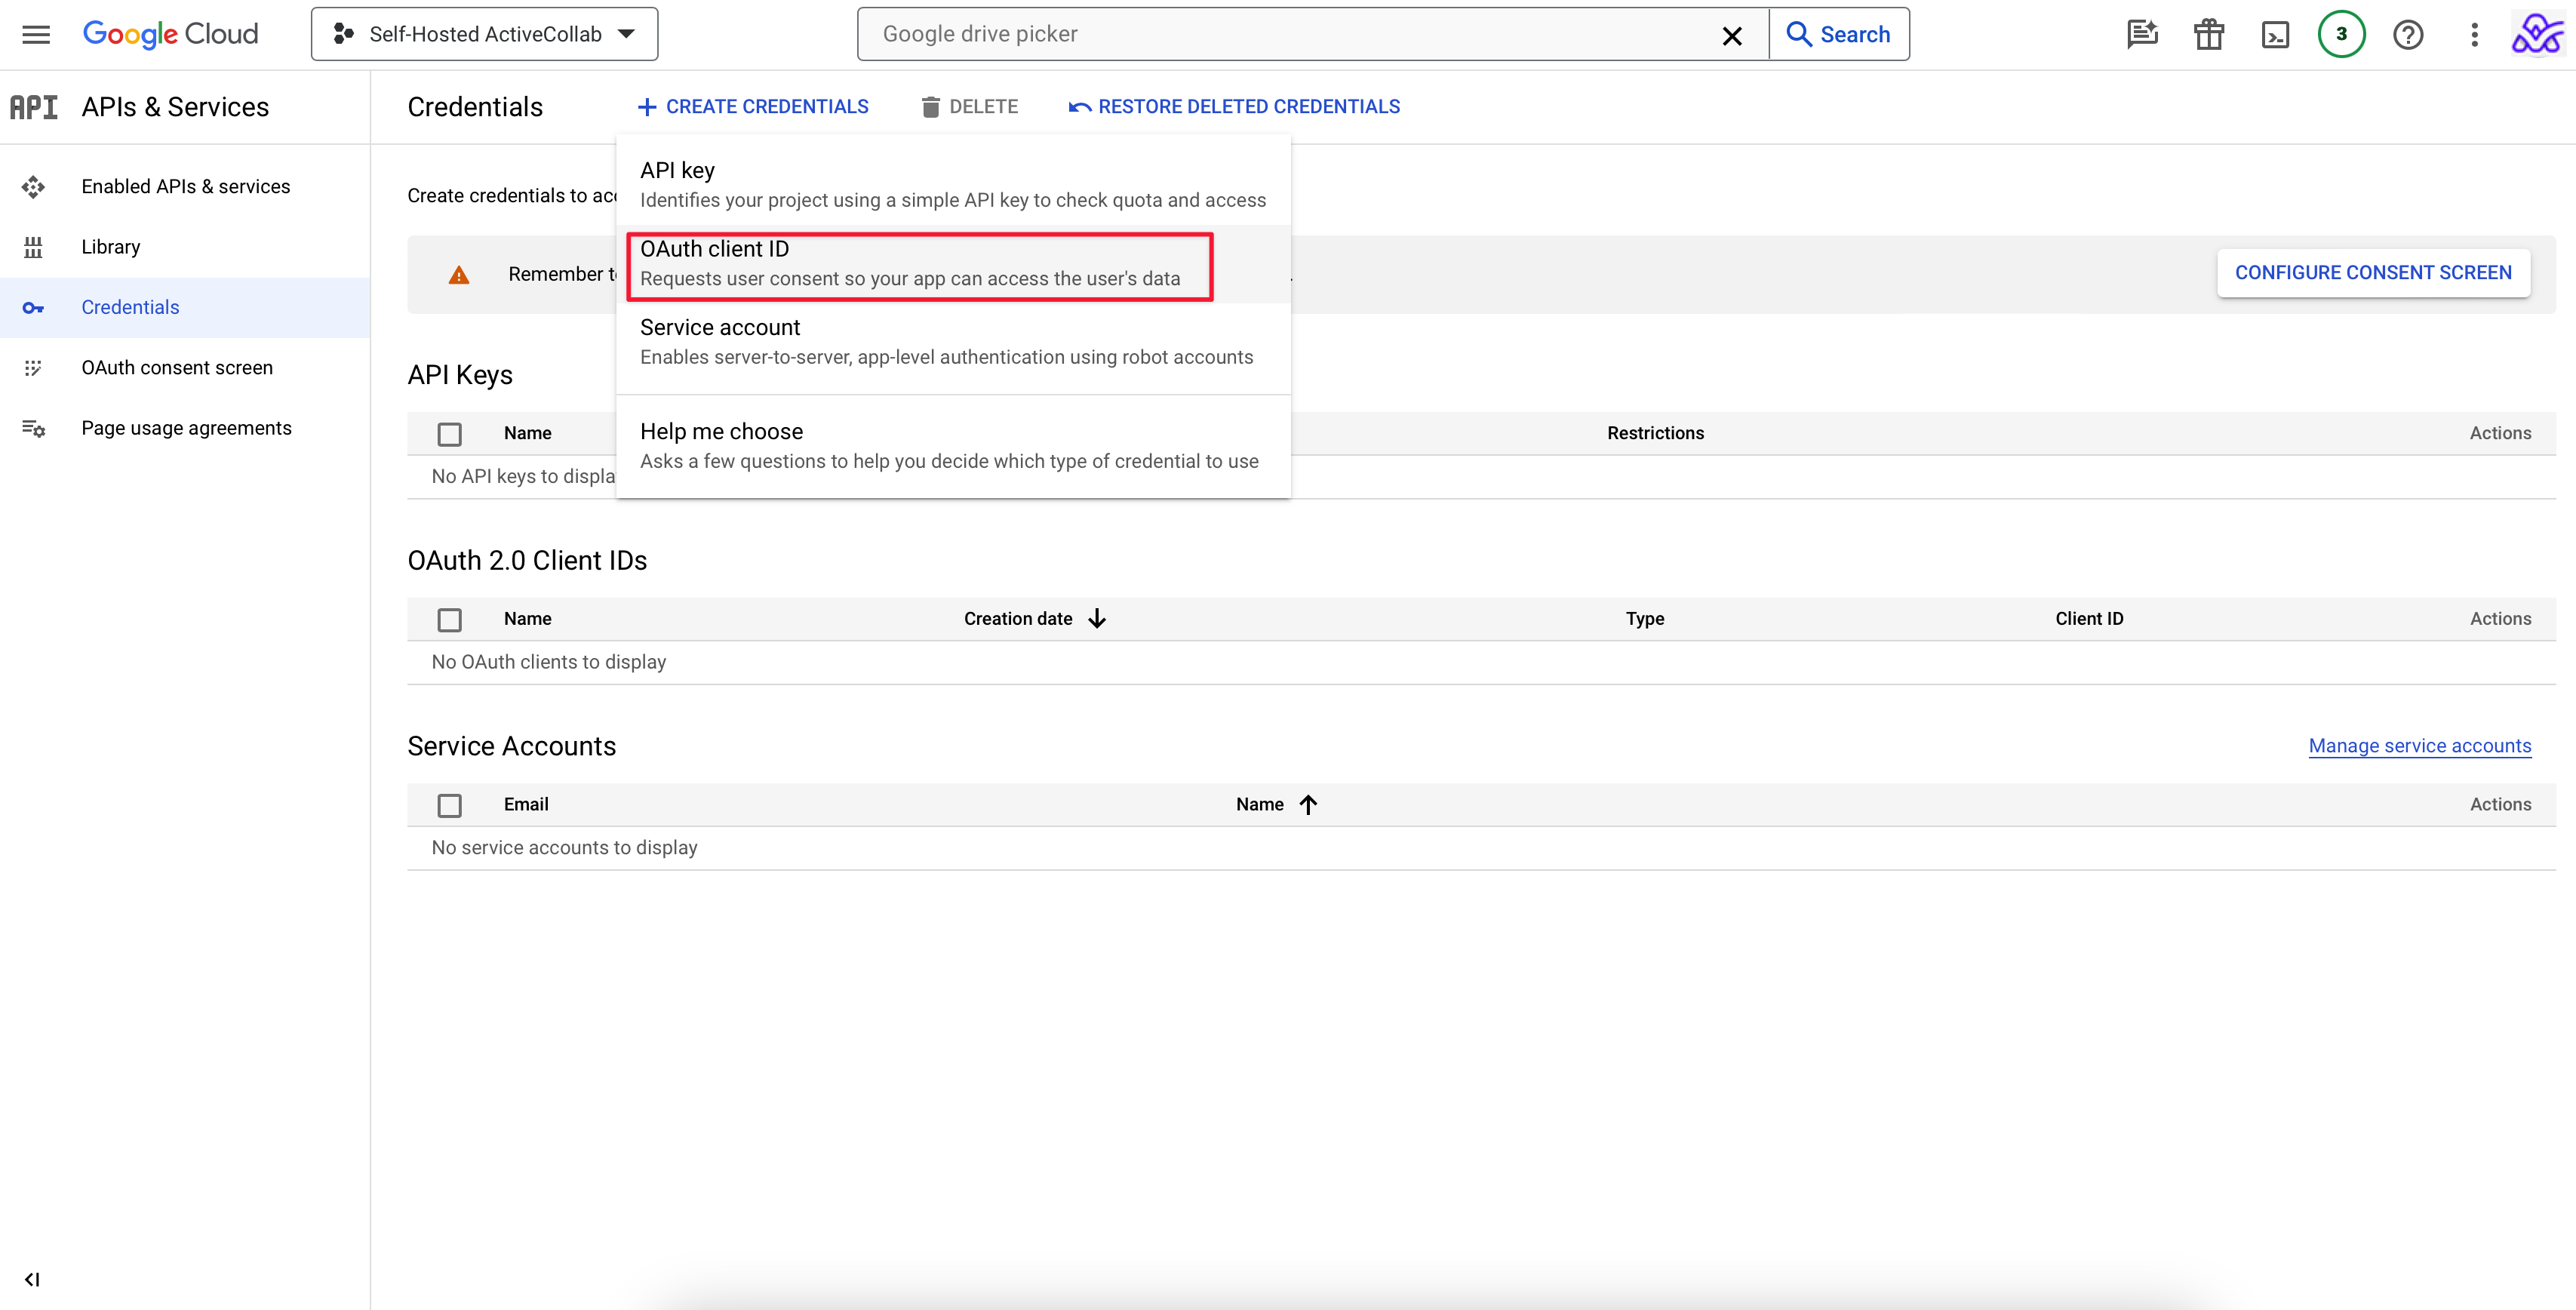
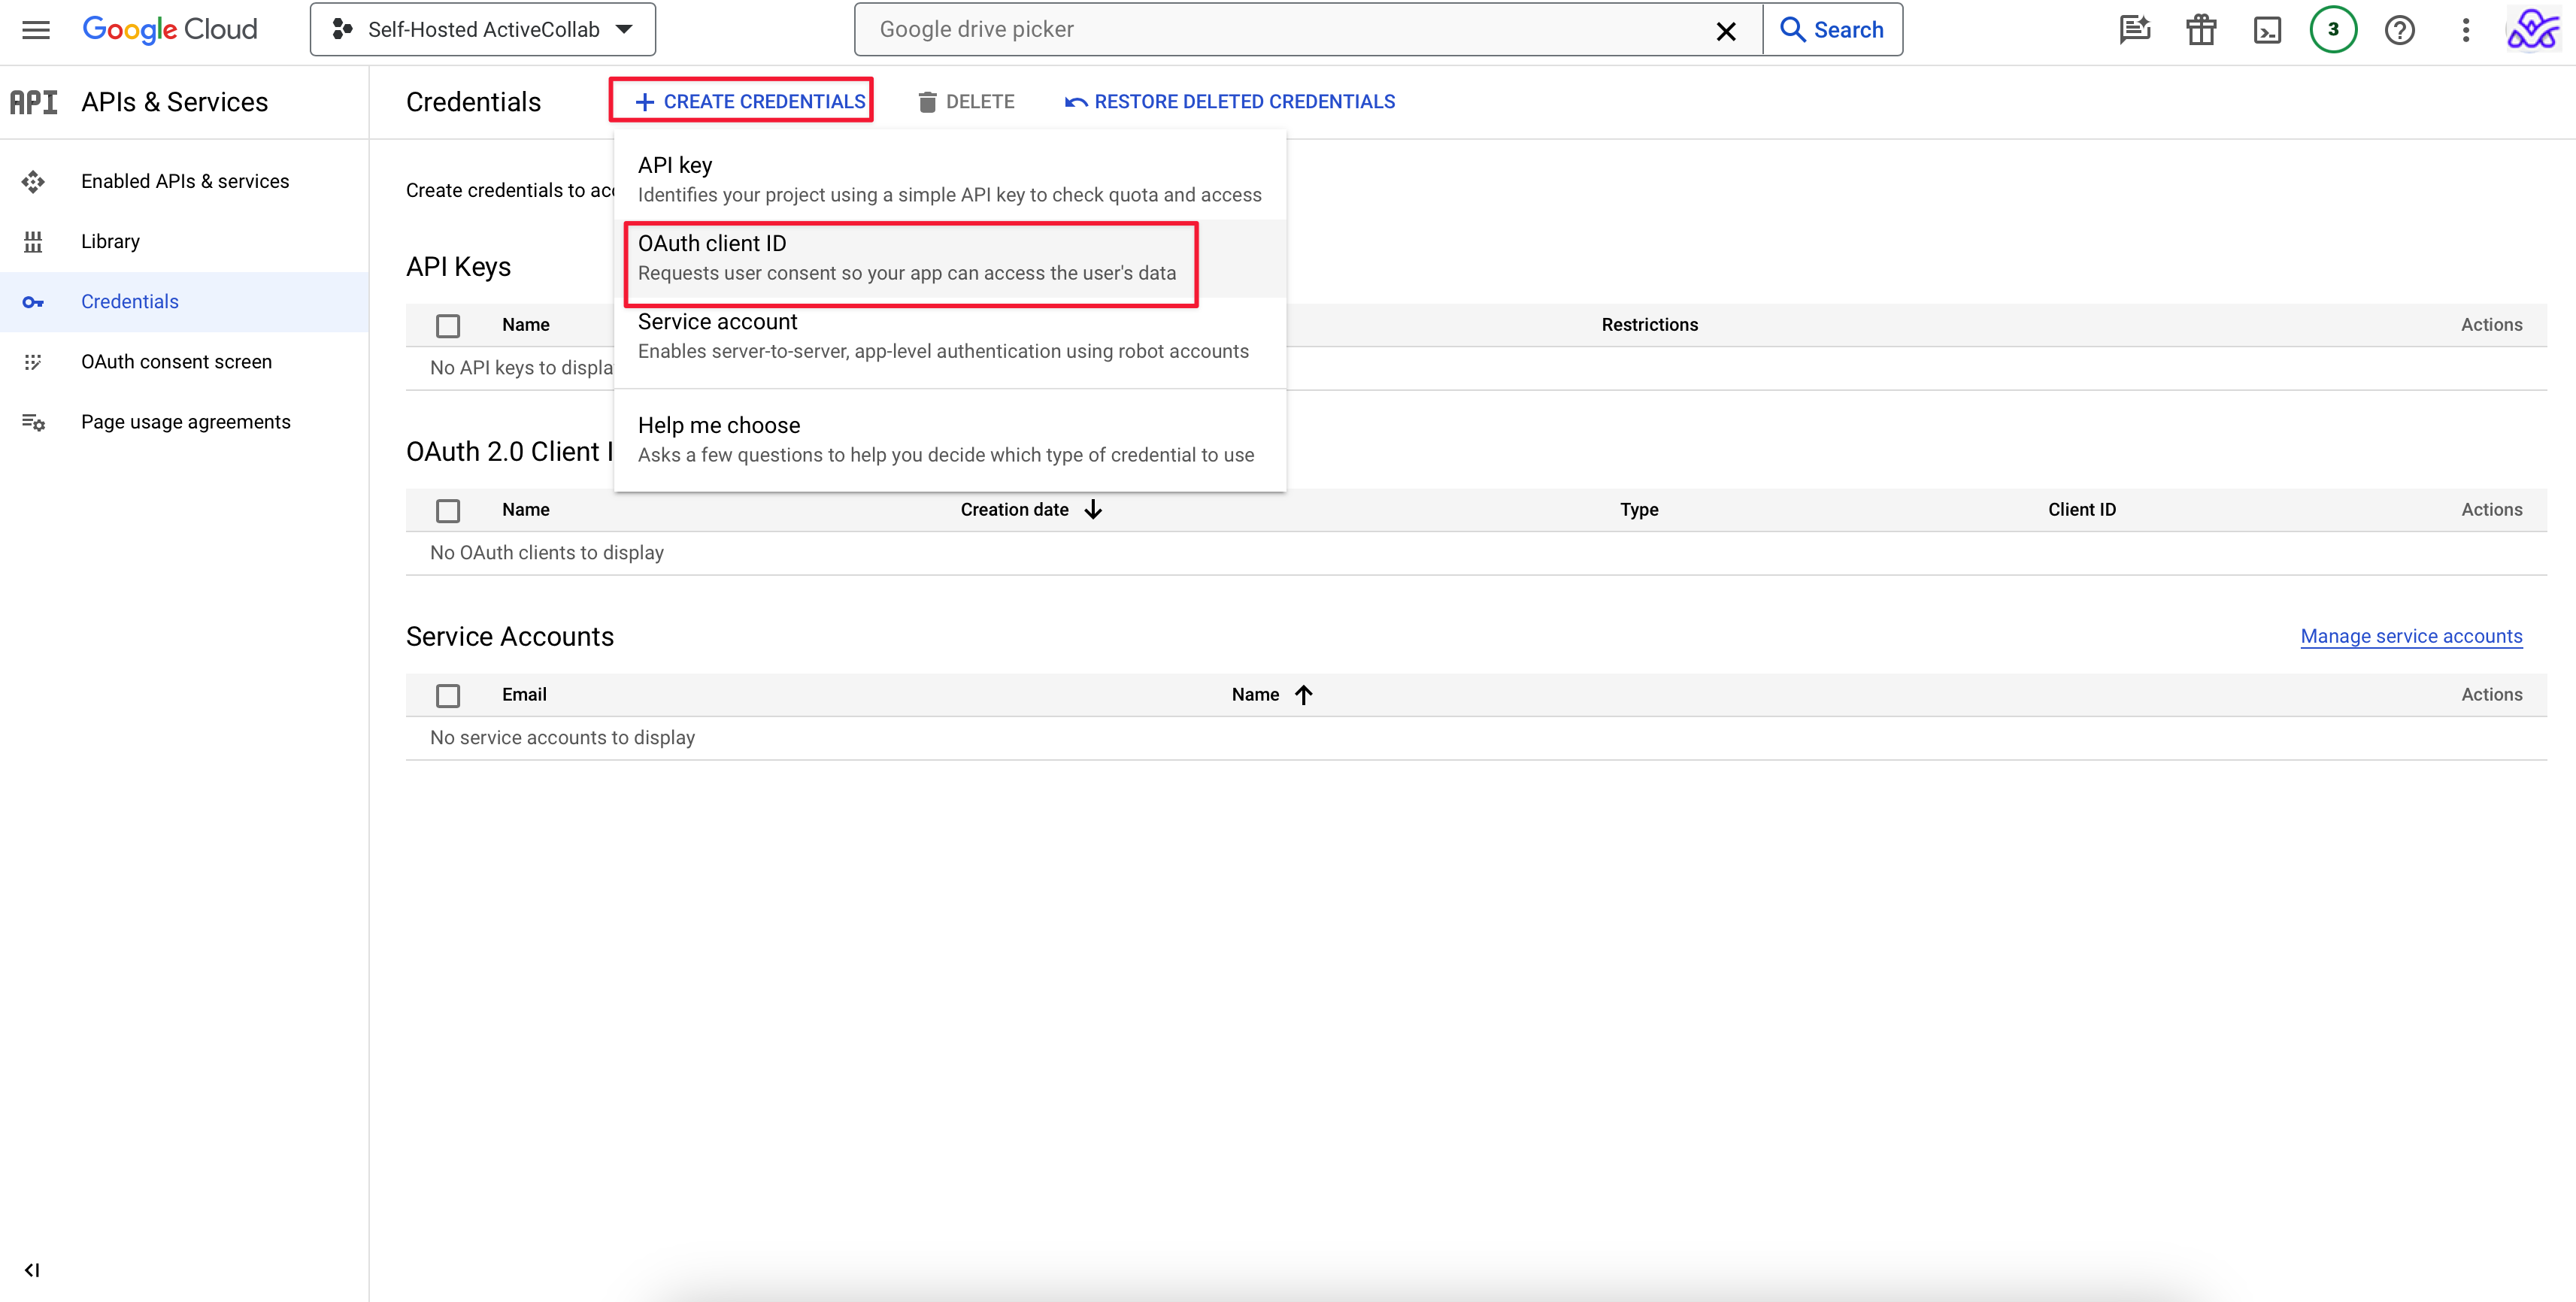
In the dropdown menu, choose OAuth client ID.
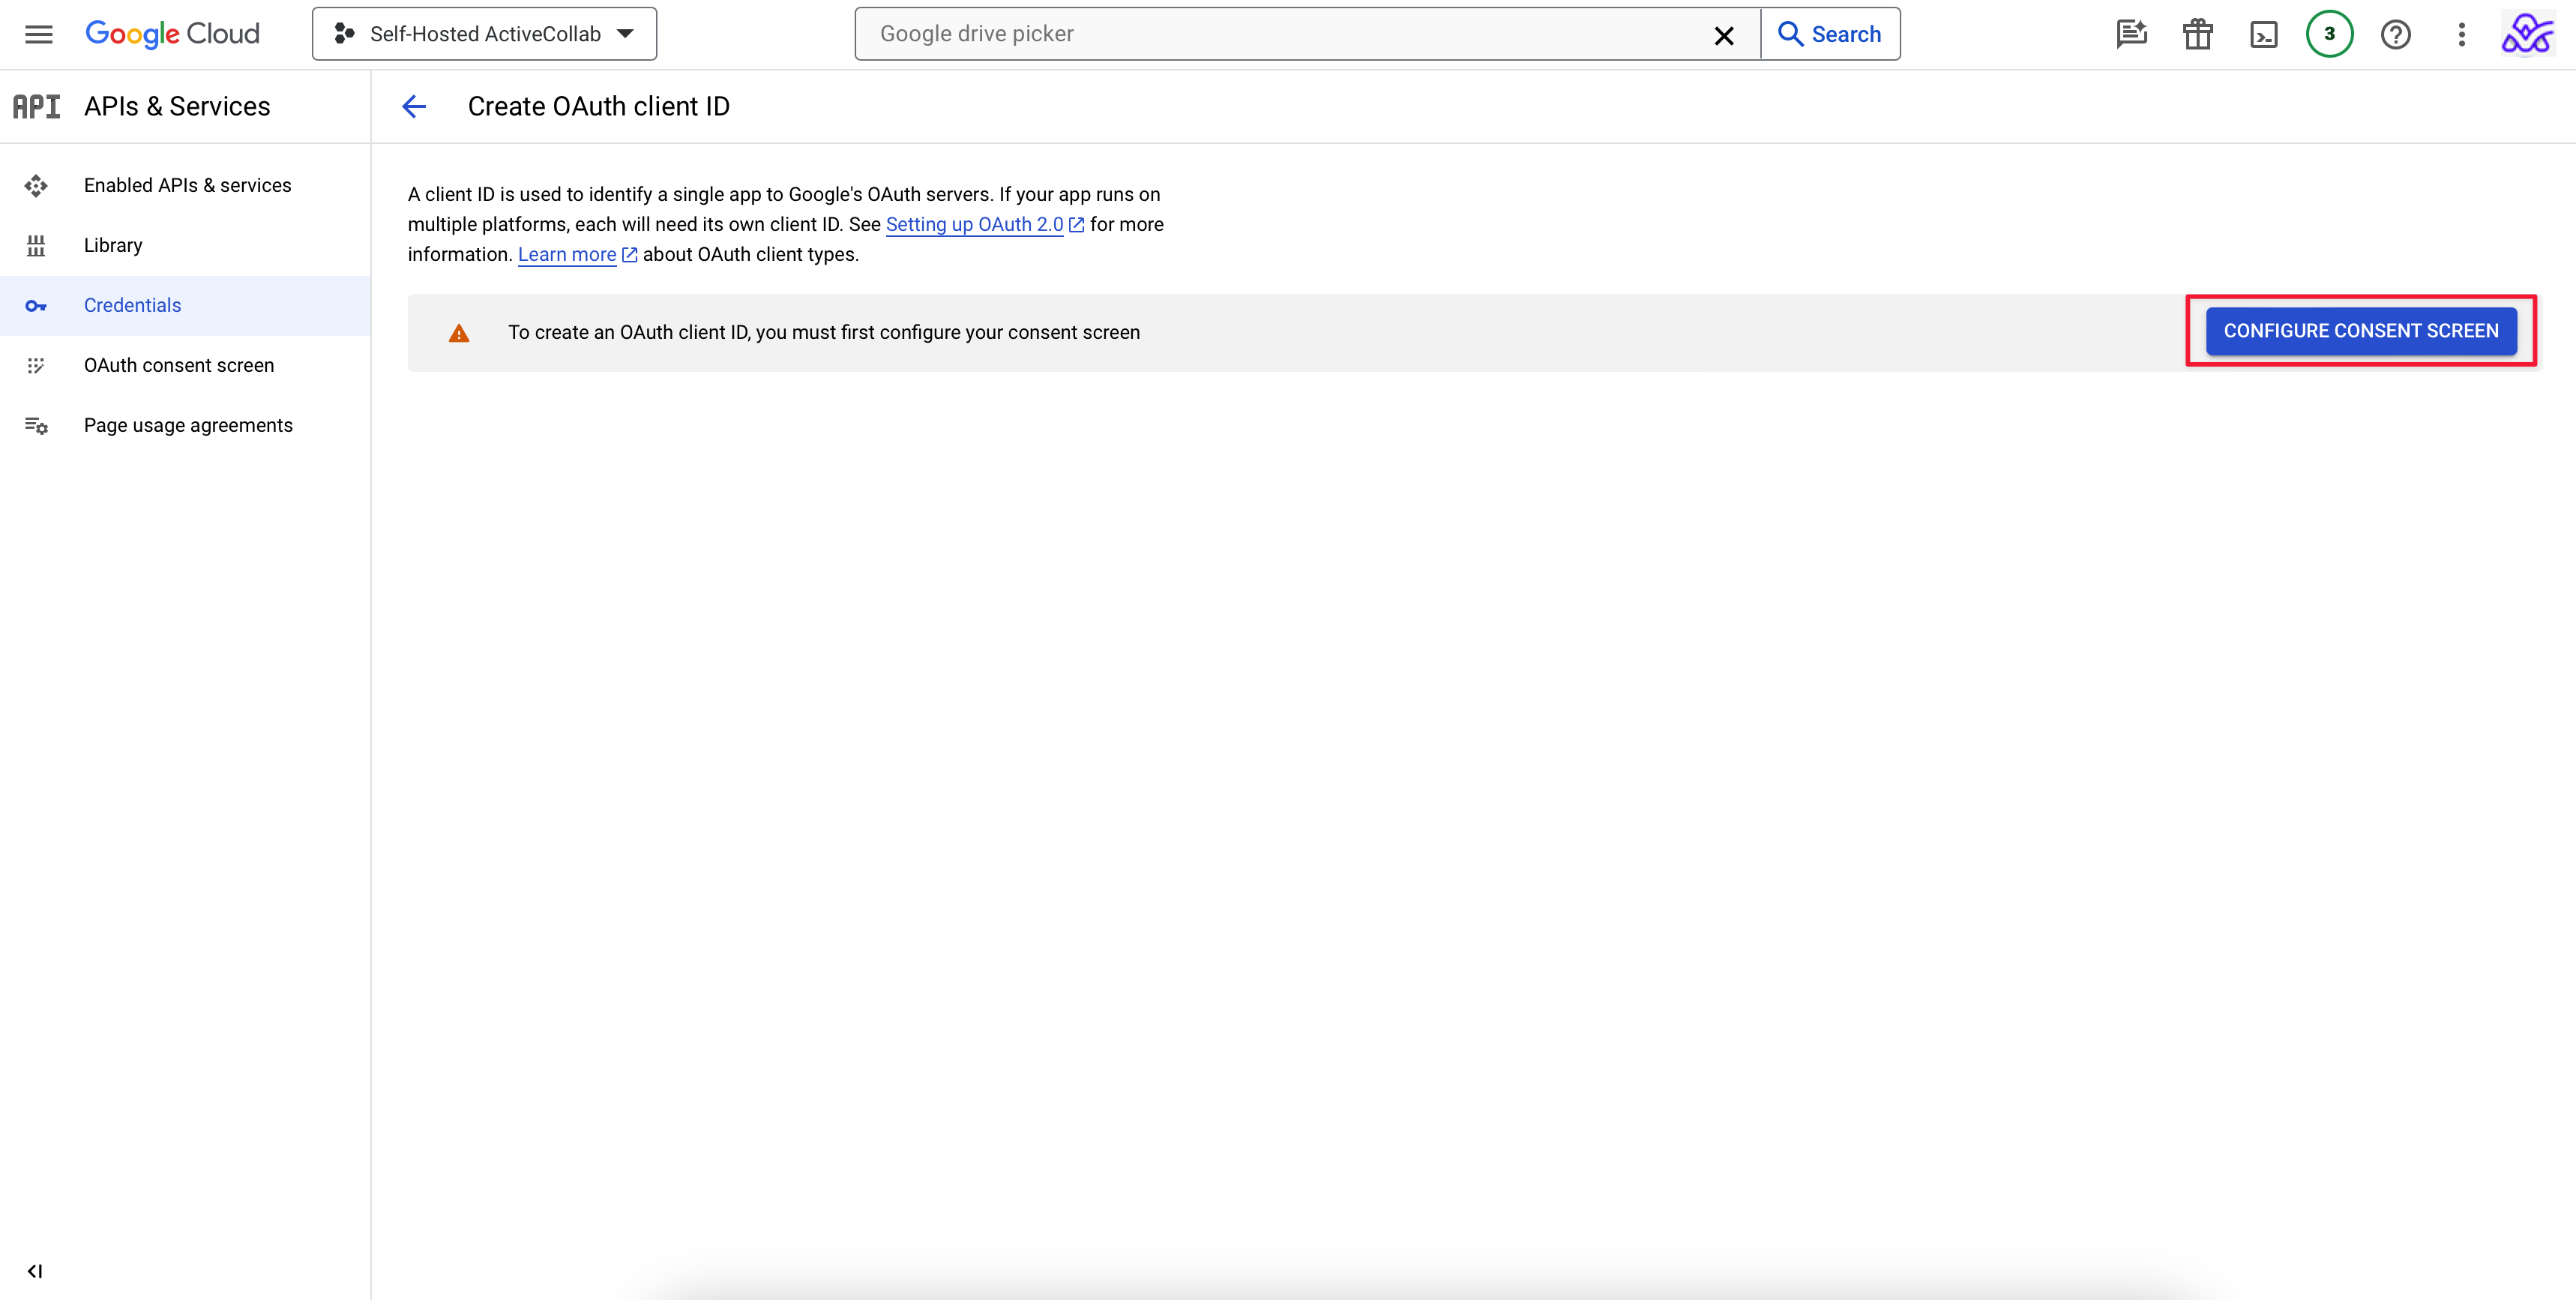
Then click CONFIGURE CONSENT SCREEN.
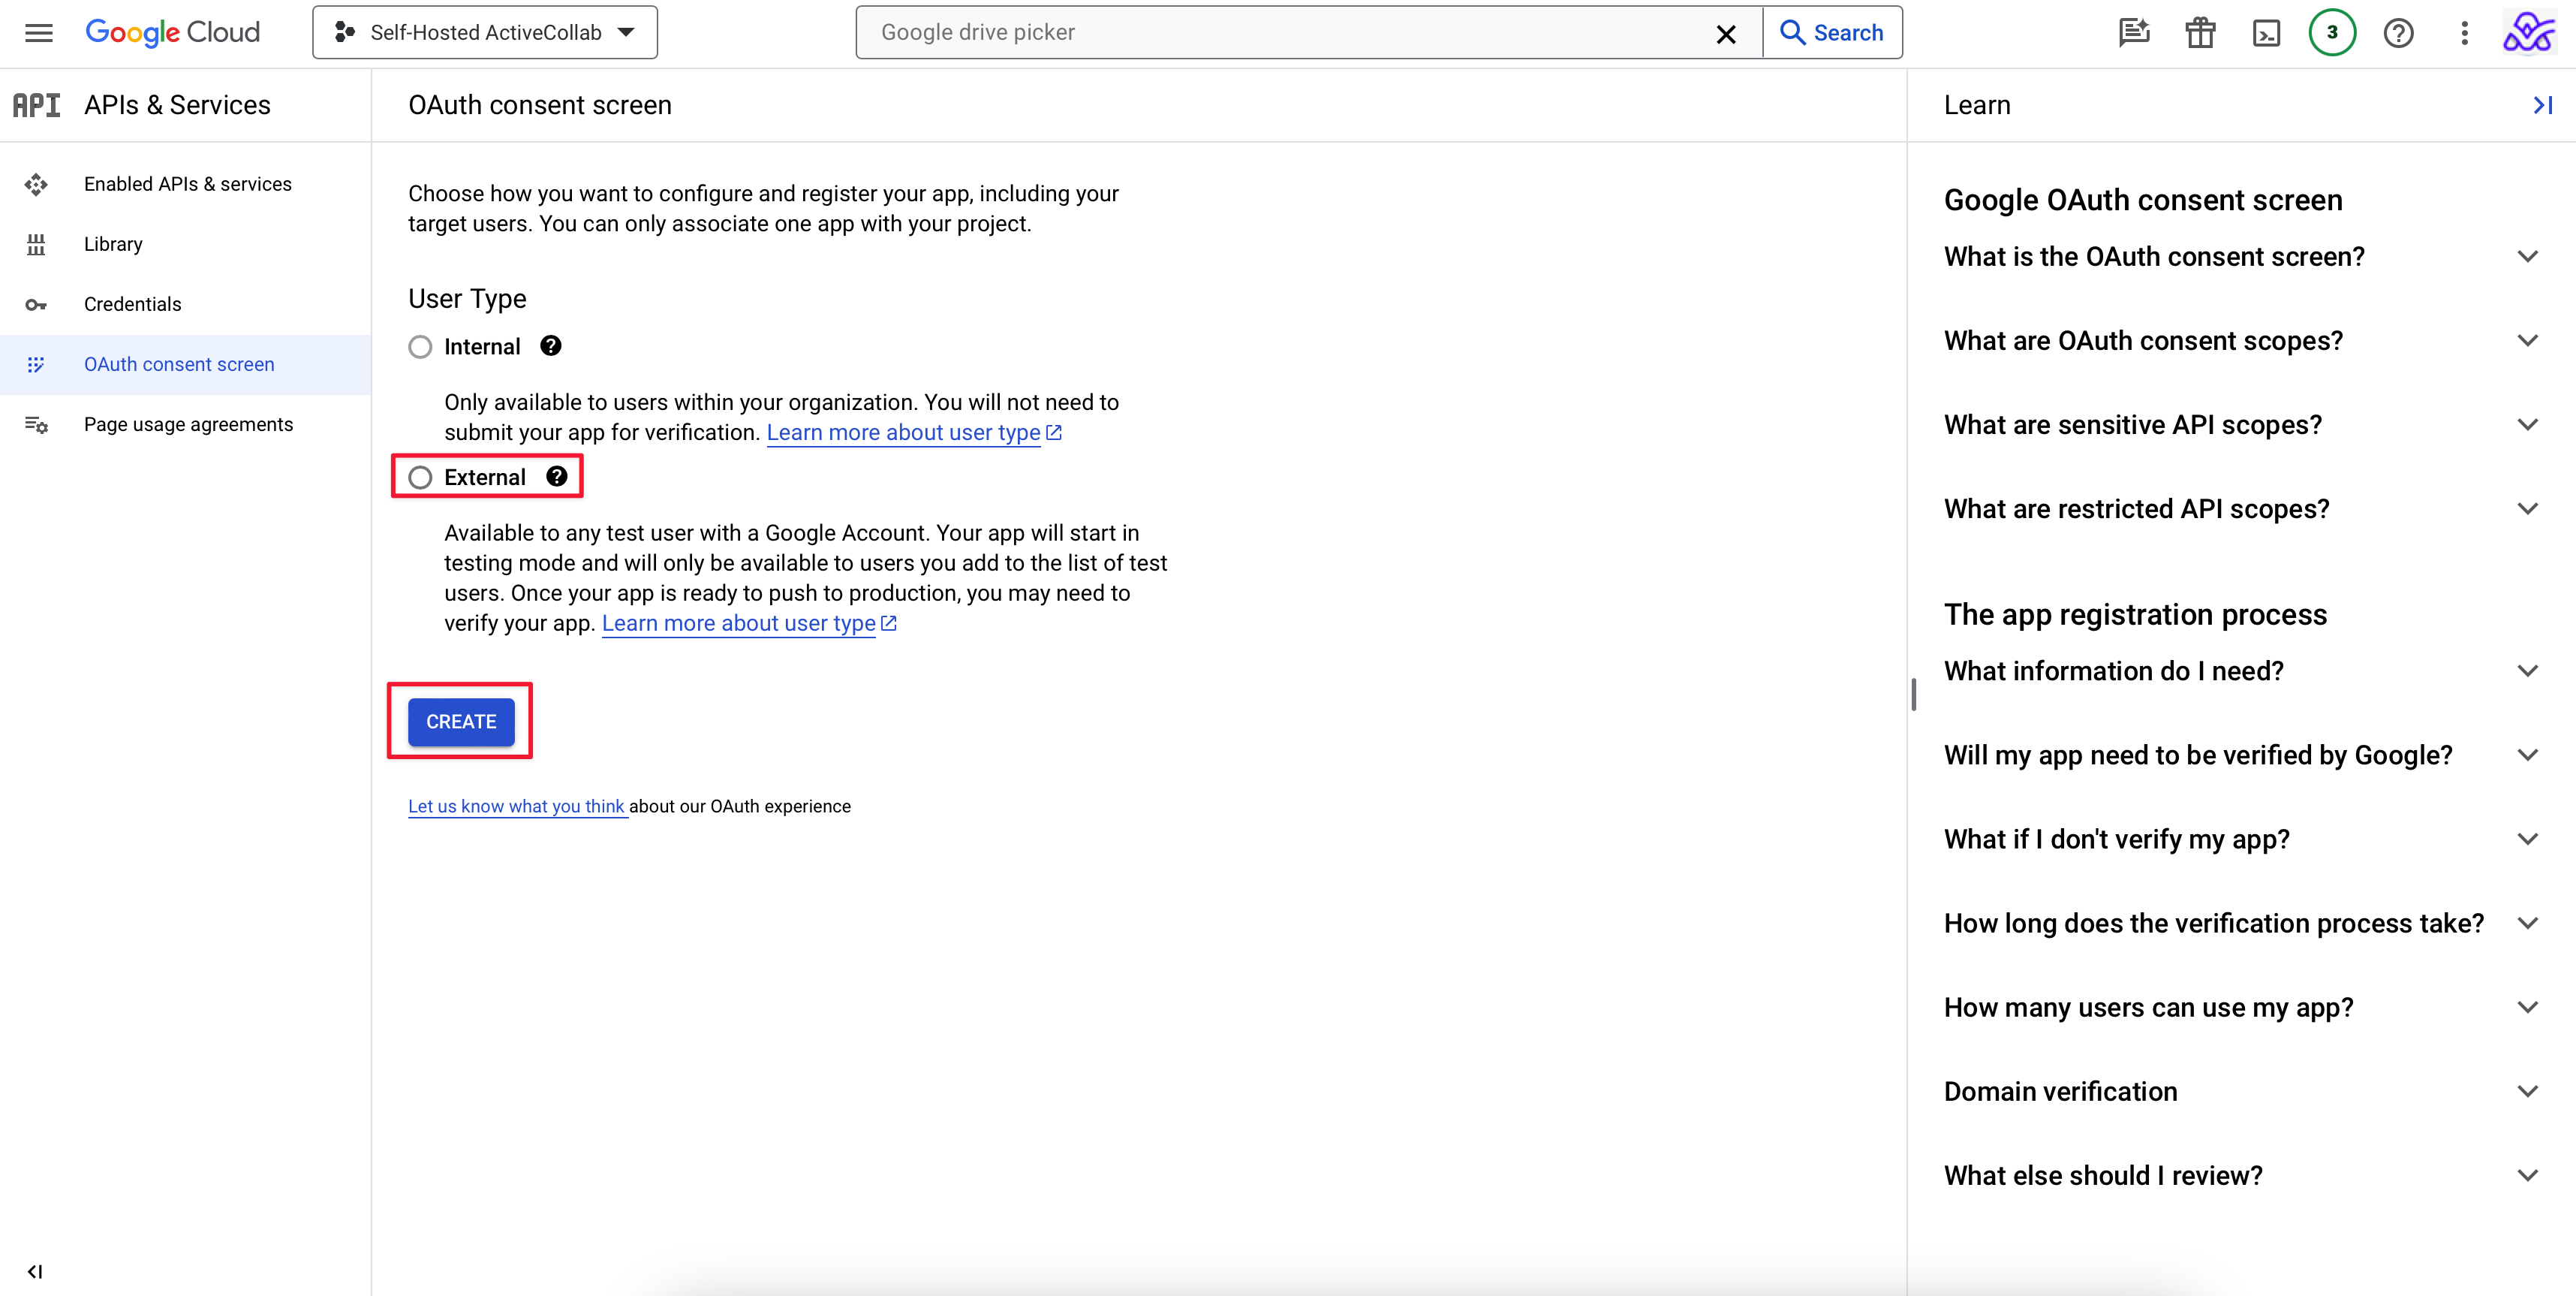
If you have Google Workspace, you can choose Internal user type, then click CREATE.
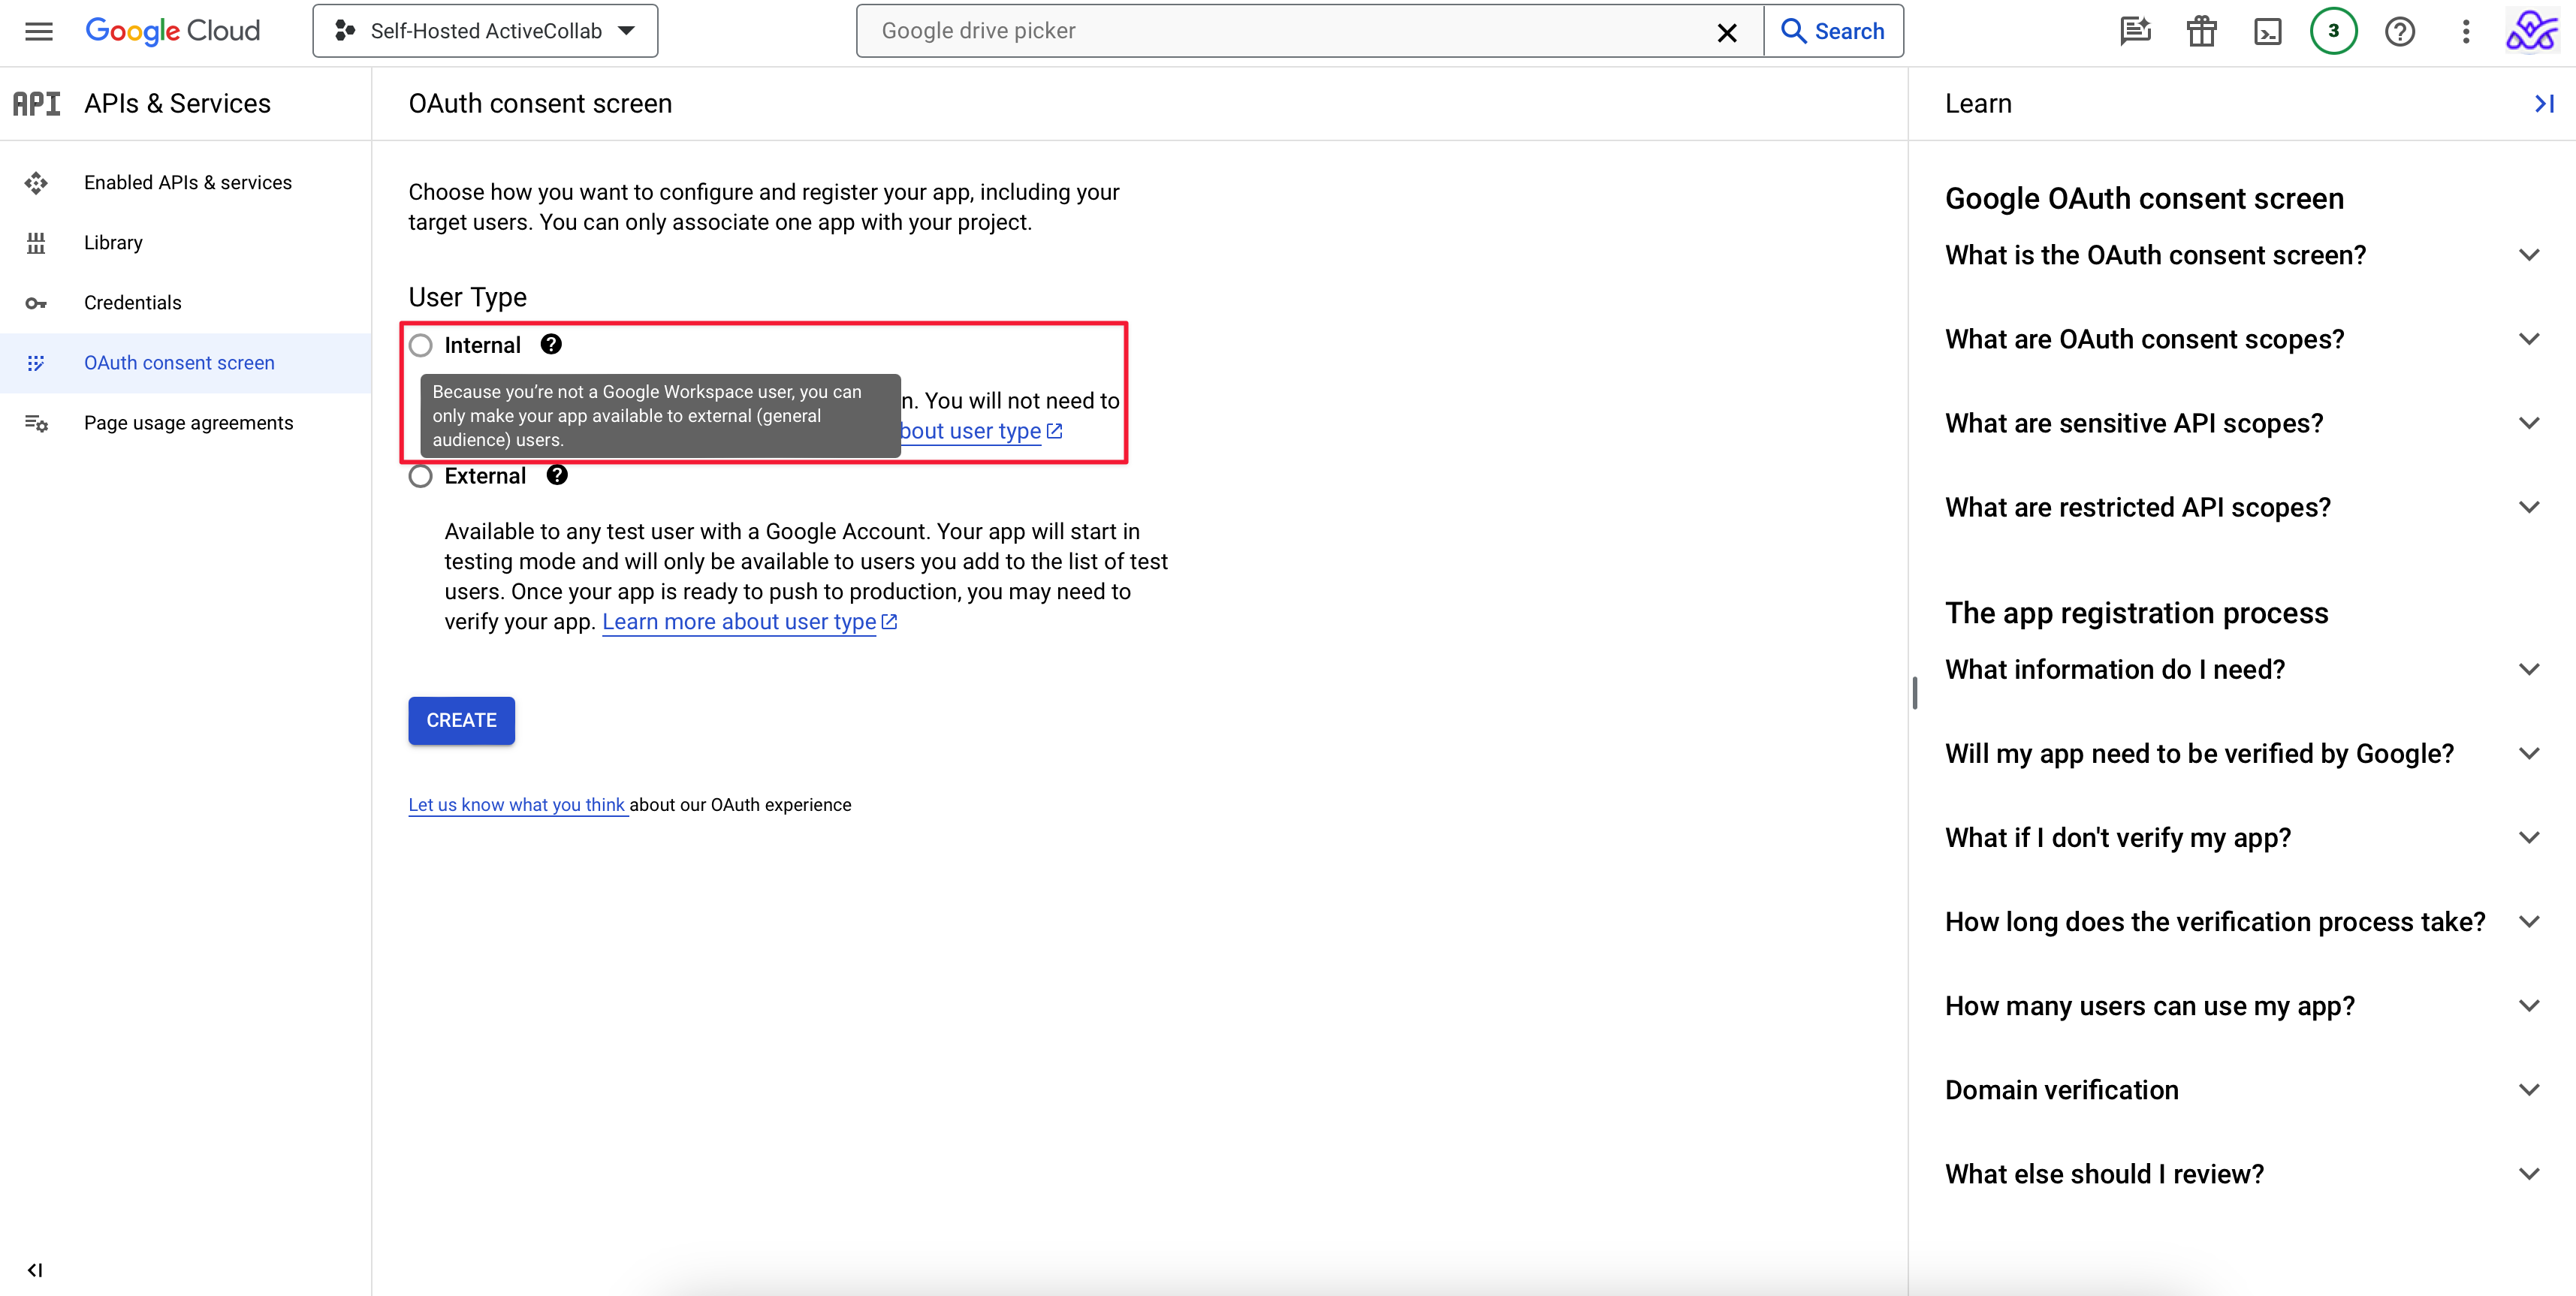
If you don't have Google Workspace, choose External user type, as in this example, then click CREATE.
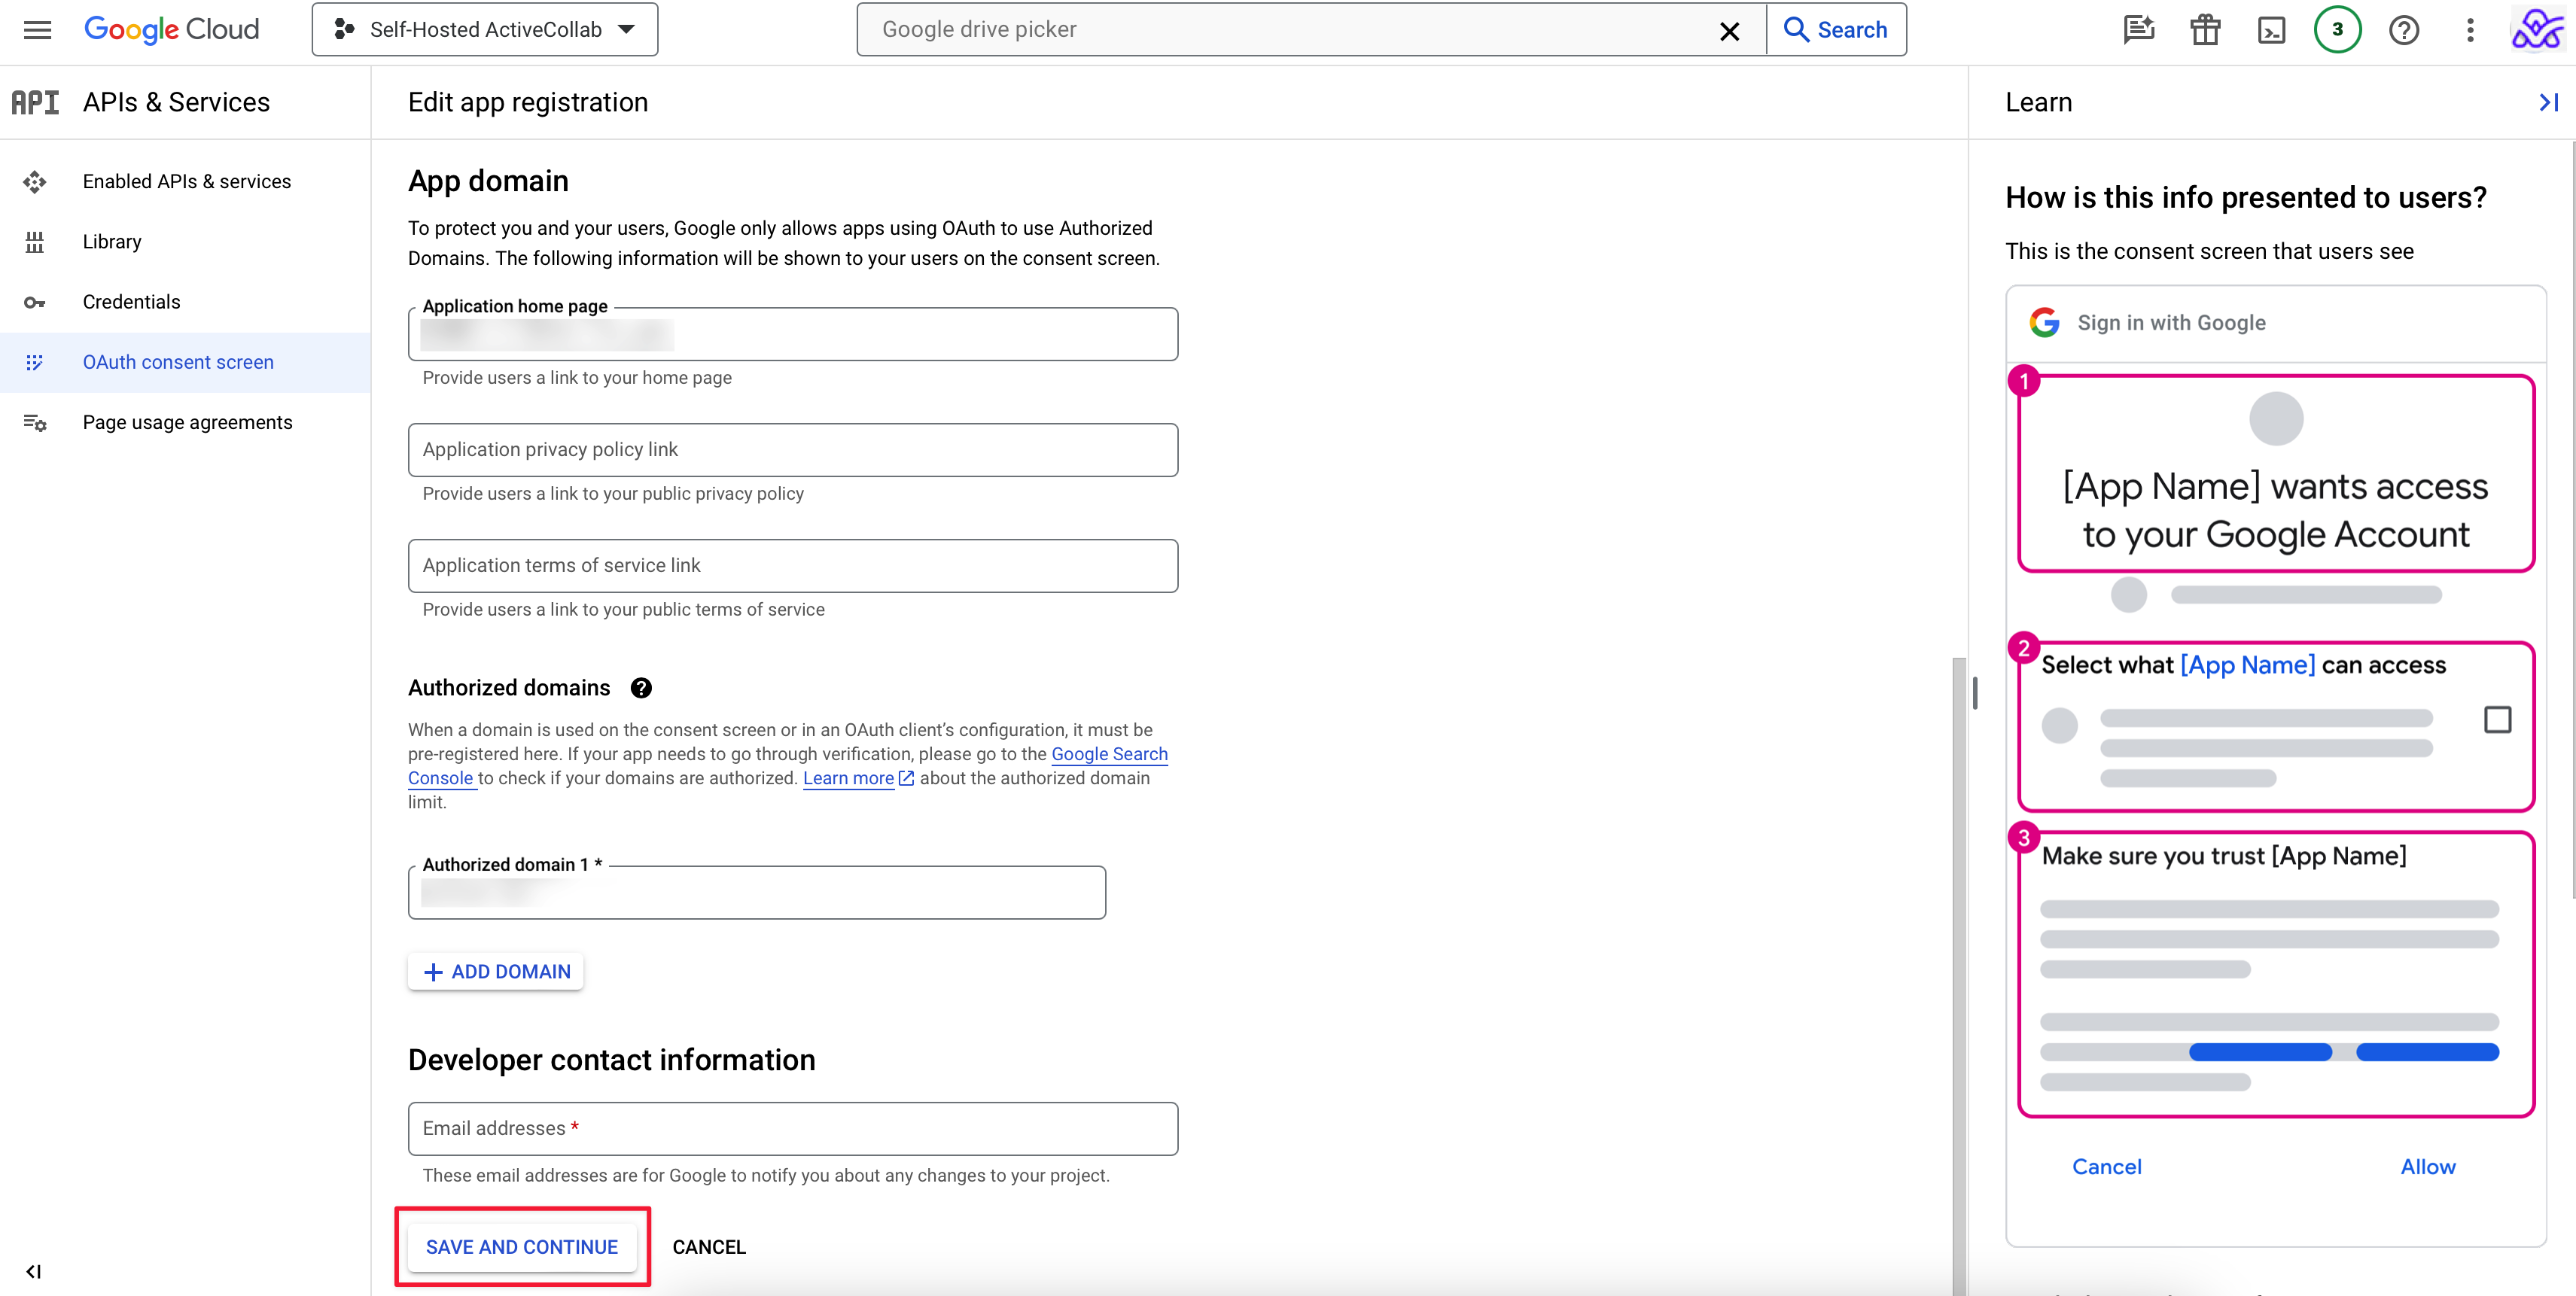
In the first step, on the OAuth consent screen, provide App information. For the Application name, type "ActiveCollab," and in the field User support email, put in your email associated with your Google account.
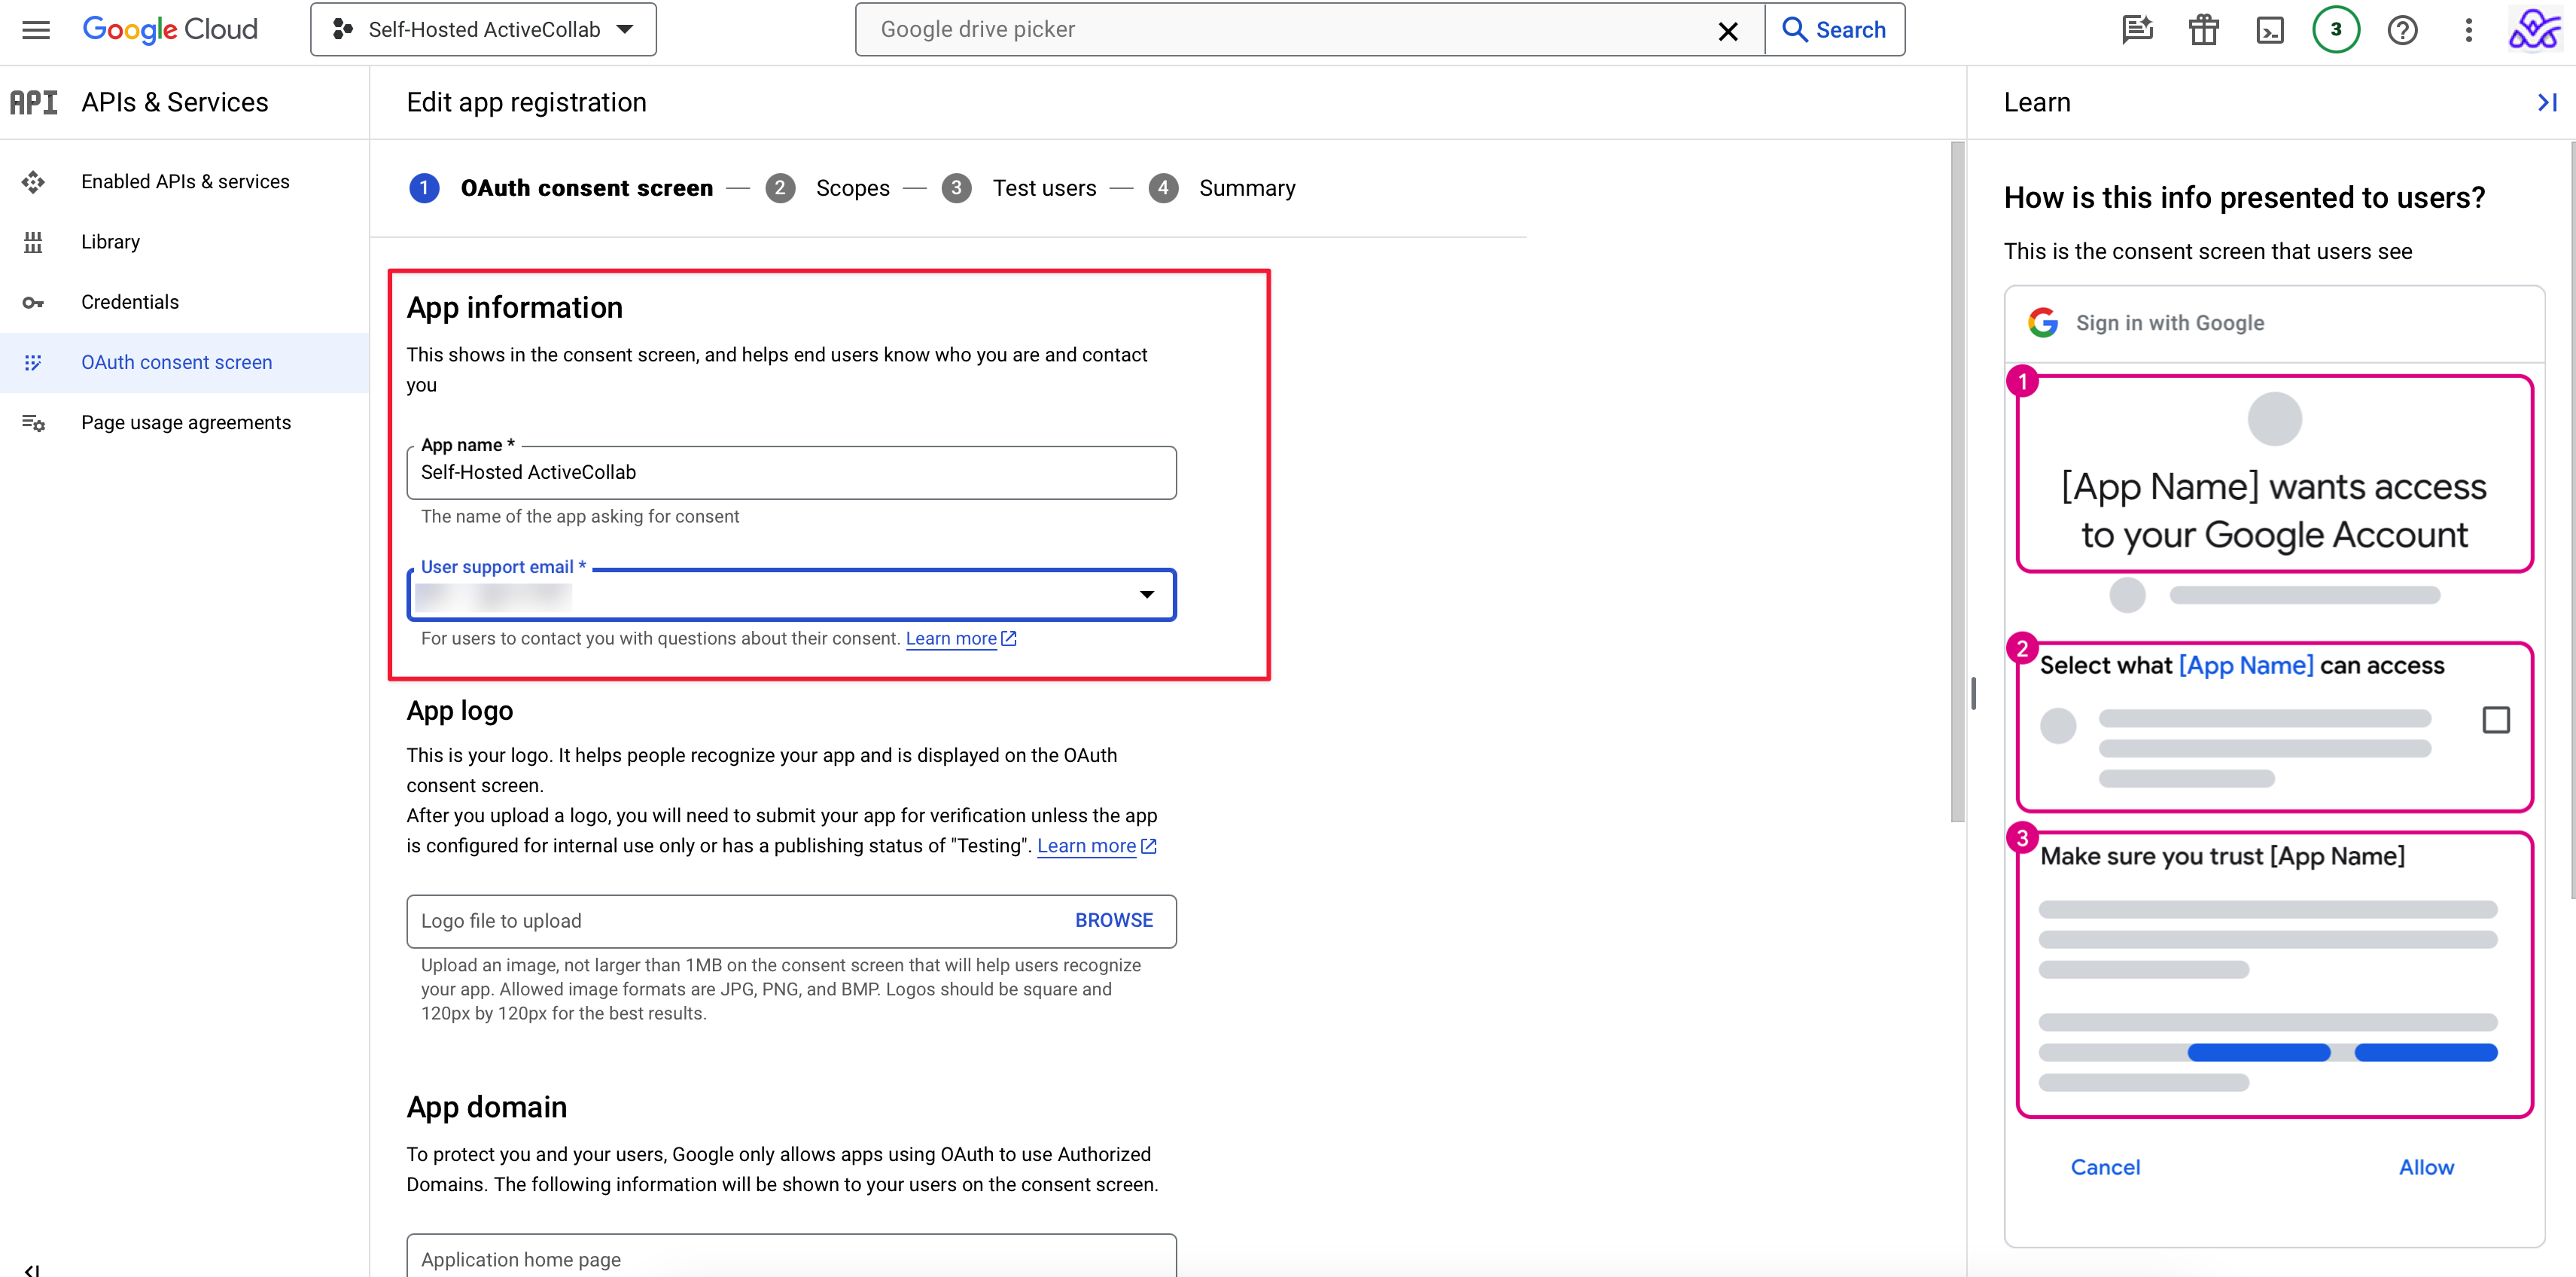
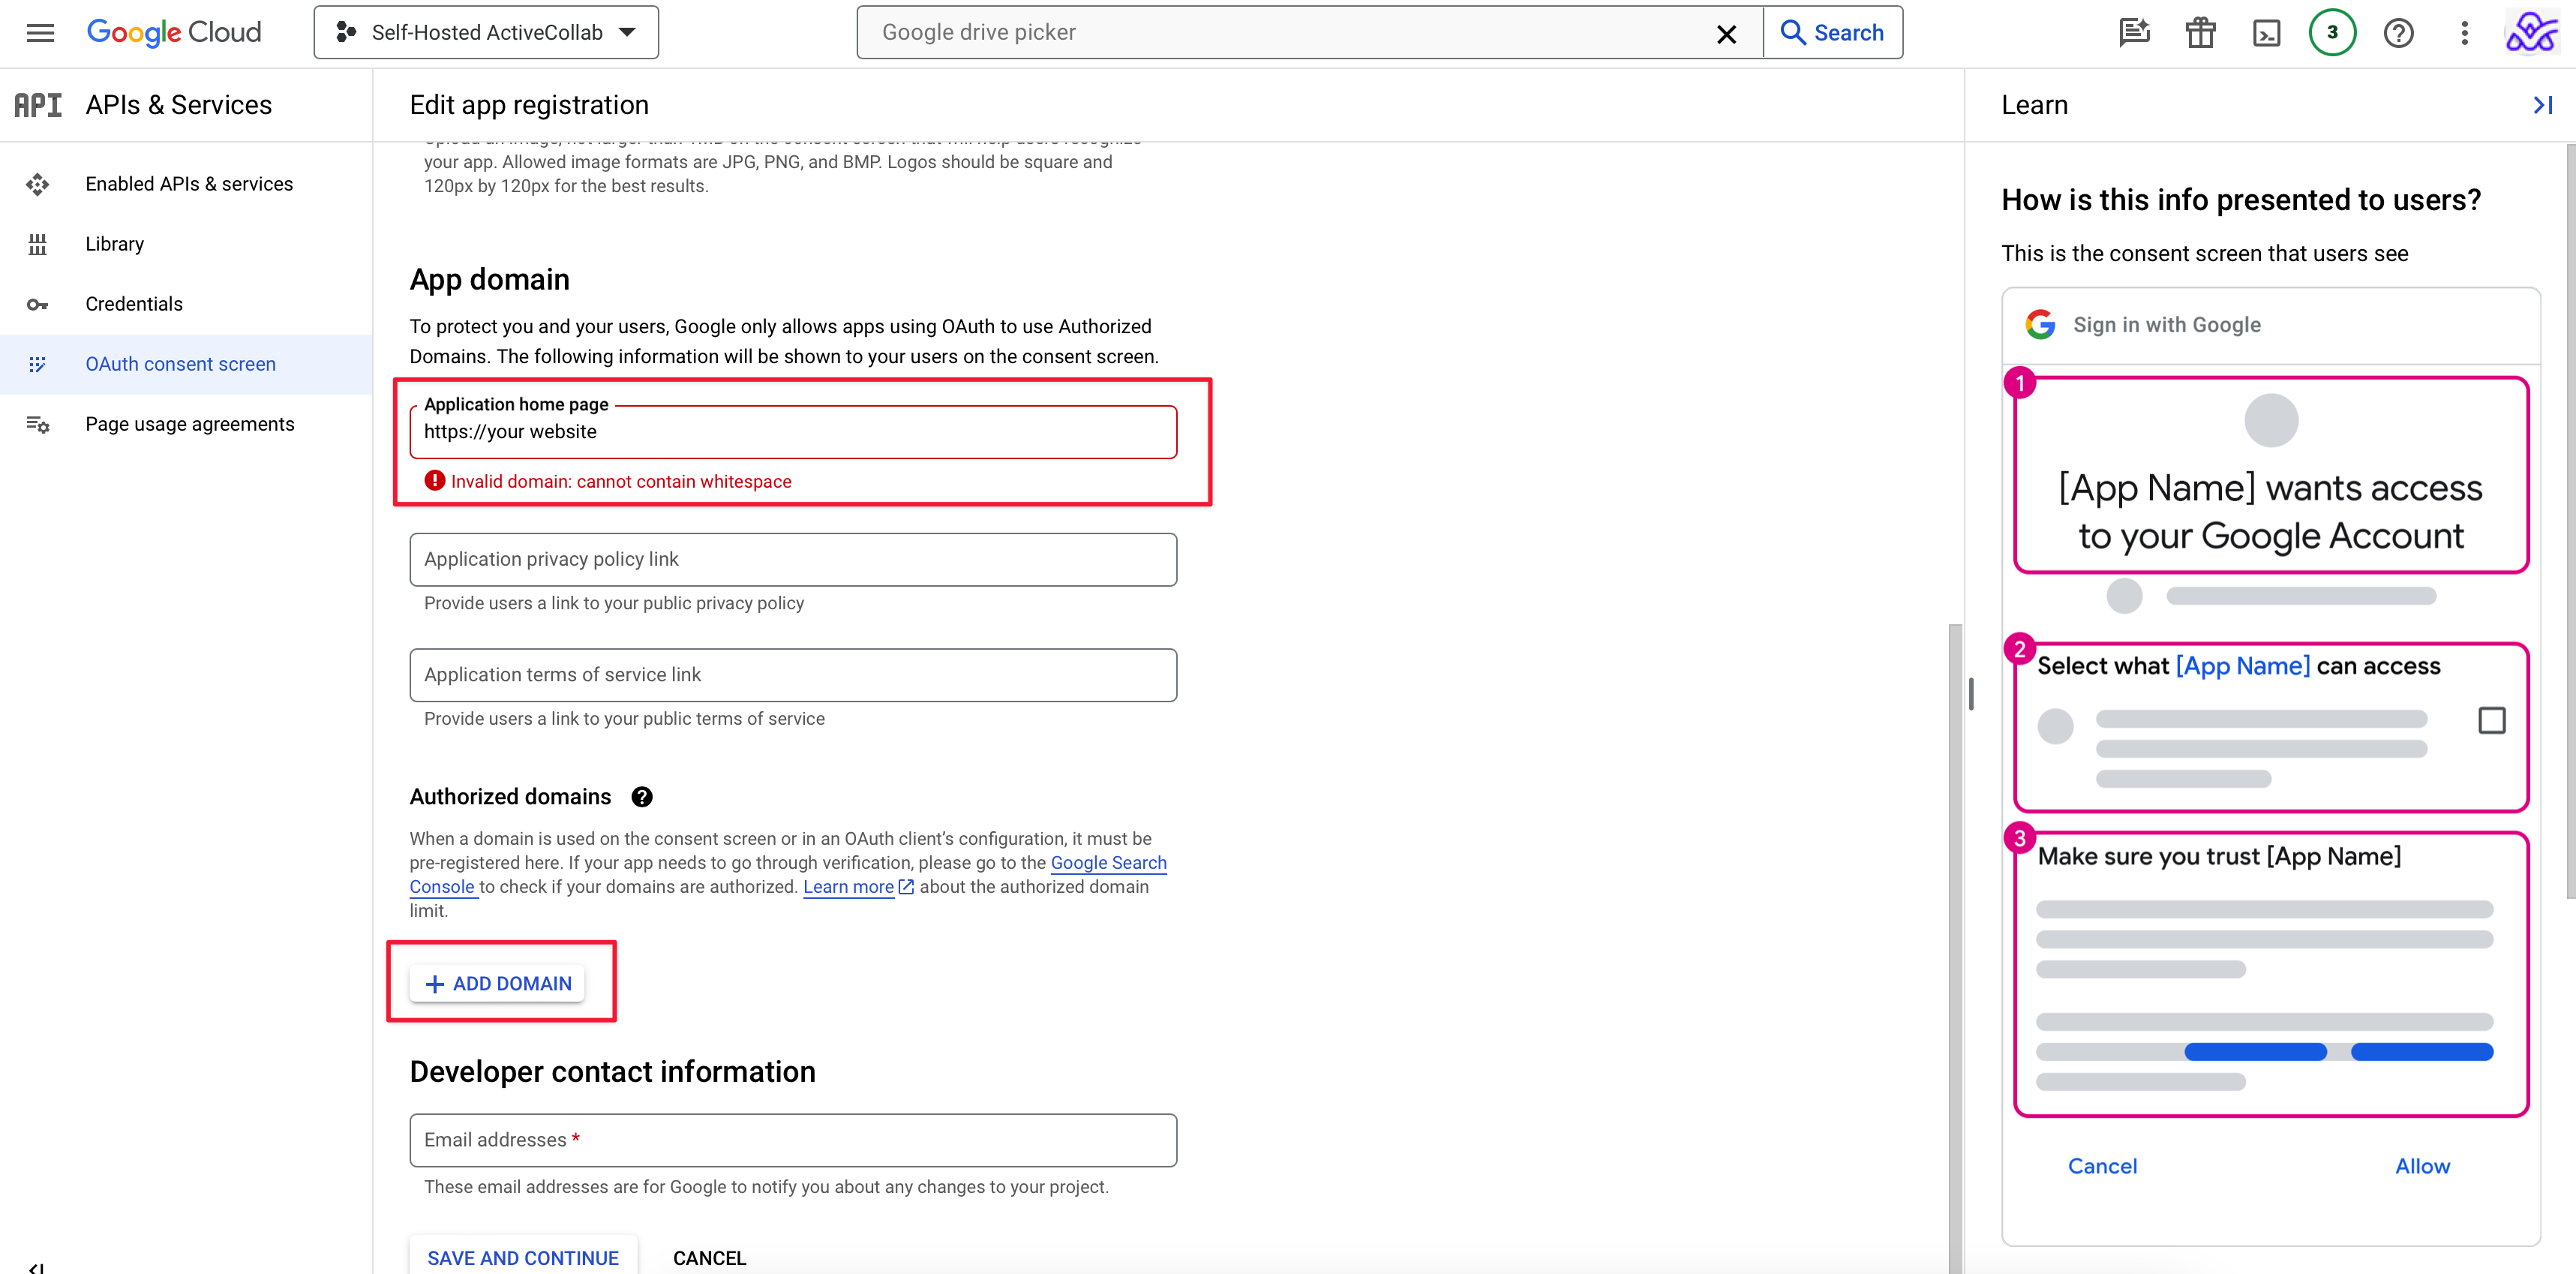
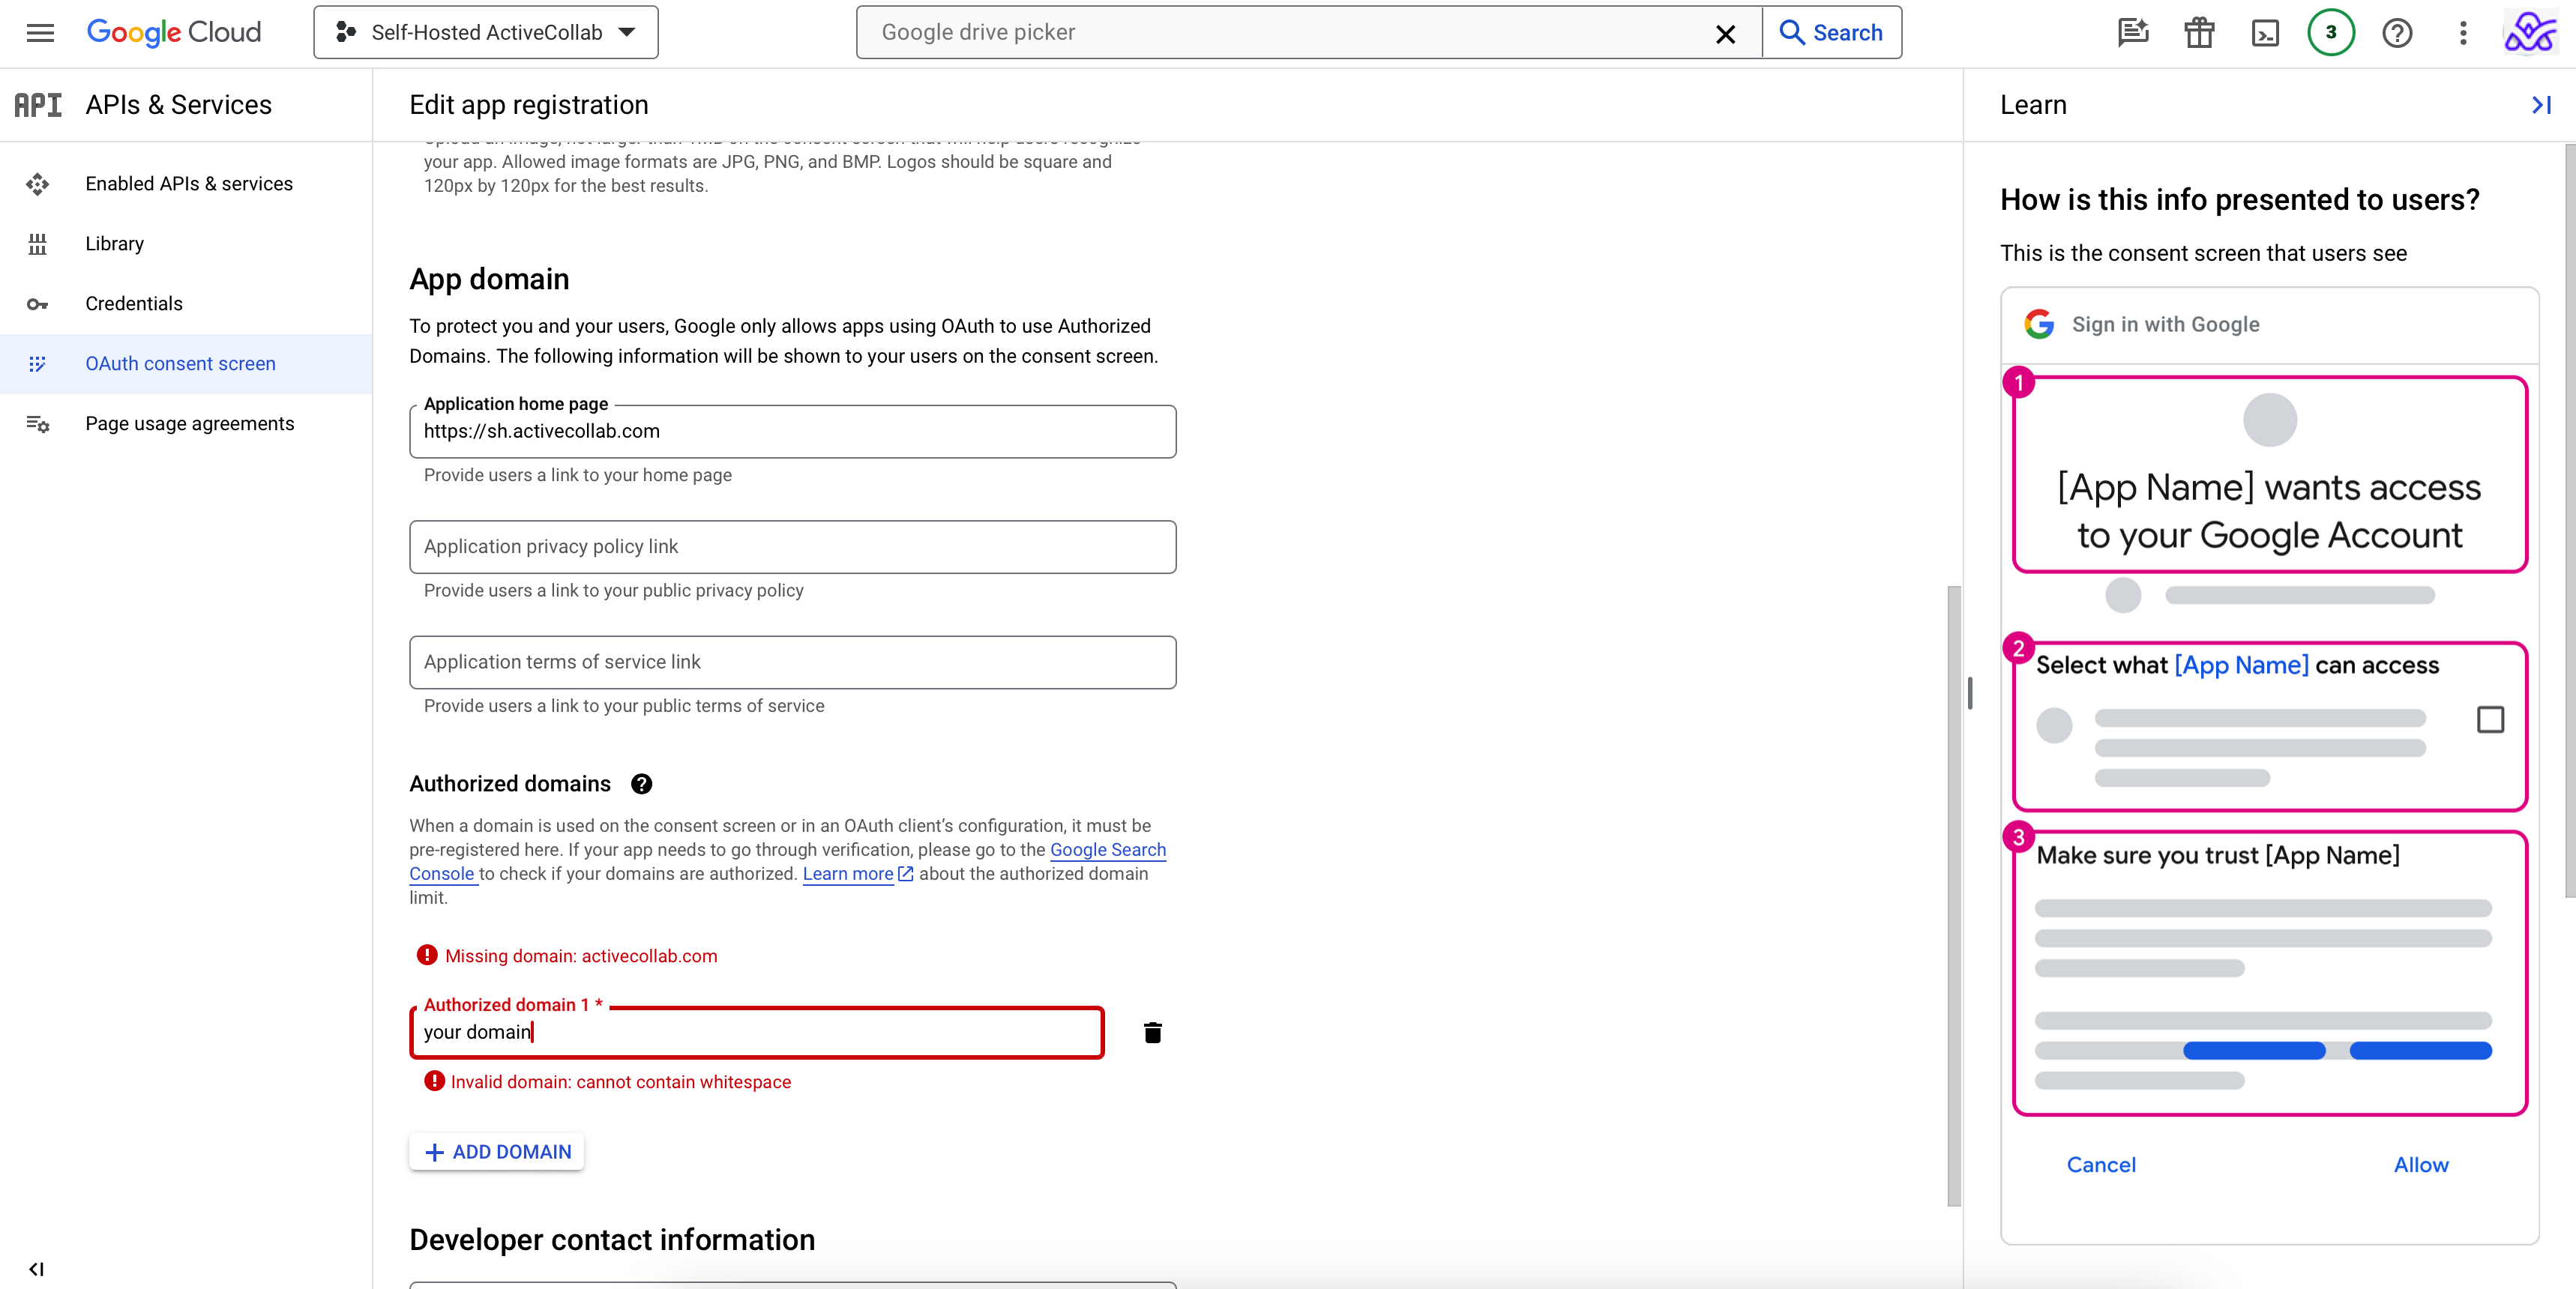
In the App domain section of the page, under the Application home page, enter the URL of your ActiveCollab Self-Hosted license.
The final step is to save the changes.
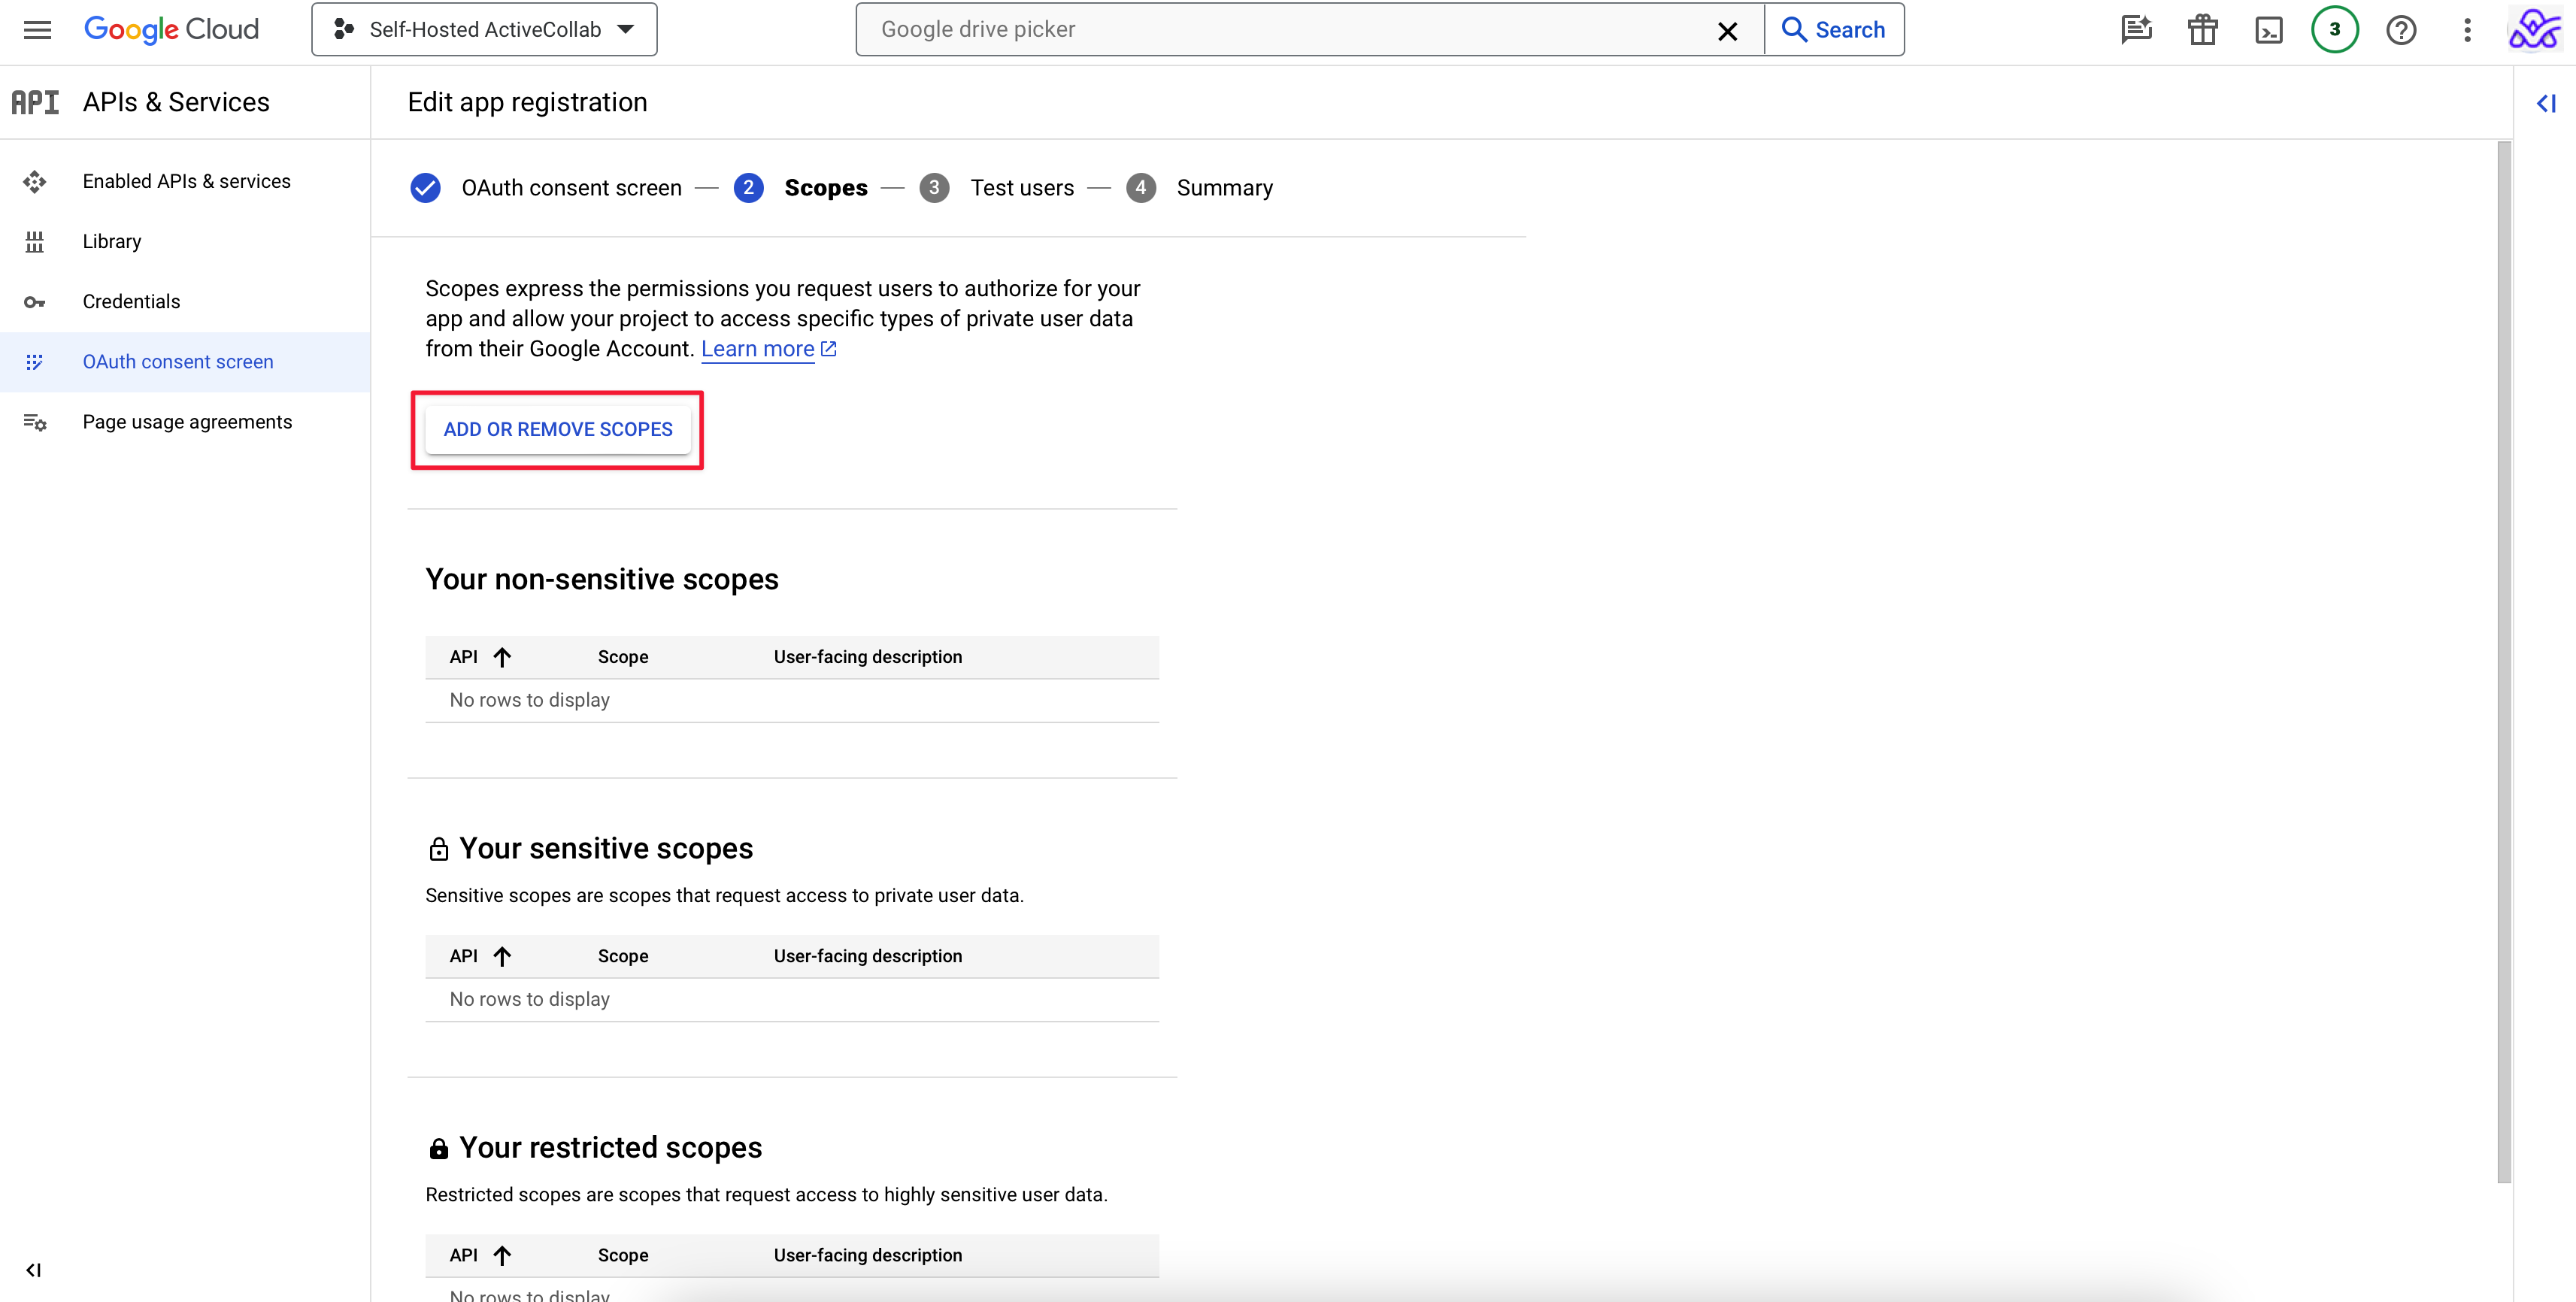
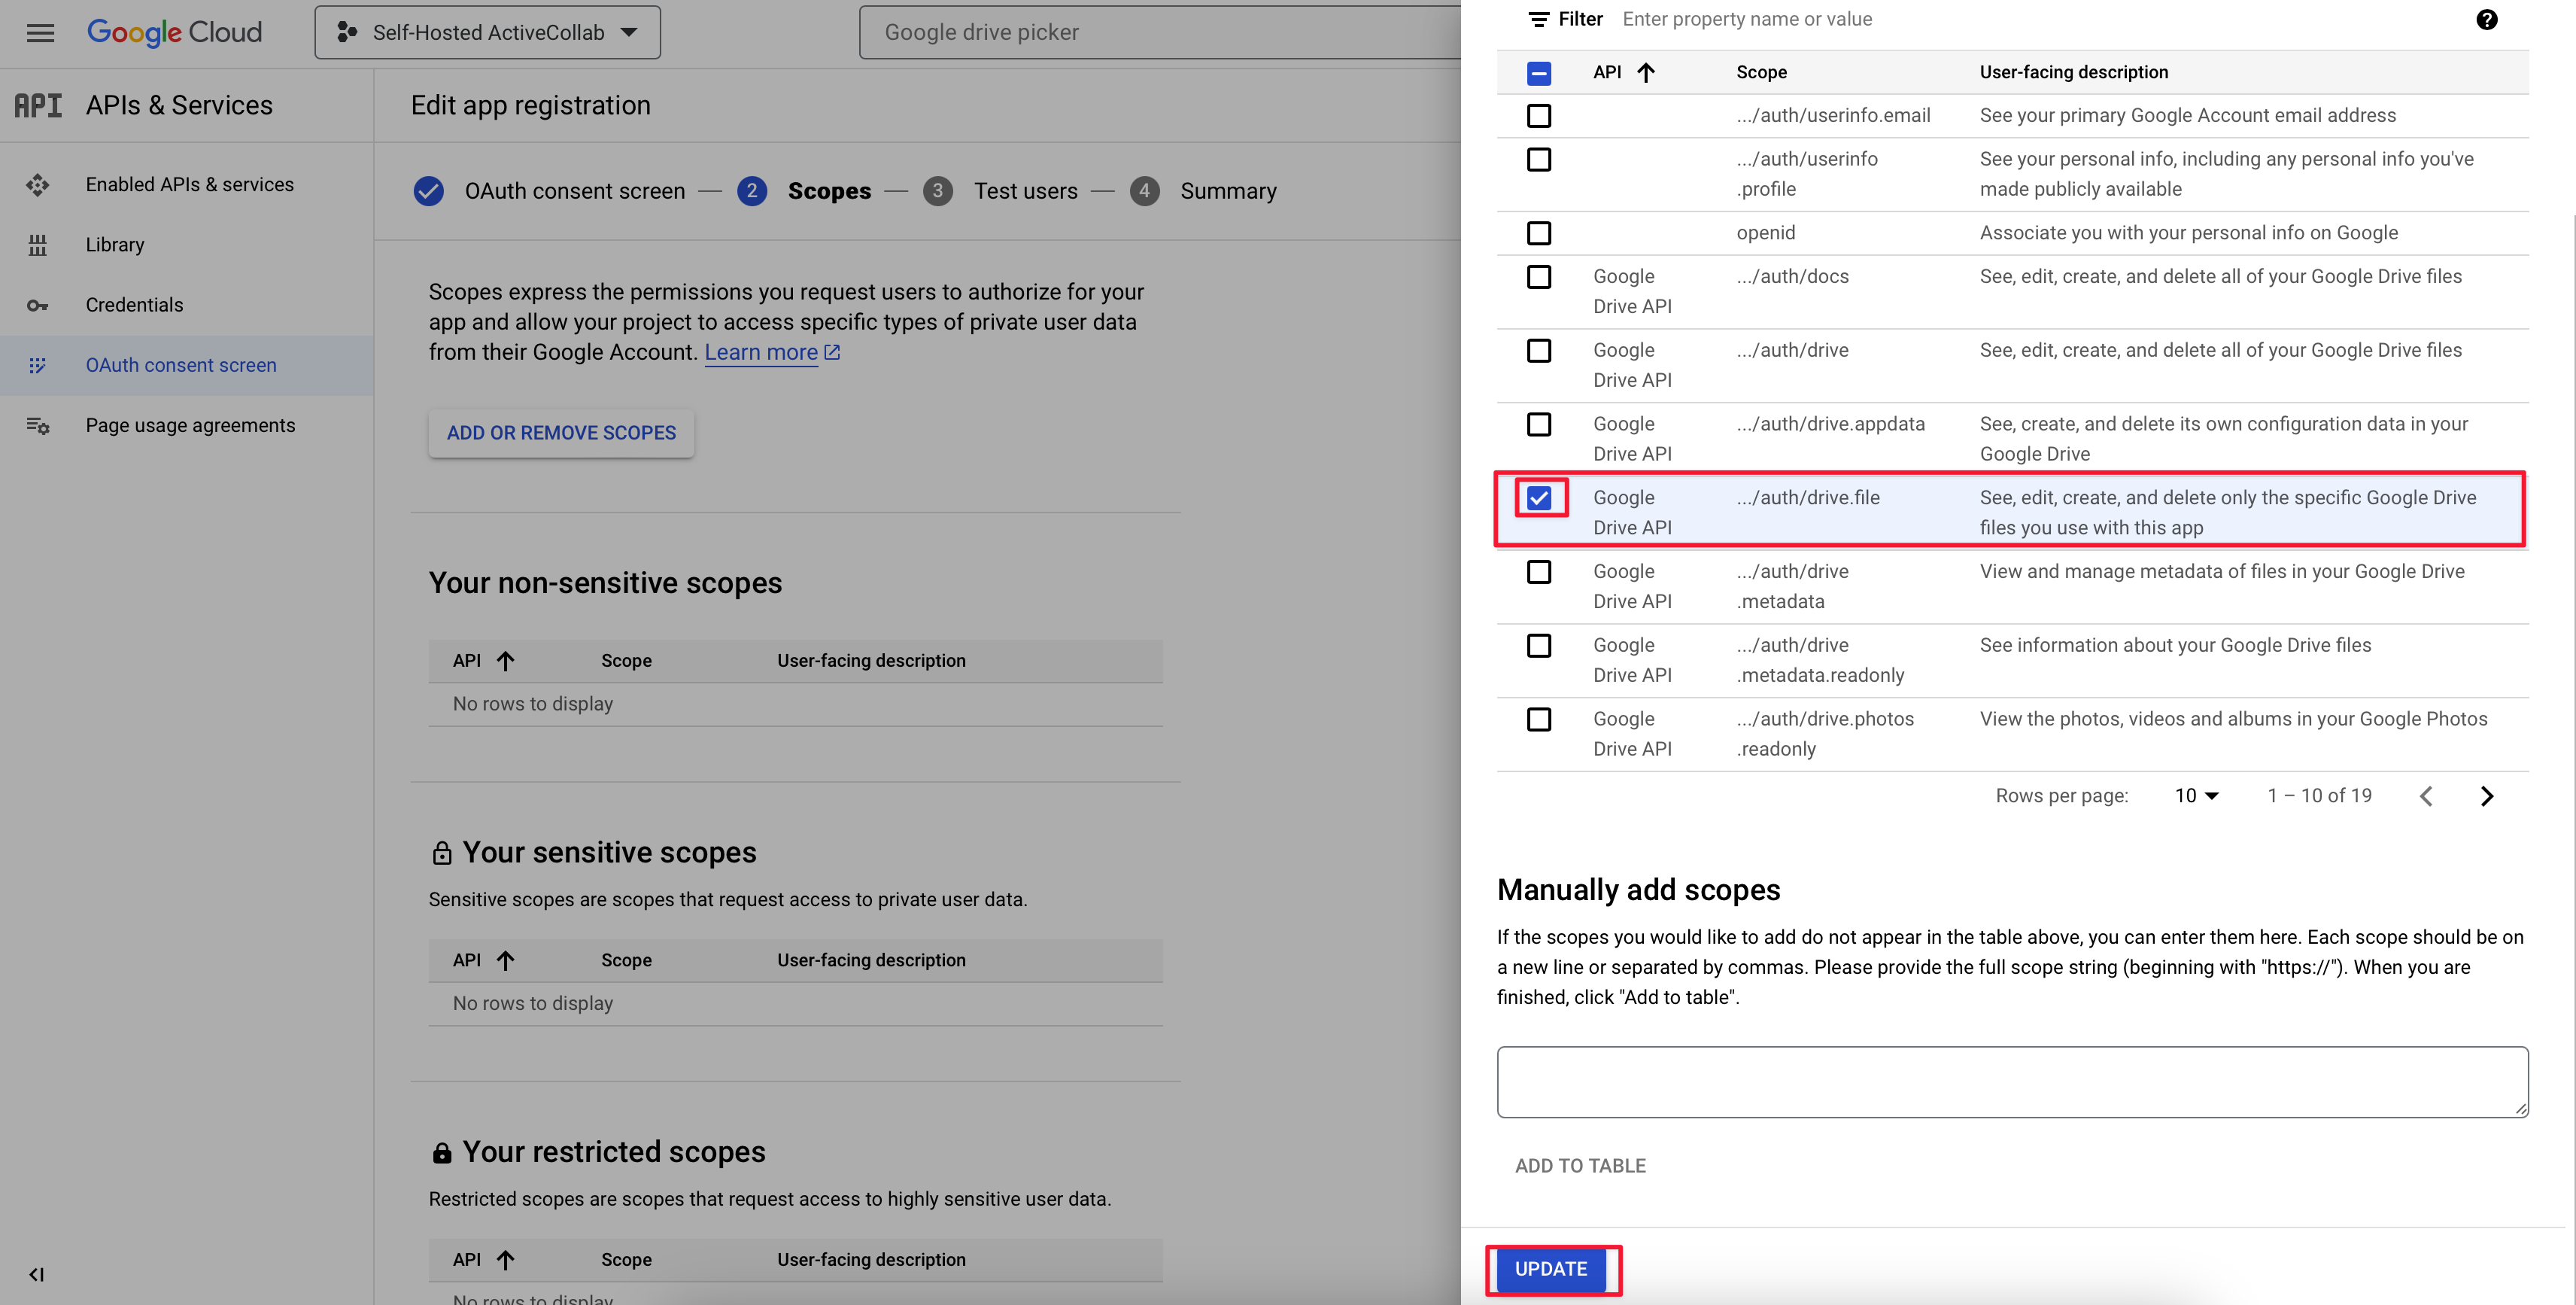
In the next step, under Scopes, choose the option ADD OR REMOVE SCOPES.
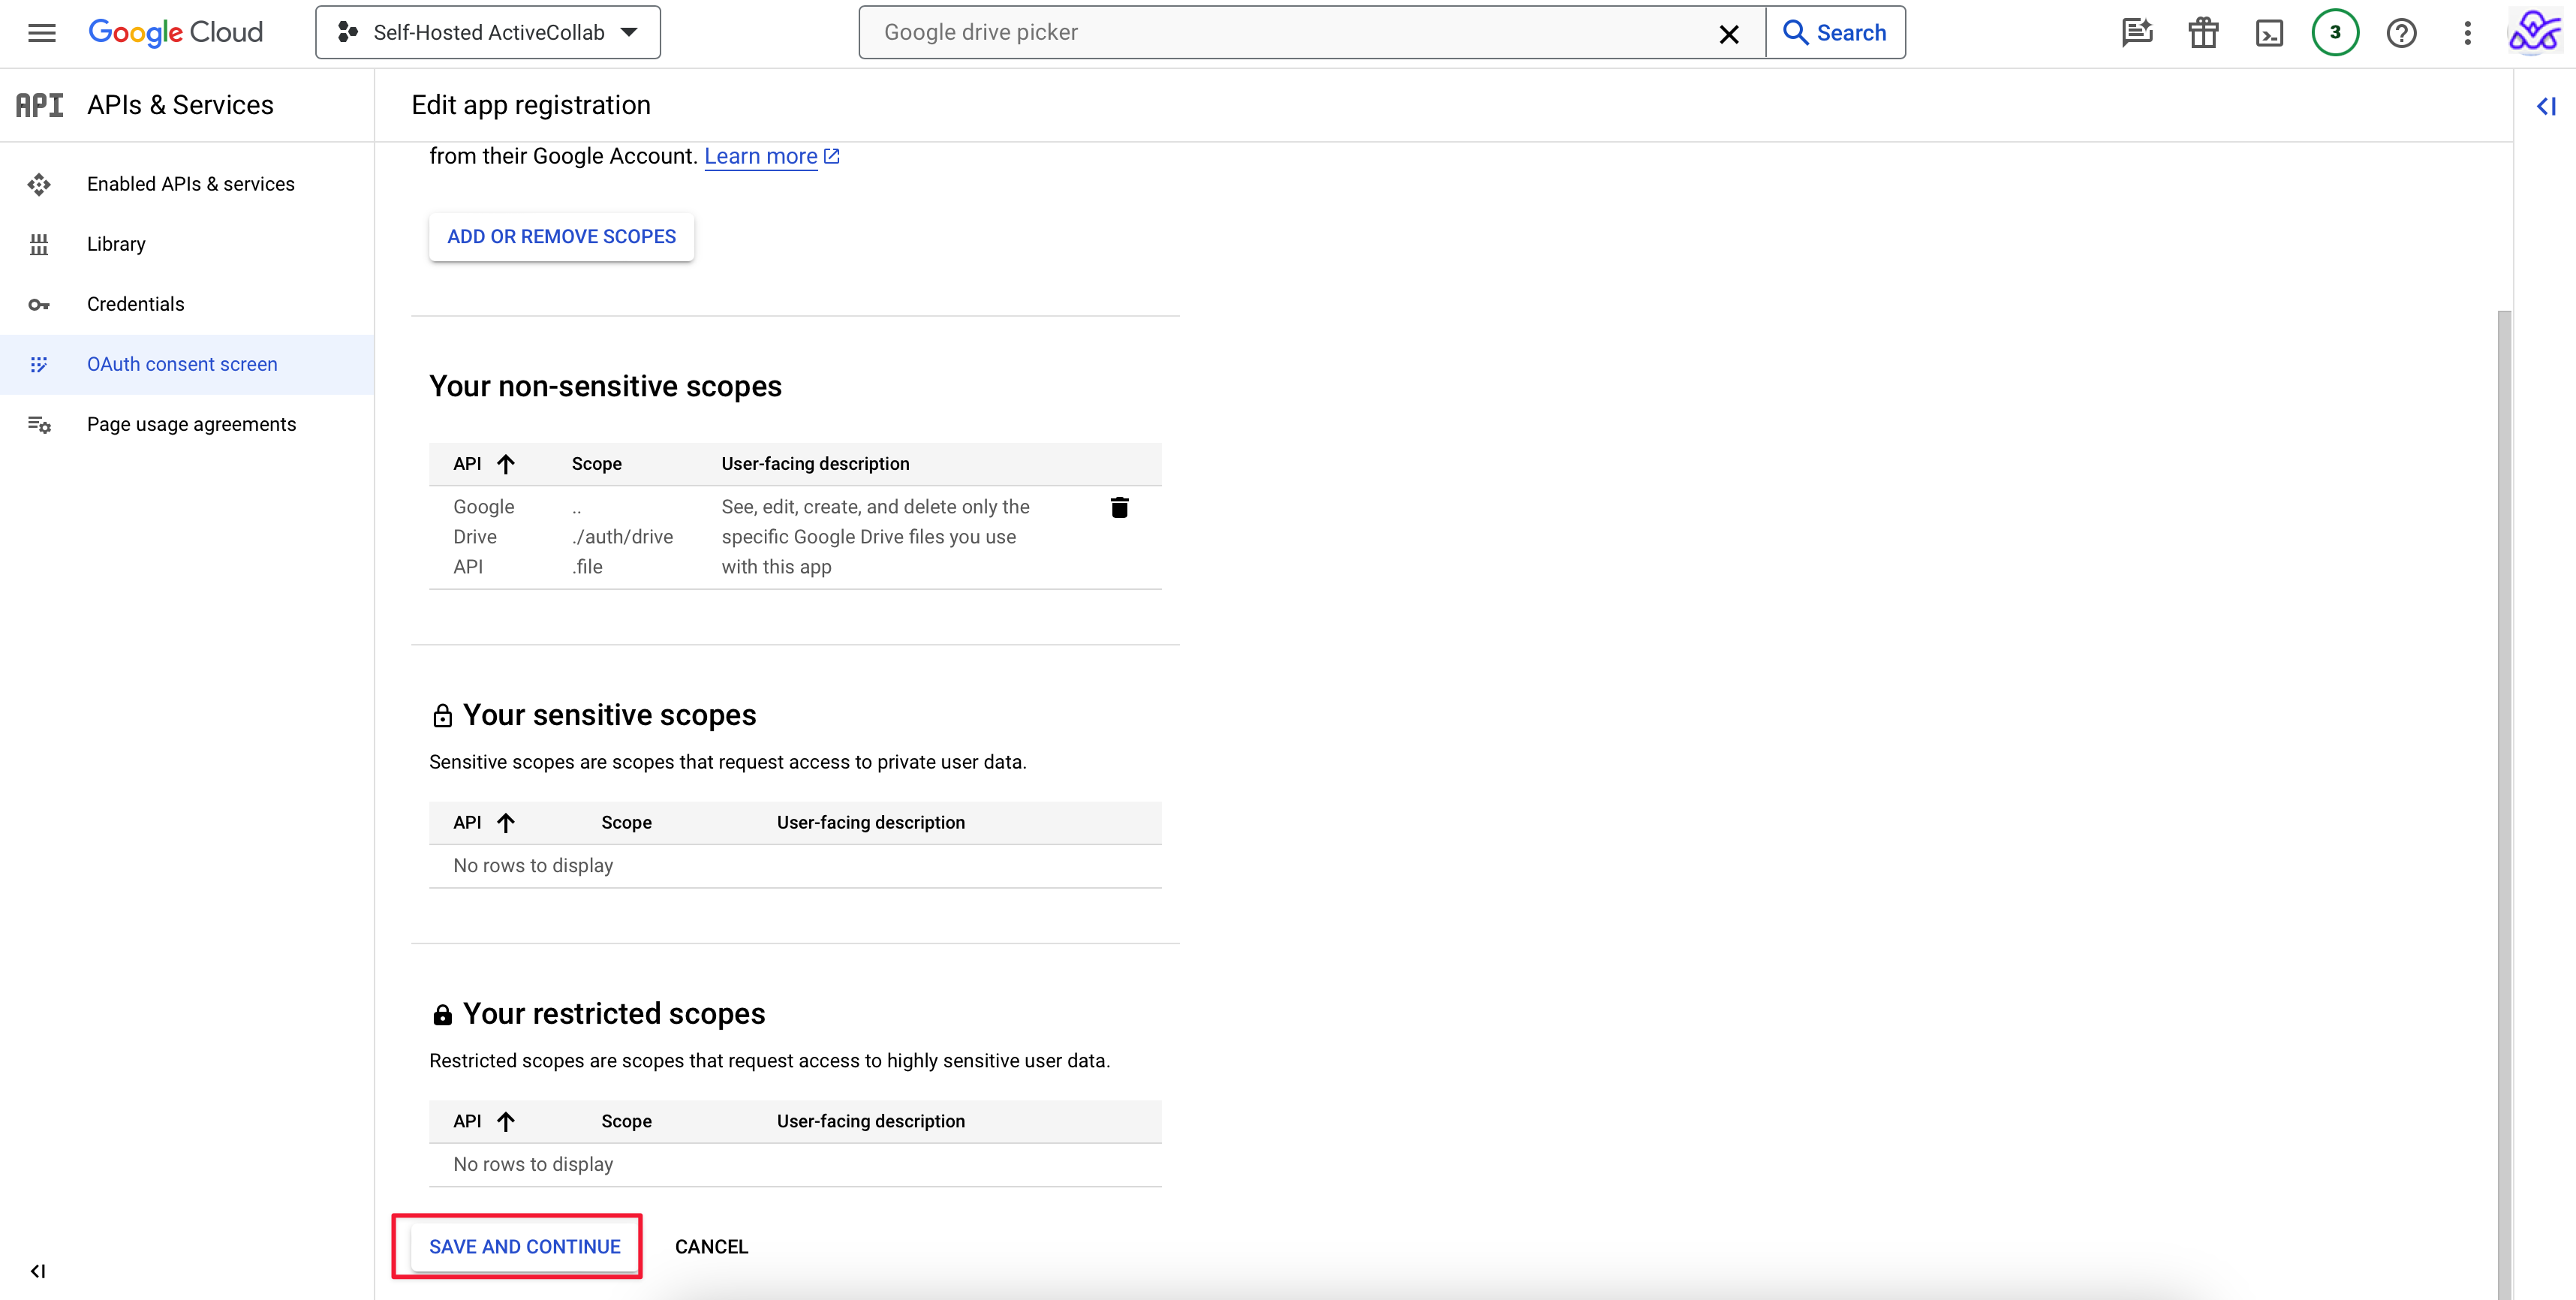
Save the changes.
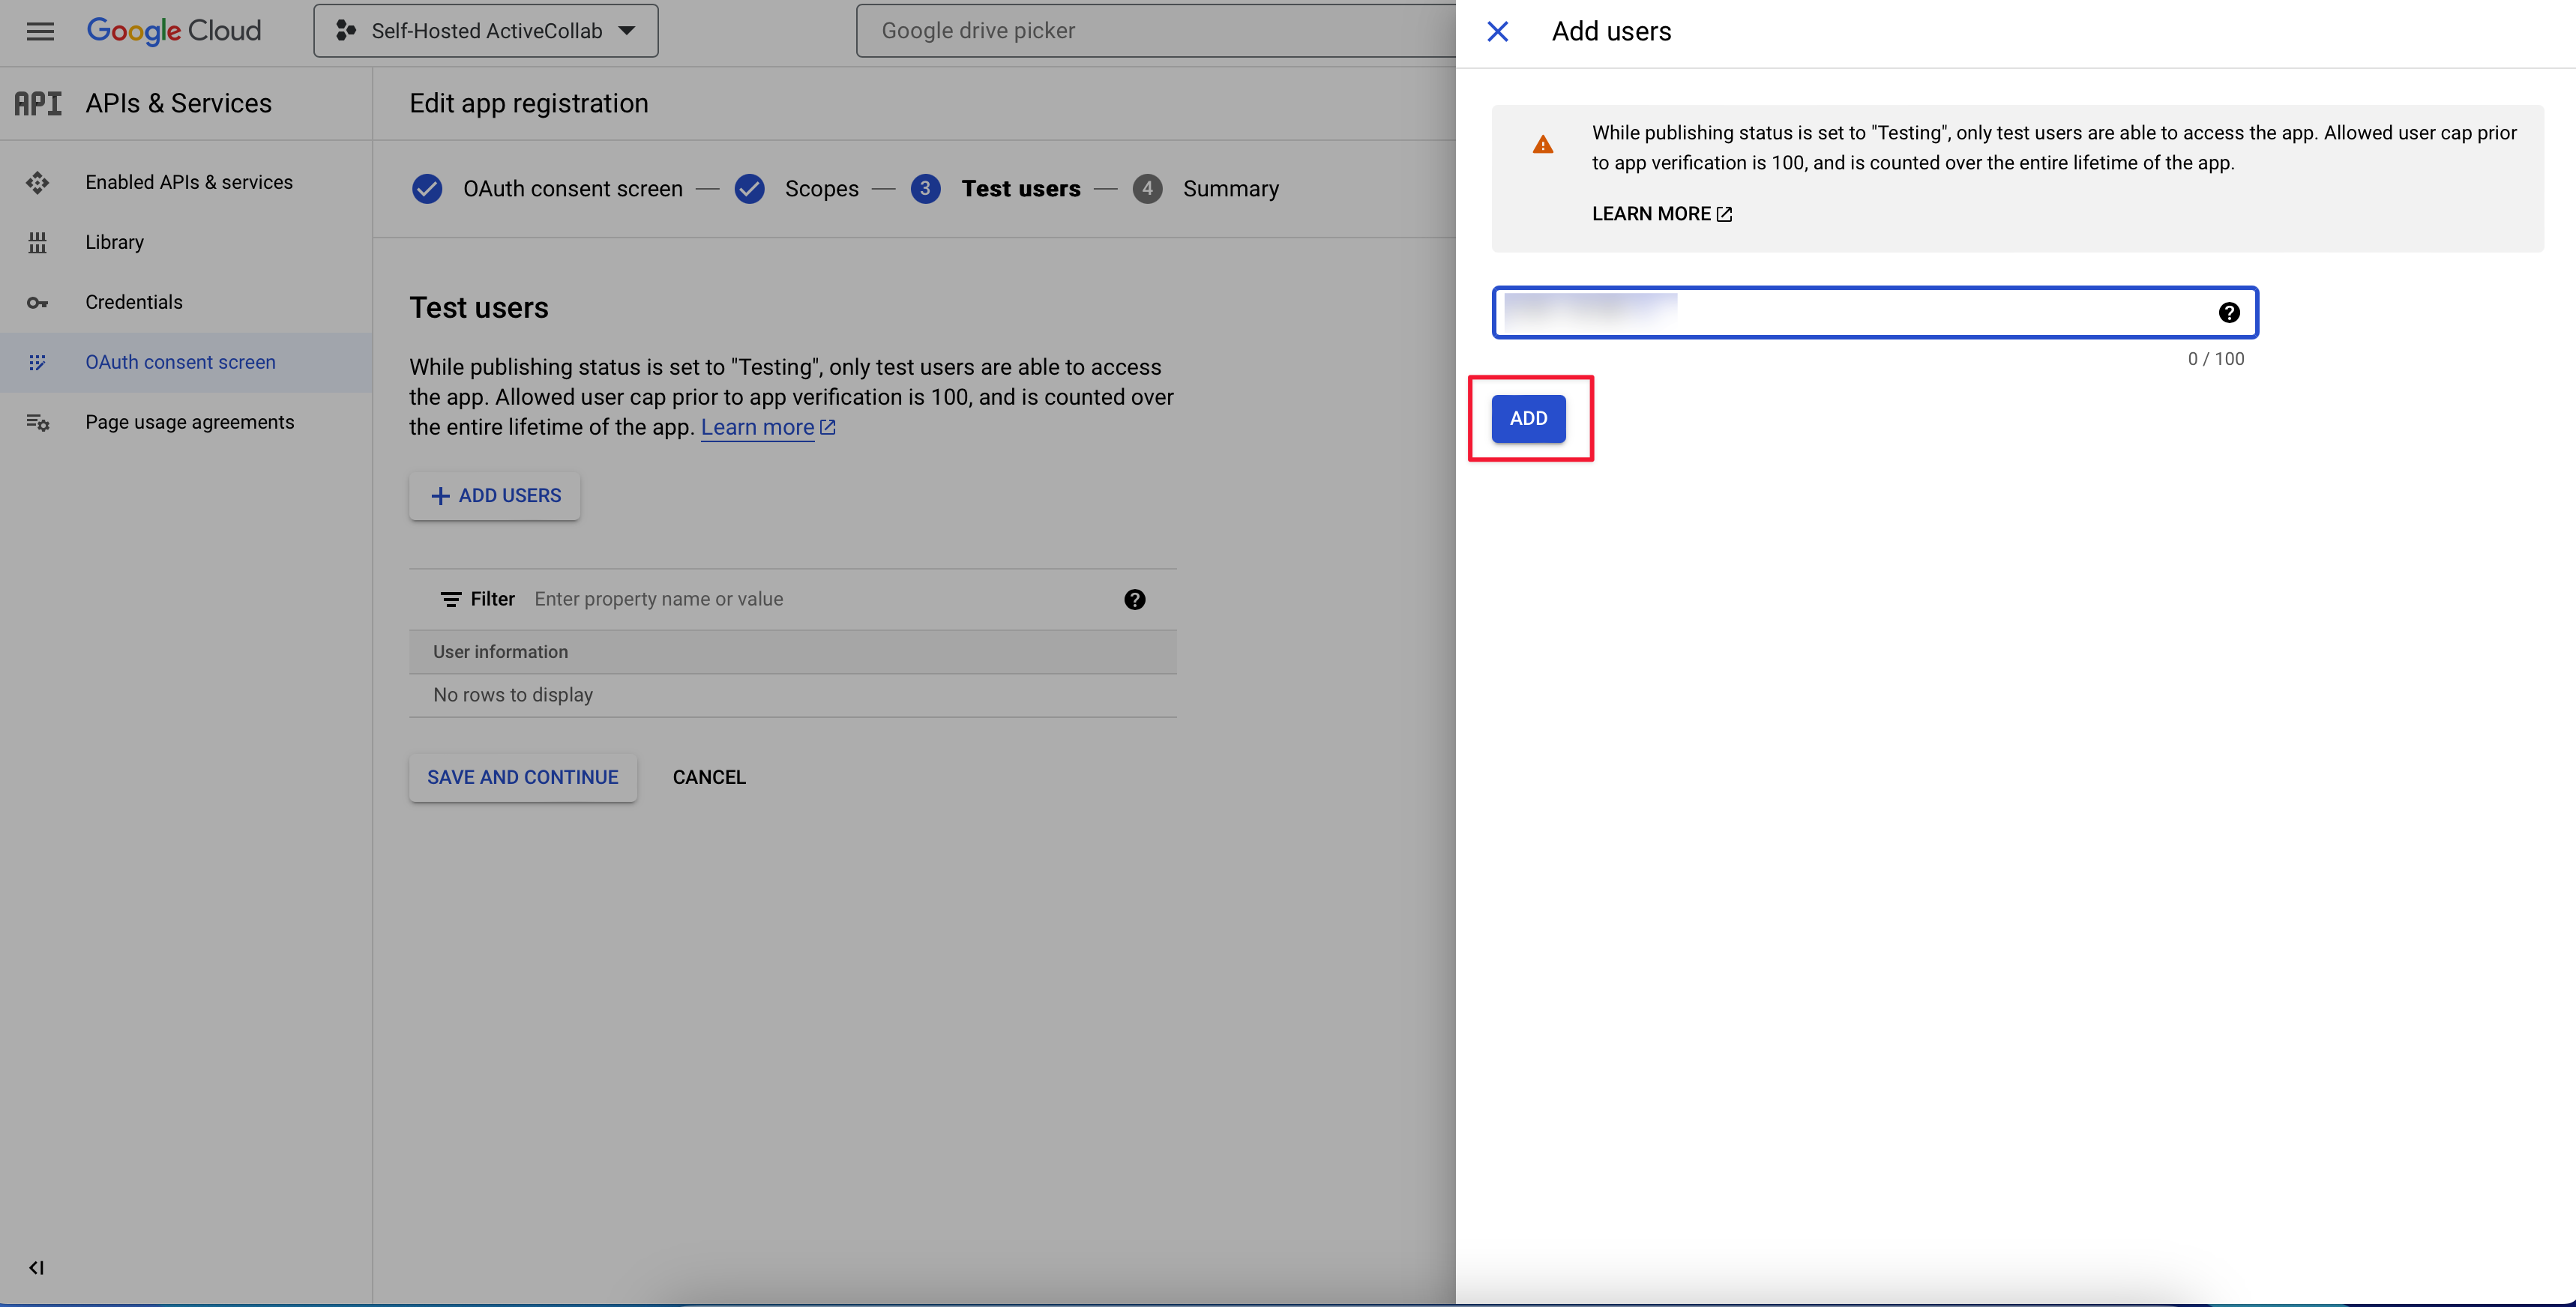
In the next step, under Test users, choose ADD USERS.

In the new window, select ADD.
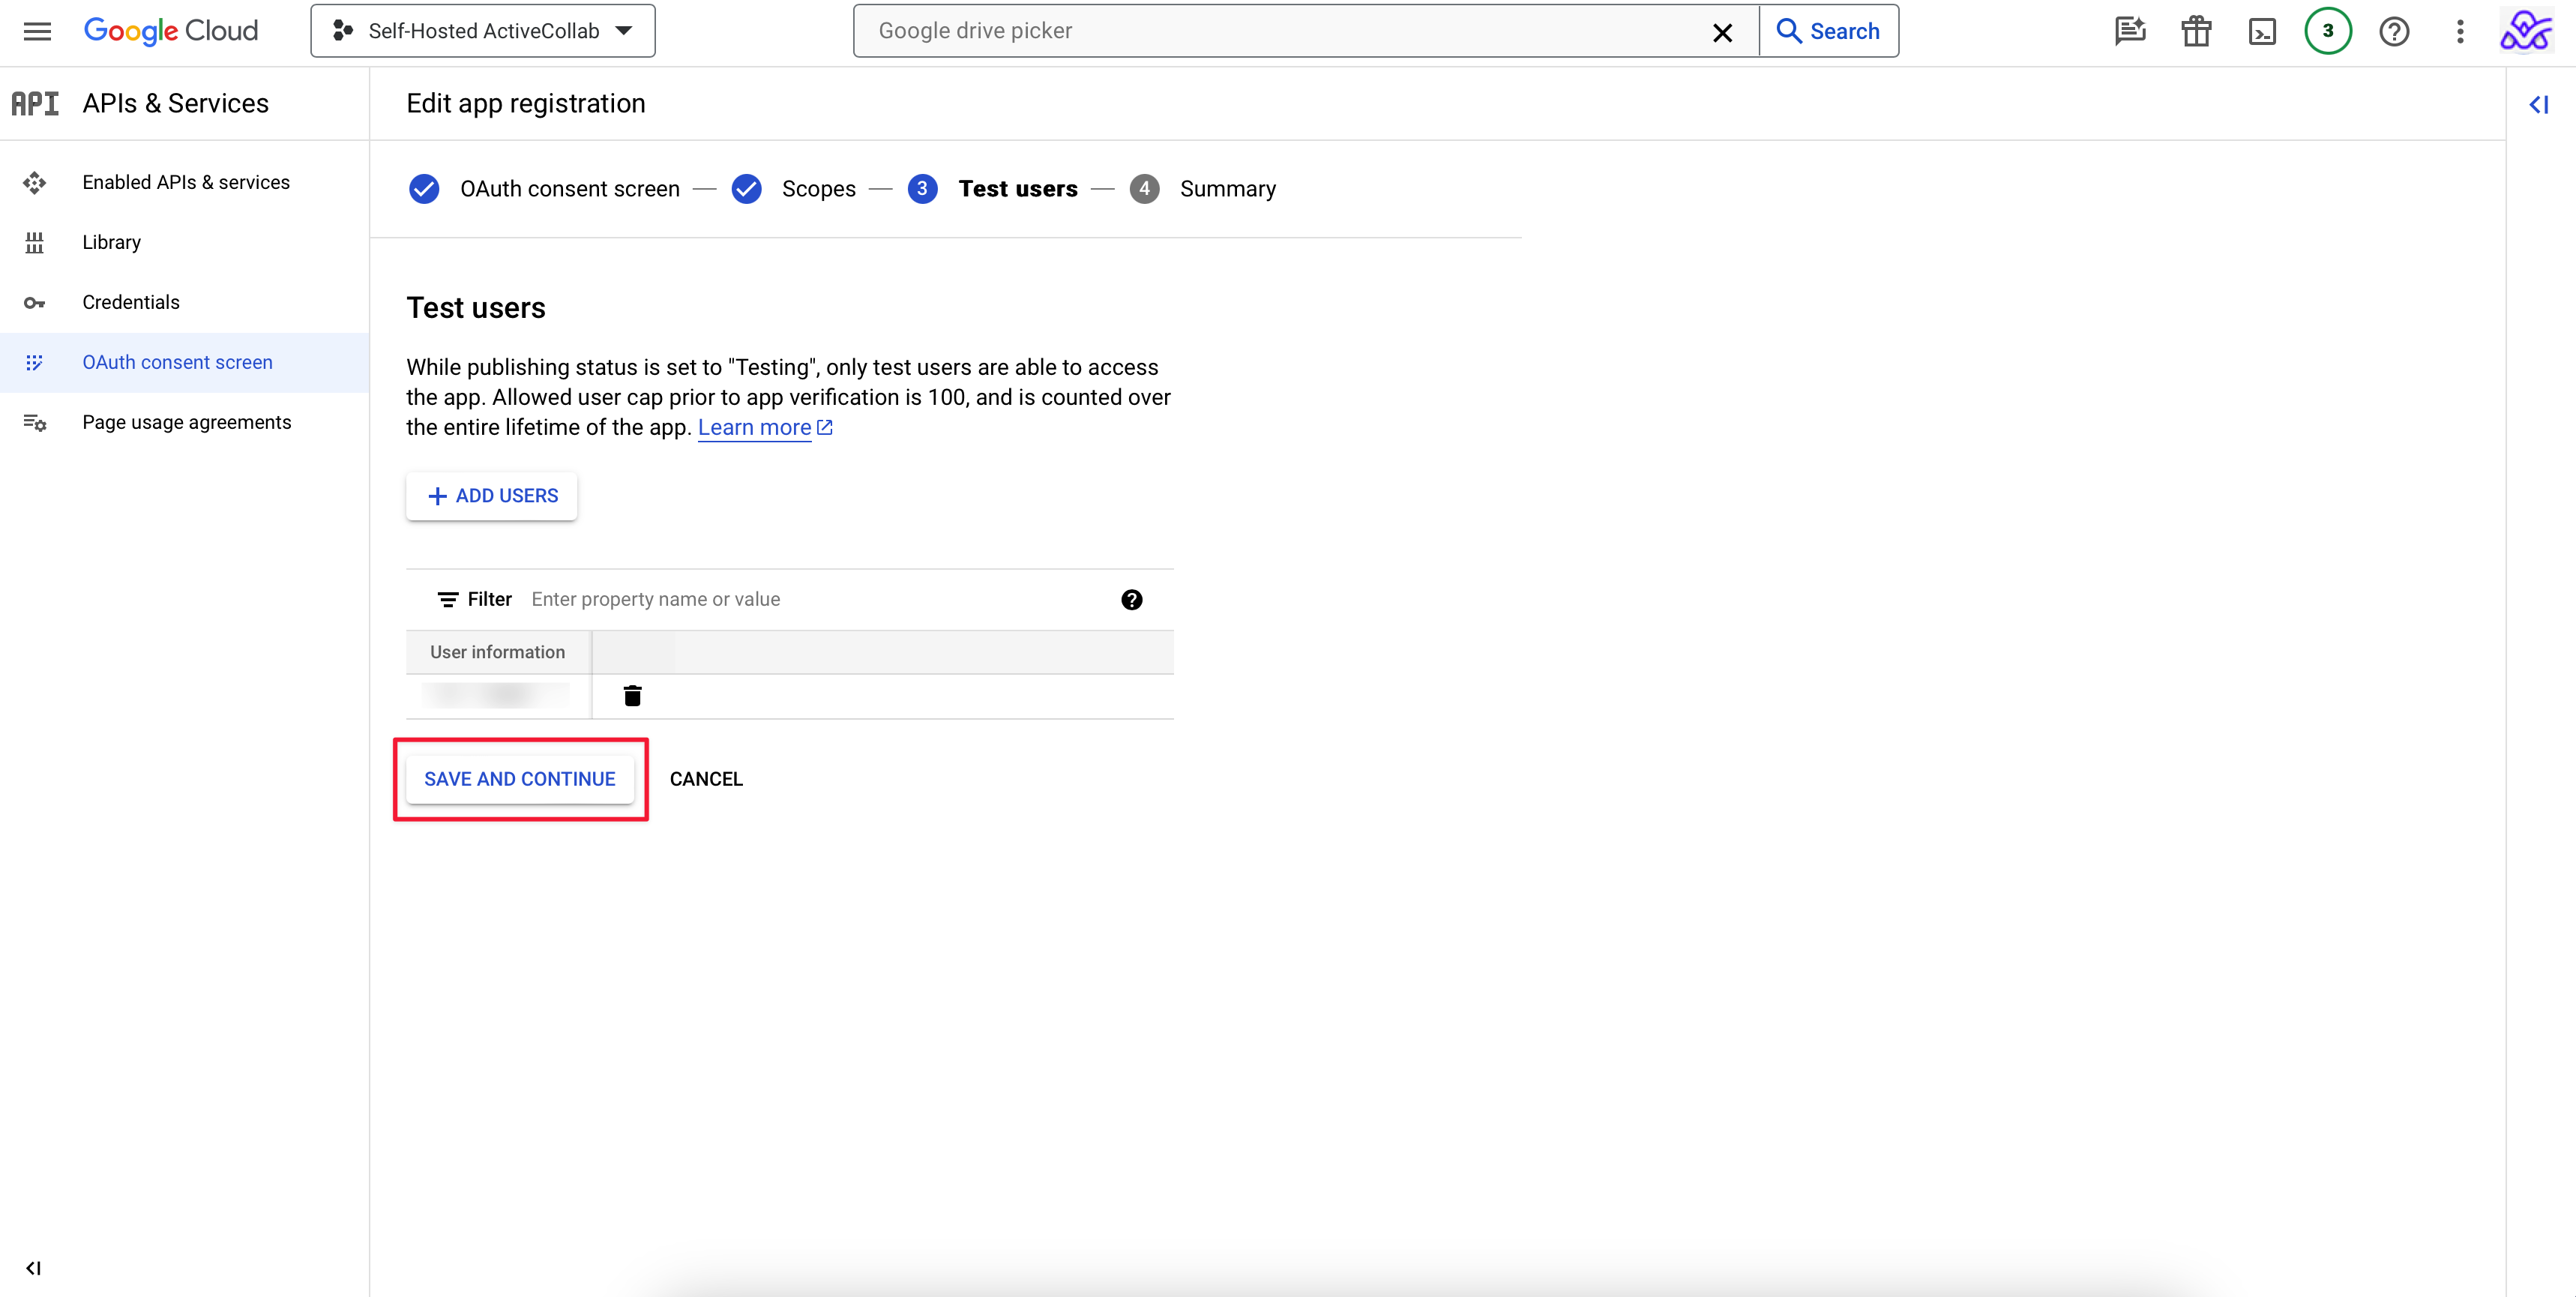
Save the changes.
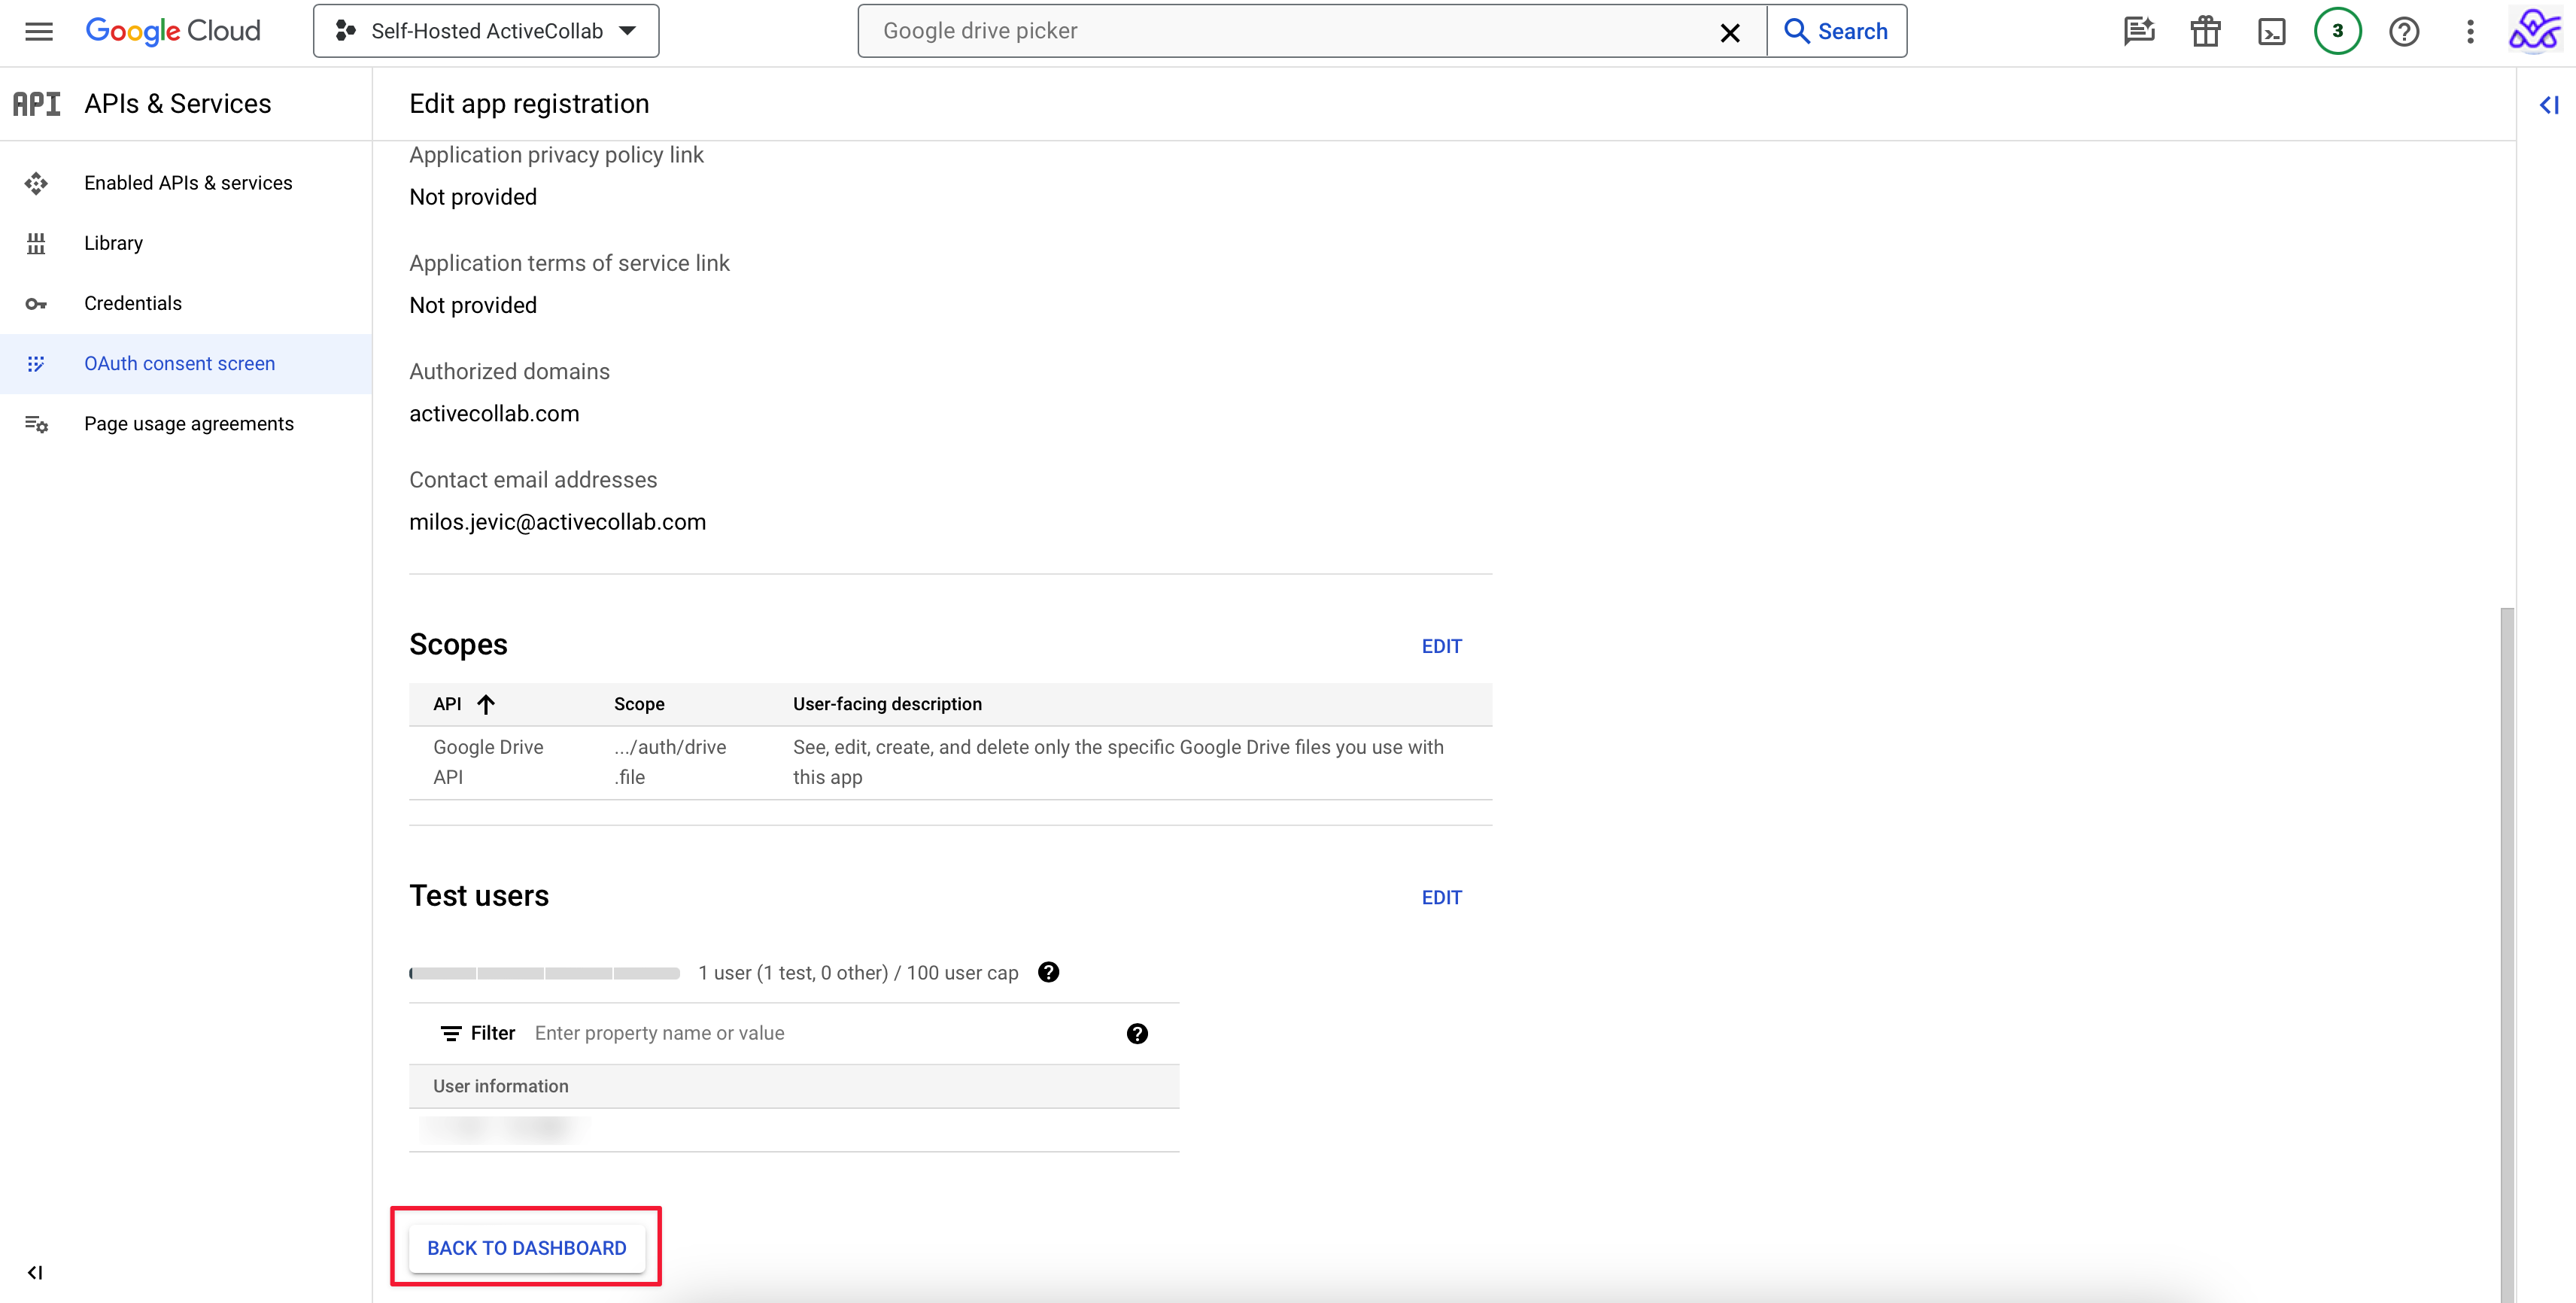
Click BACK TO DASHBOARD to return to the Dashboard.
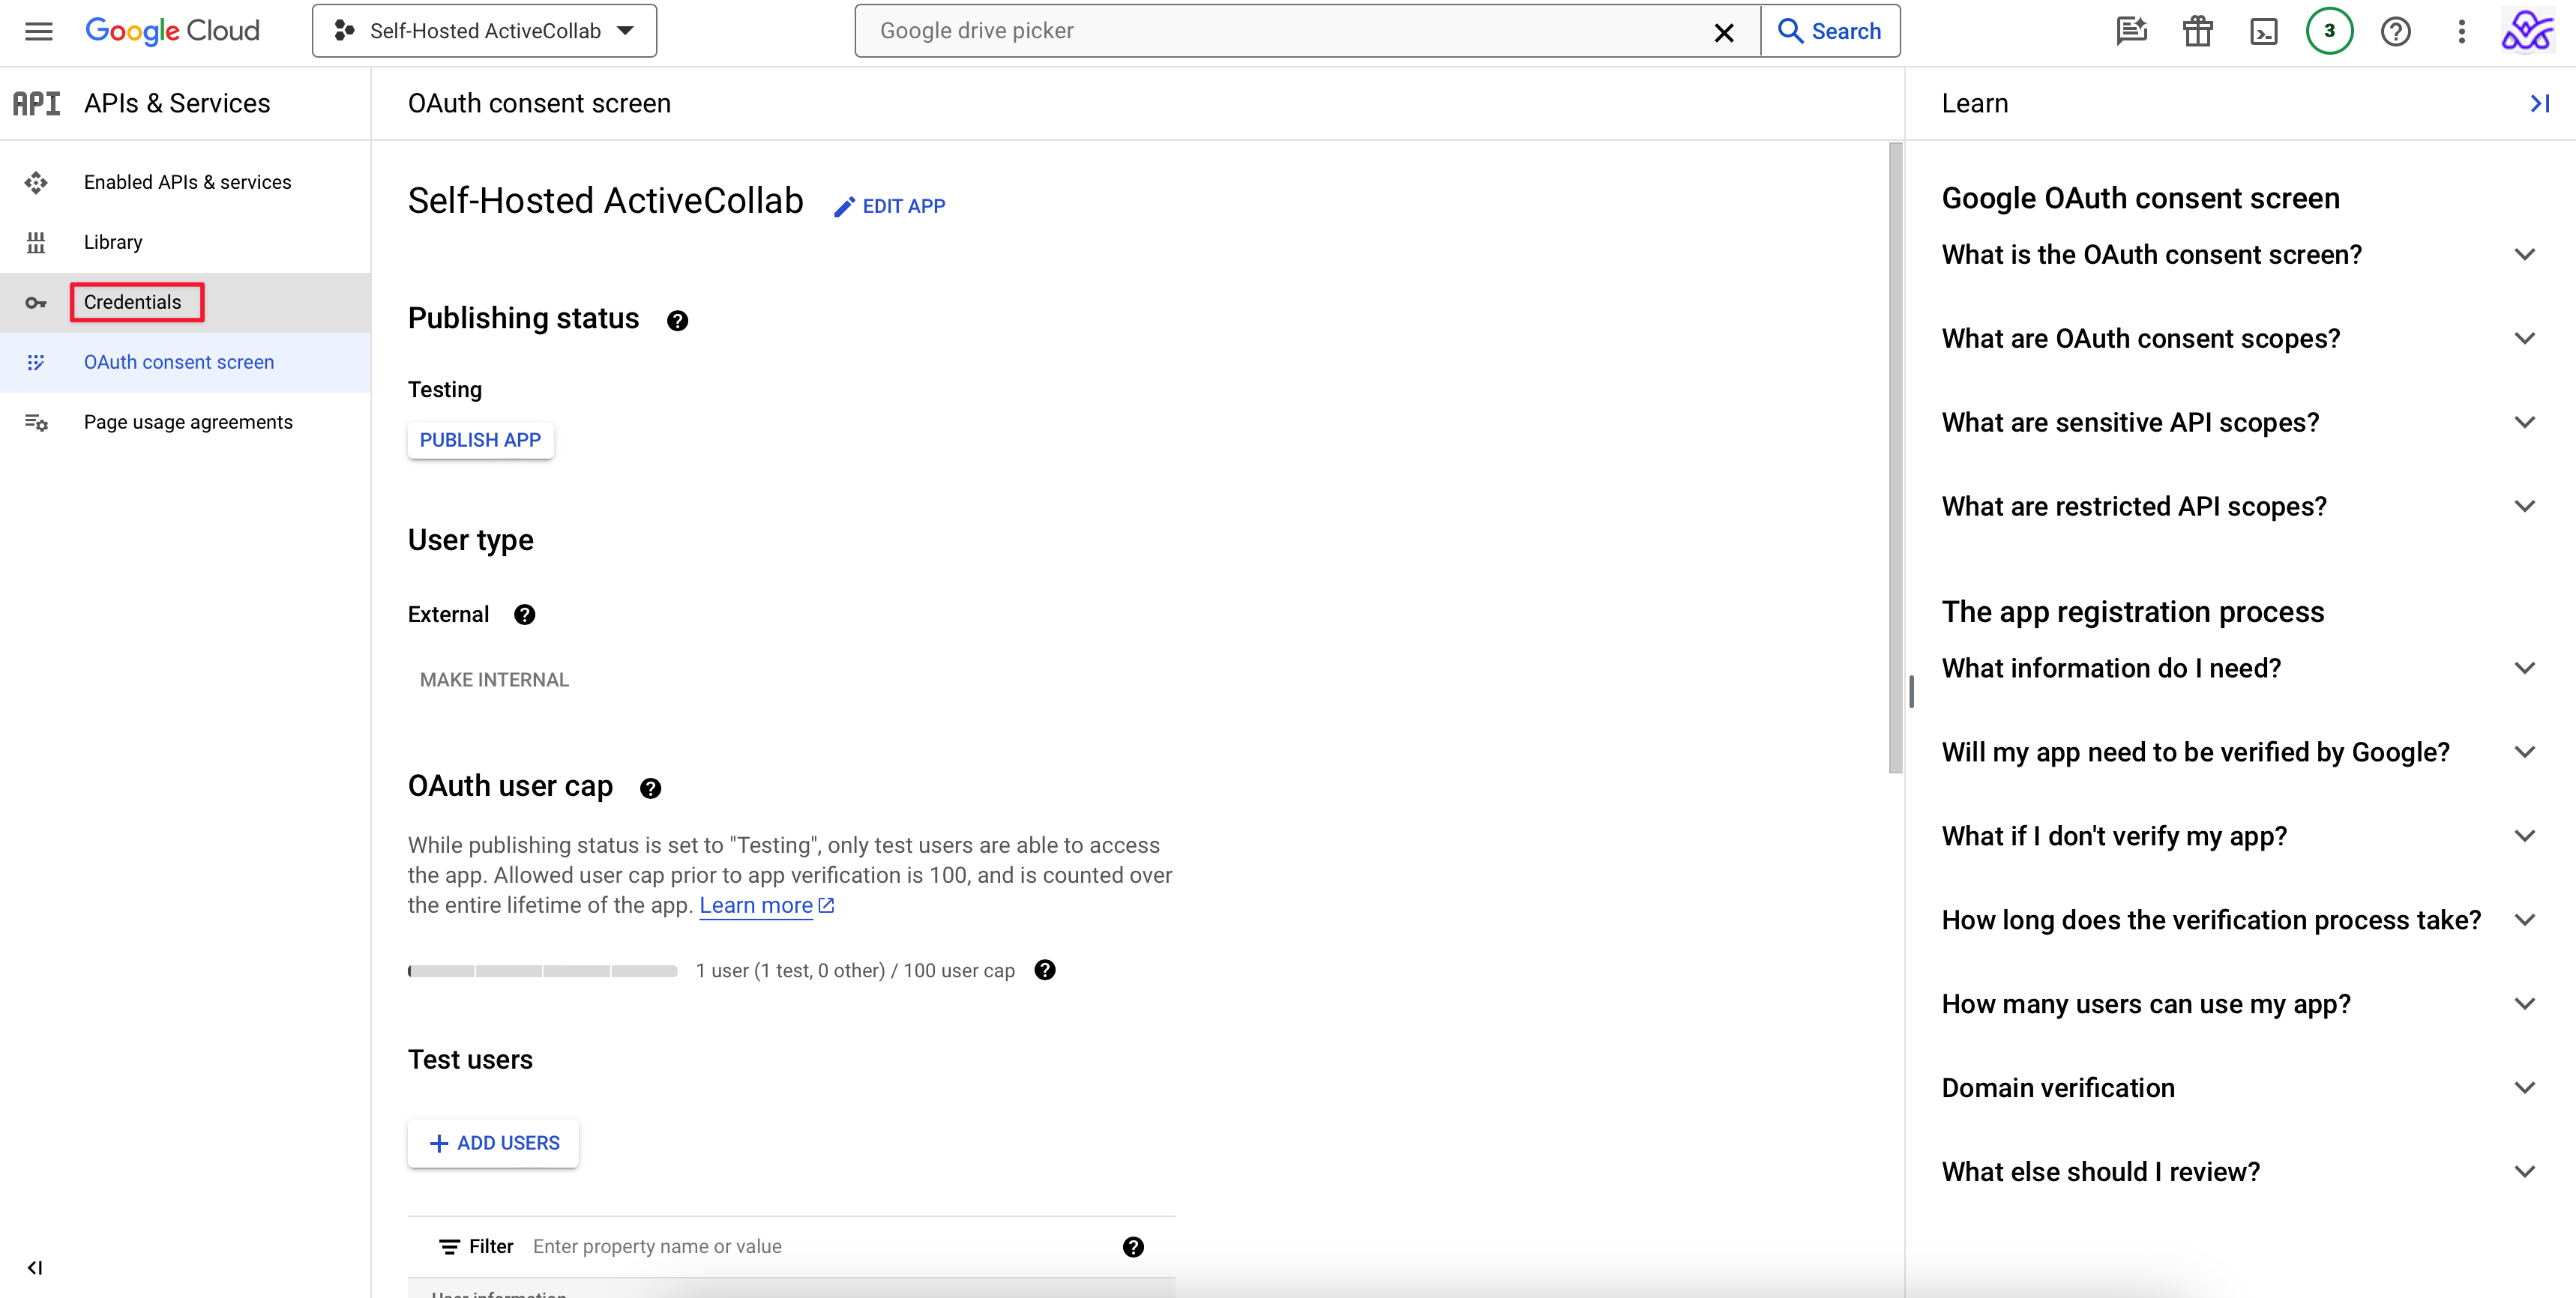
In the left-hand navigation menu, click Credentials.
Then click +CREATE CREDENTIALS.
In the drop-down menu, select OAuth client ID again.
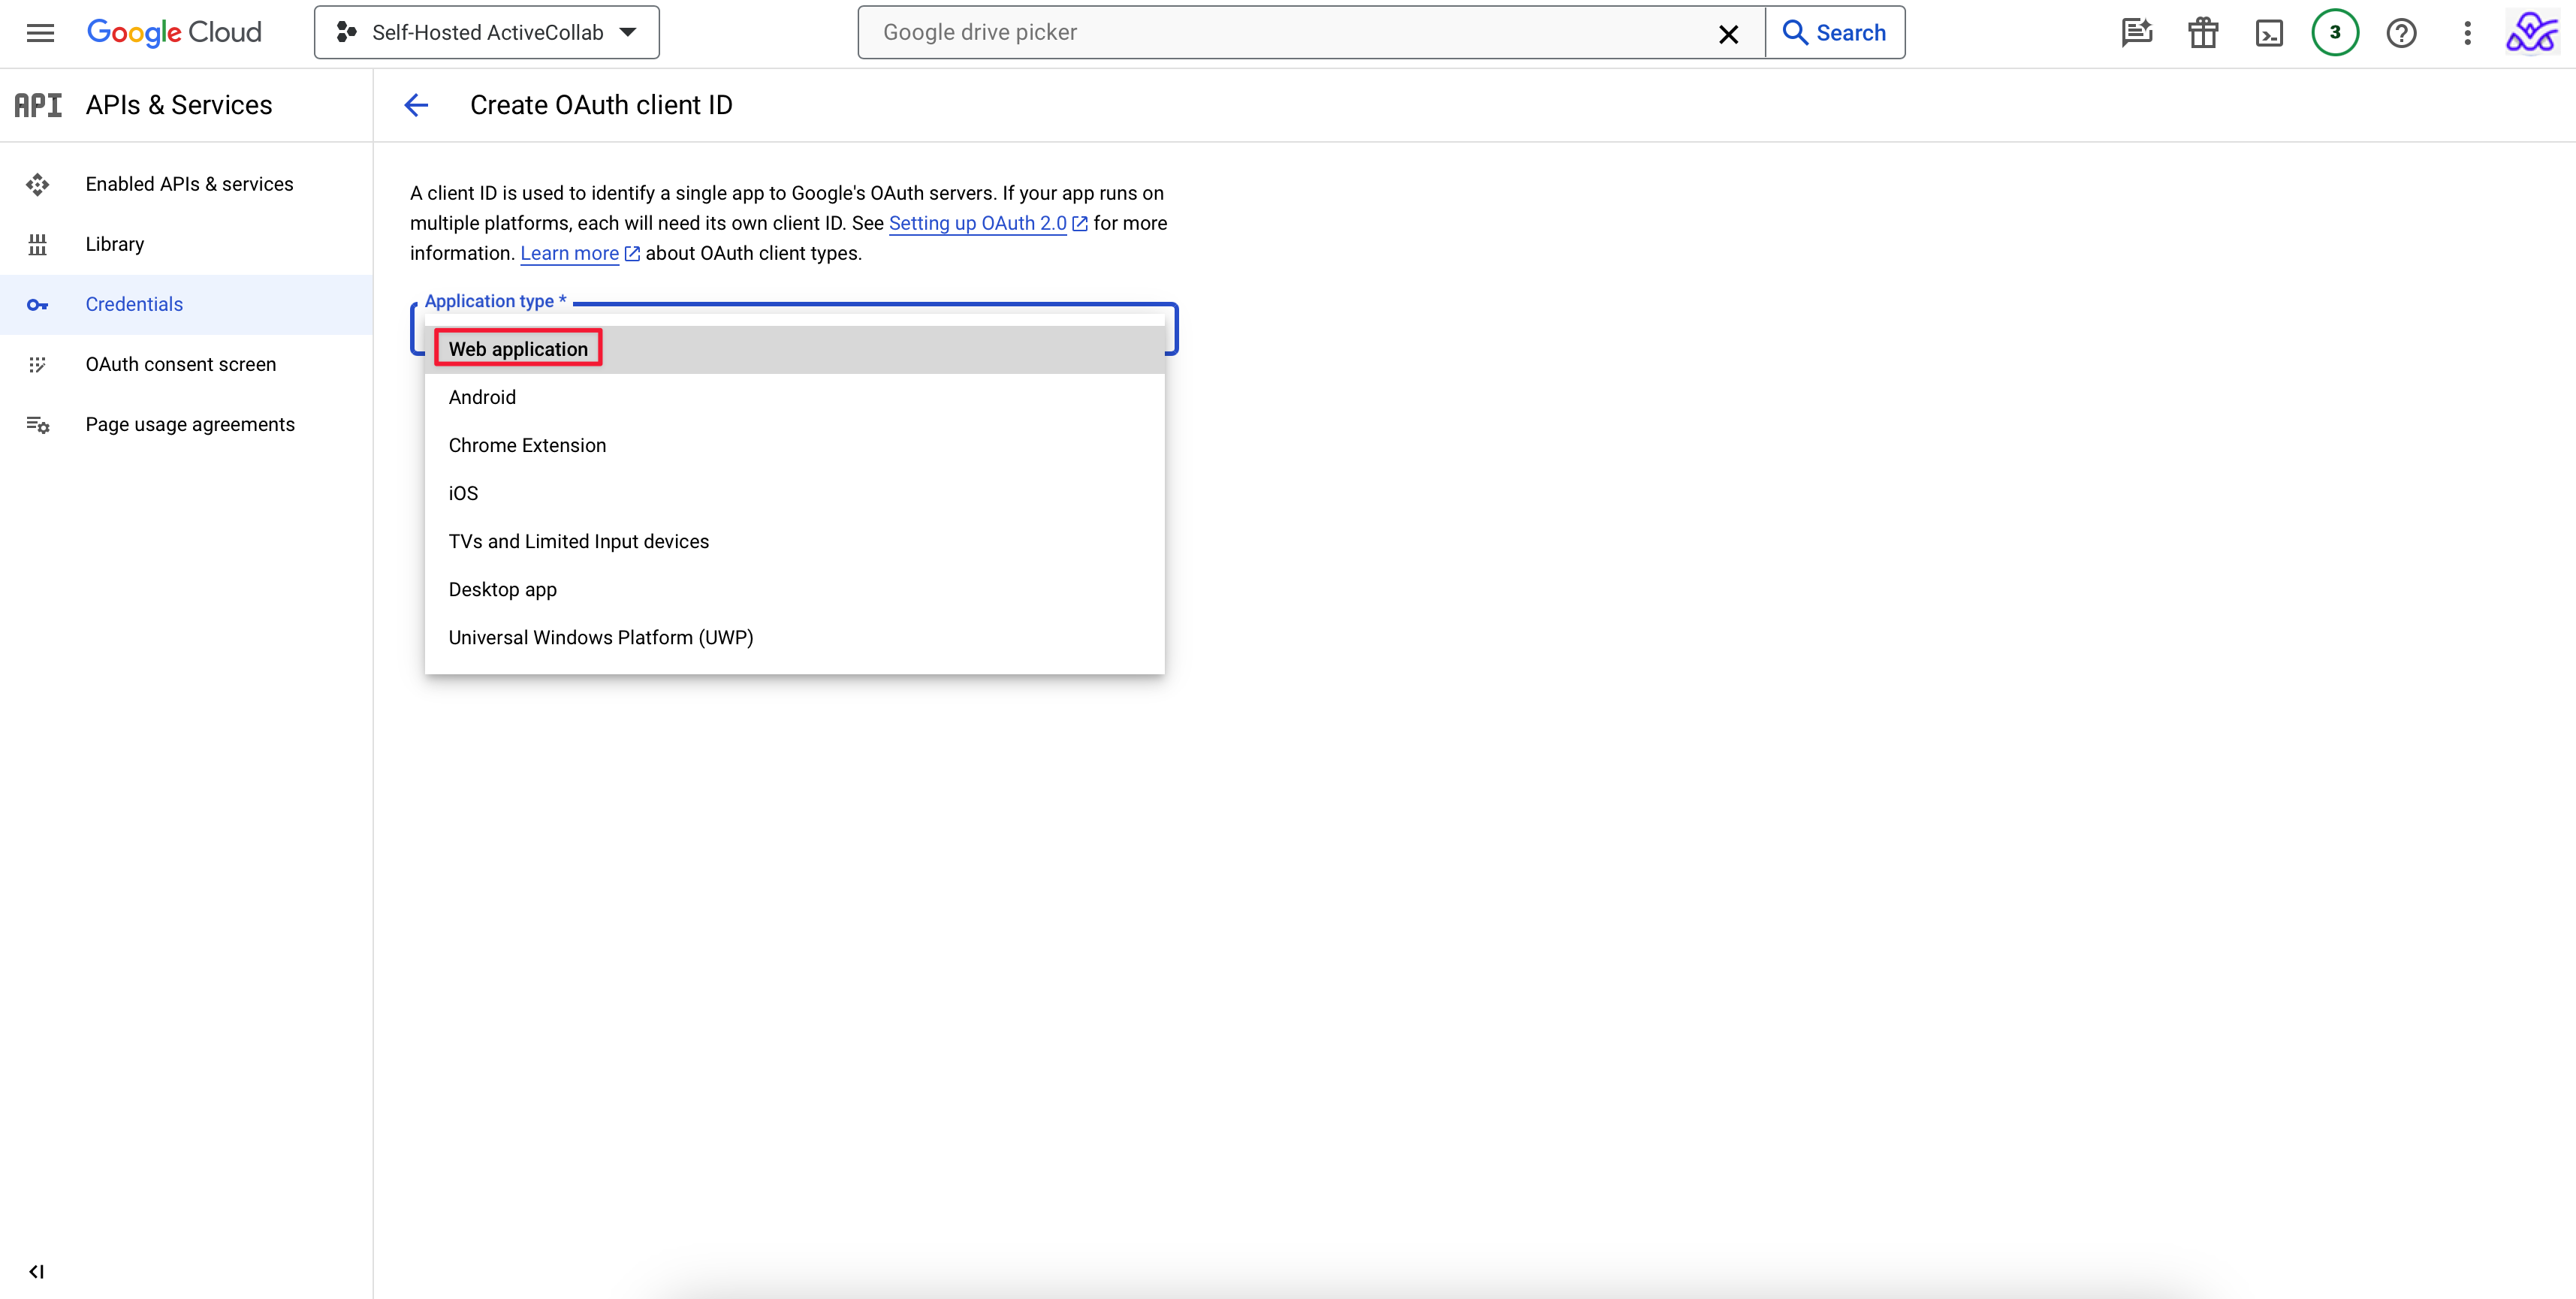
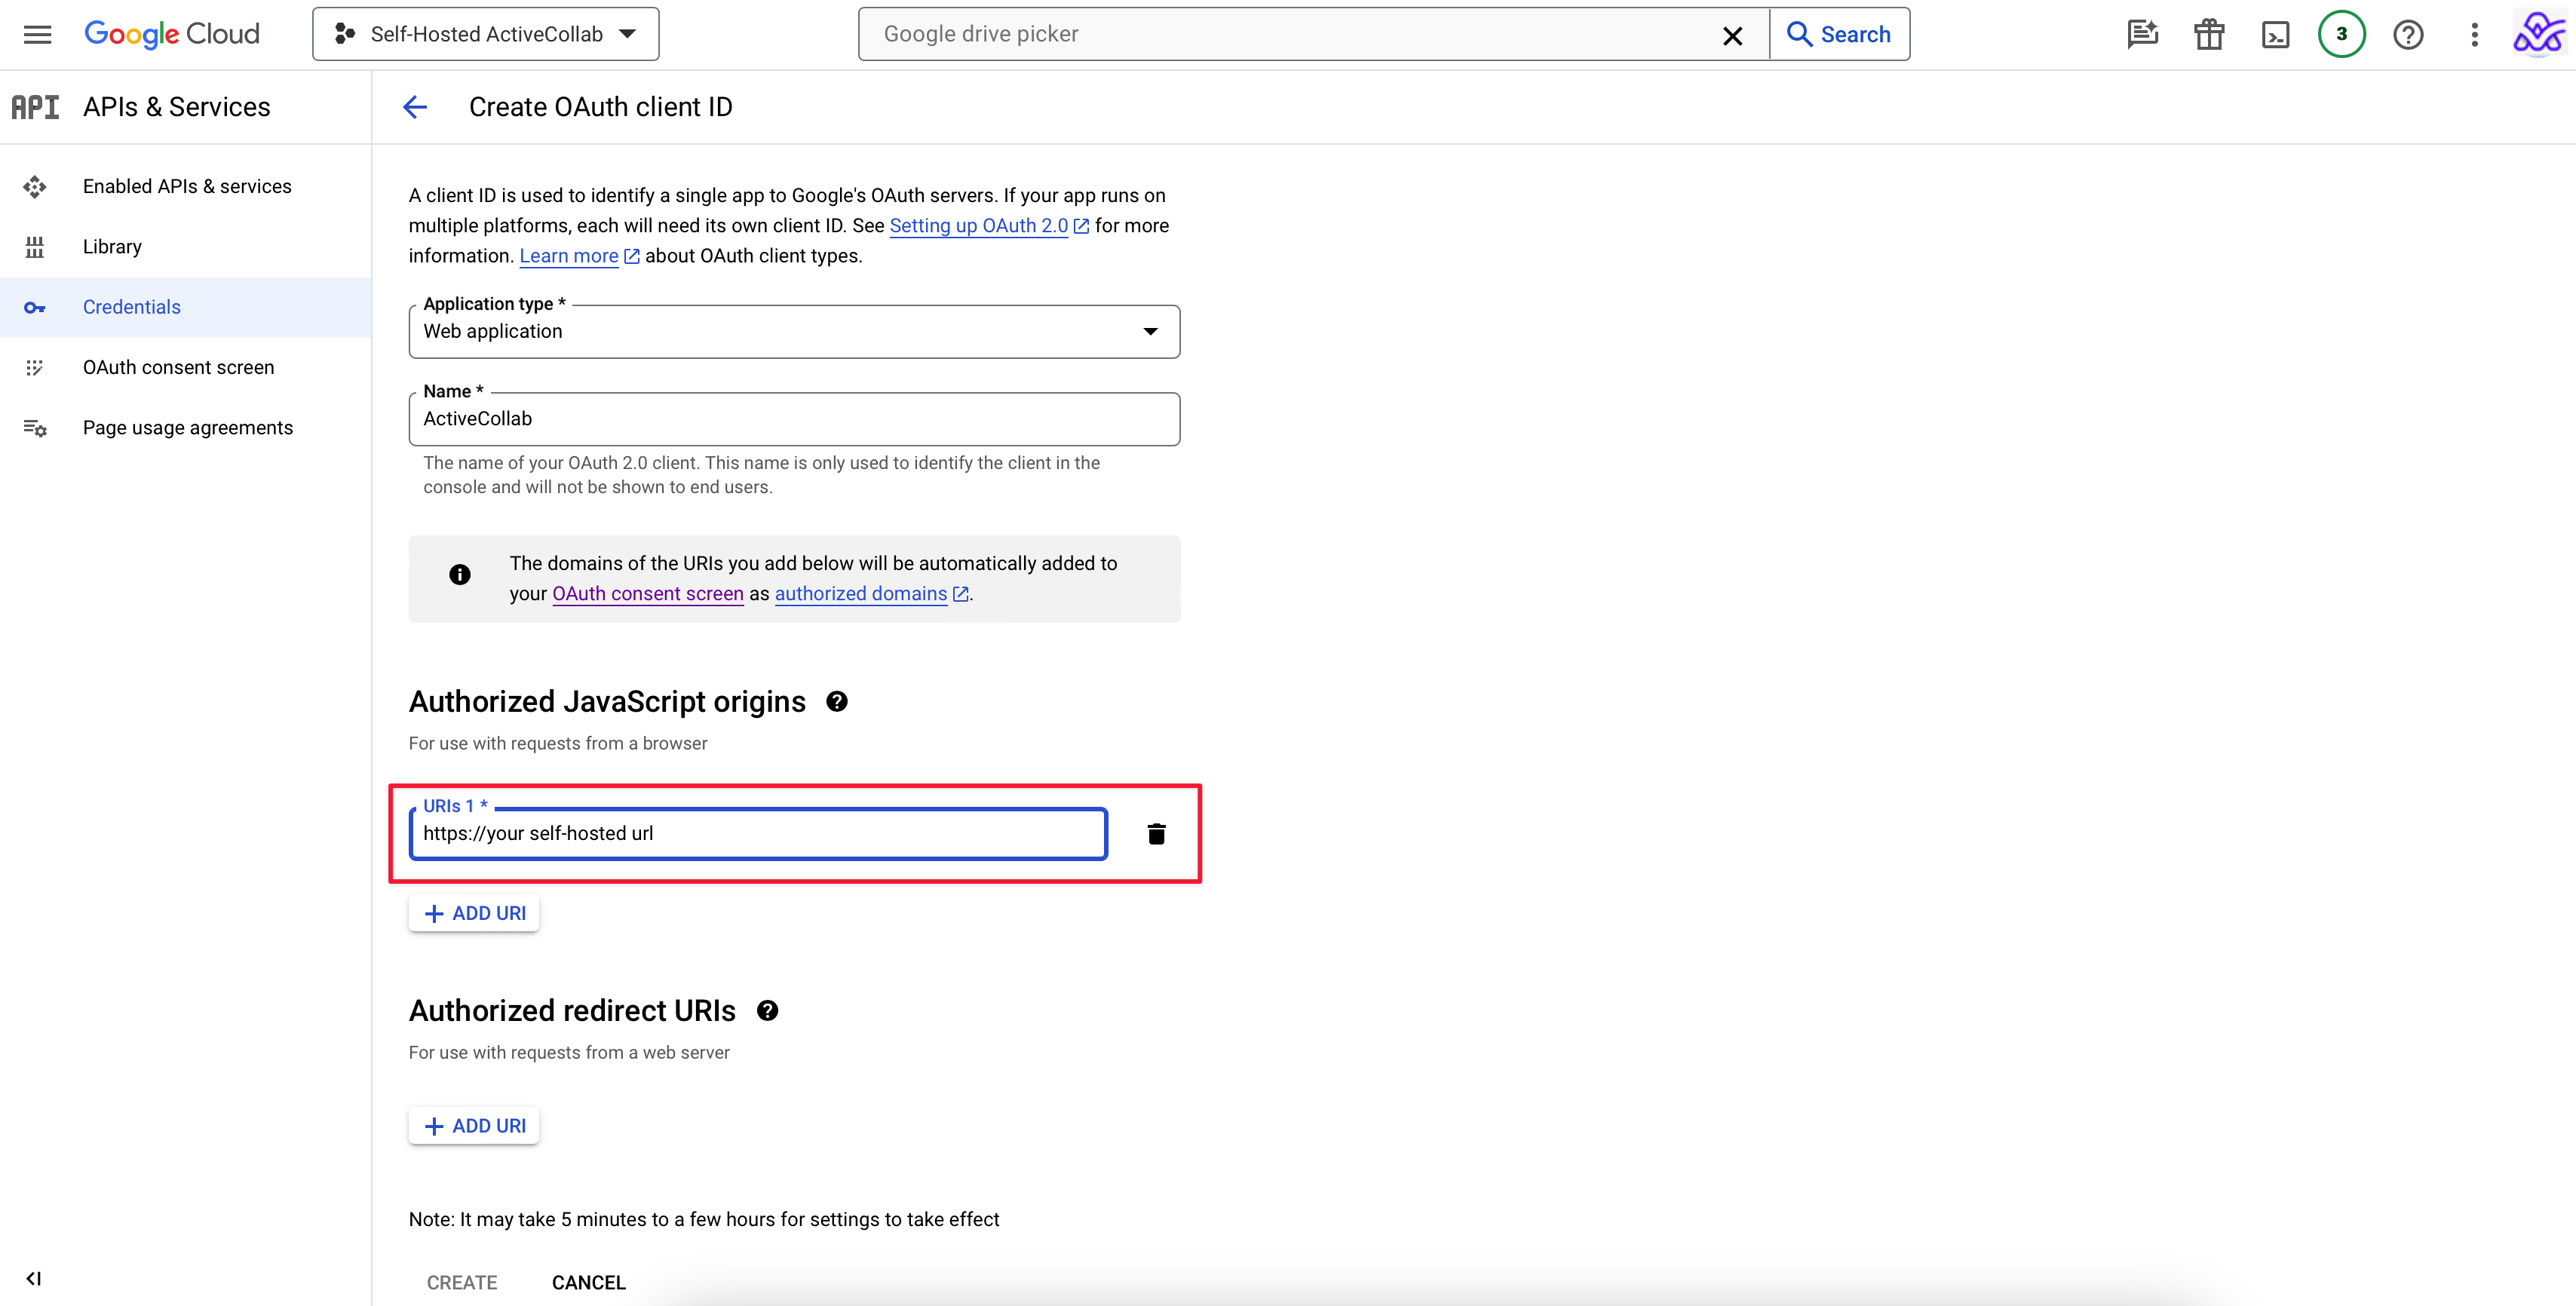
In the Application type menu, choose Web application.
Under Name, enter ActiveCollab. Then, click on the +ADD URL.
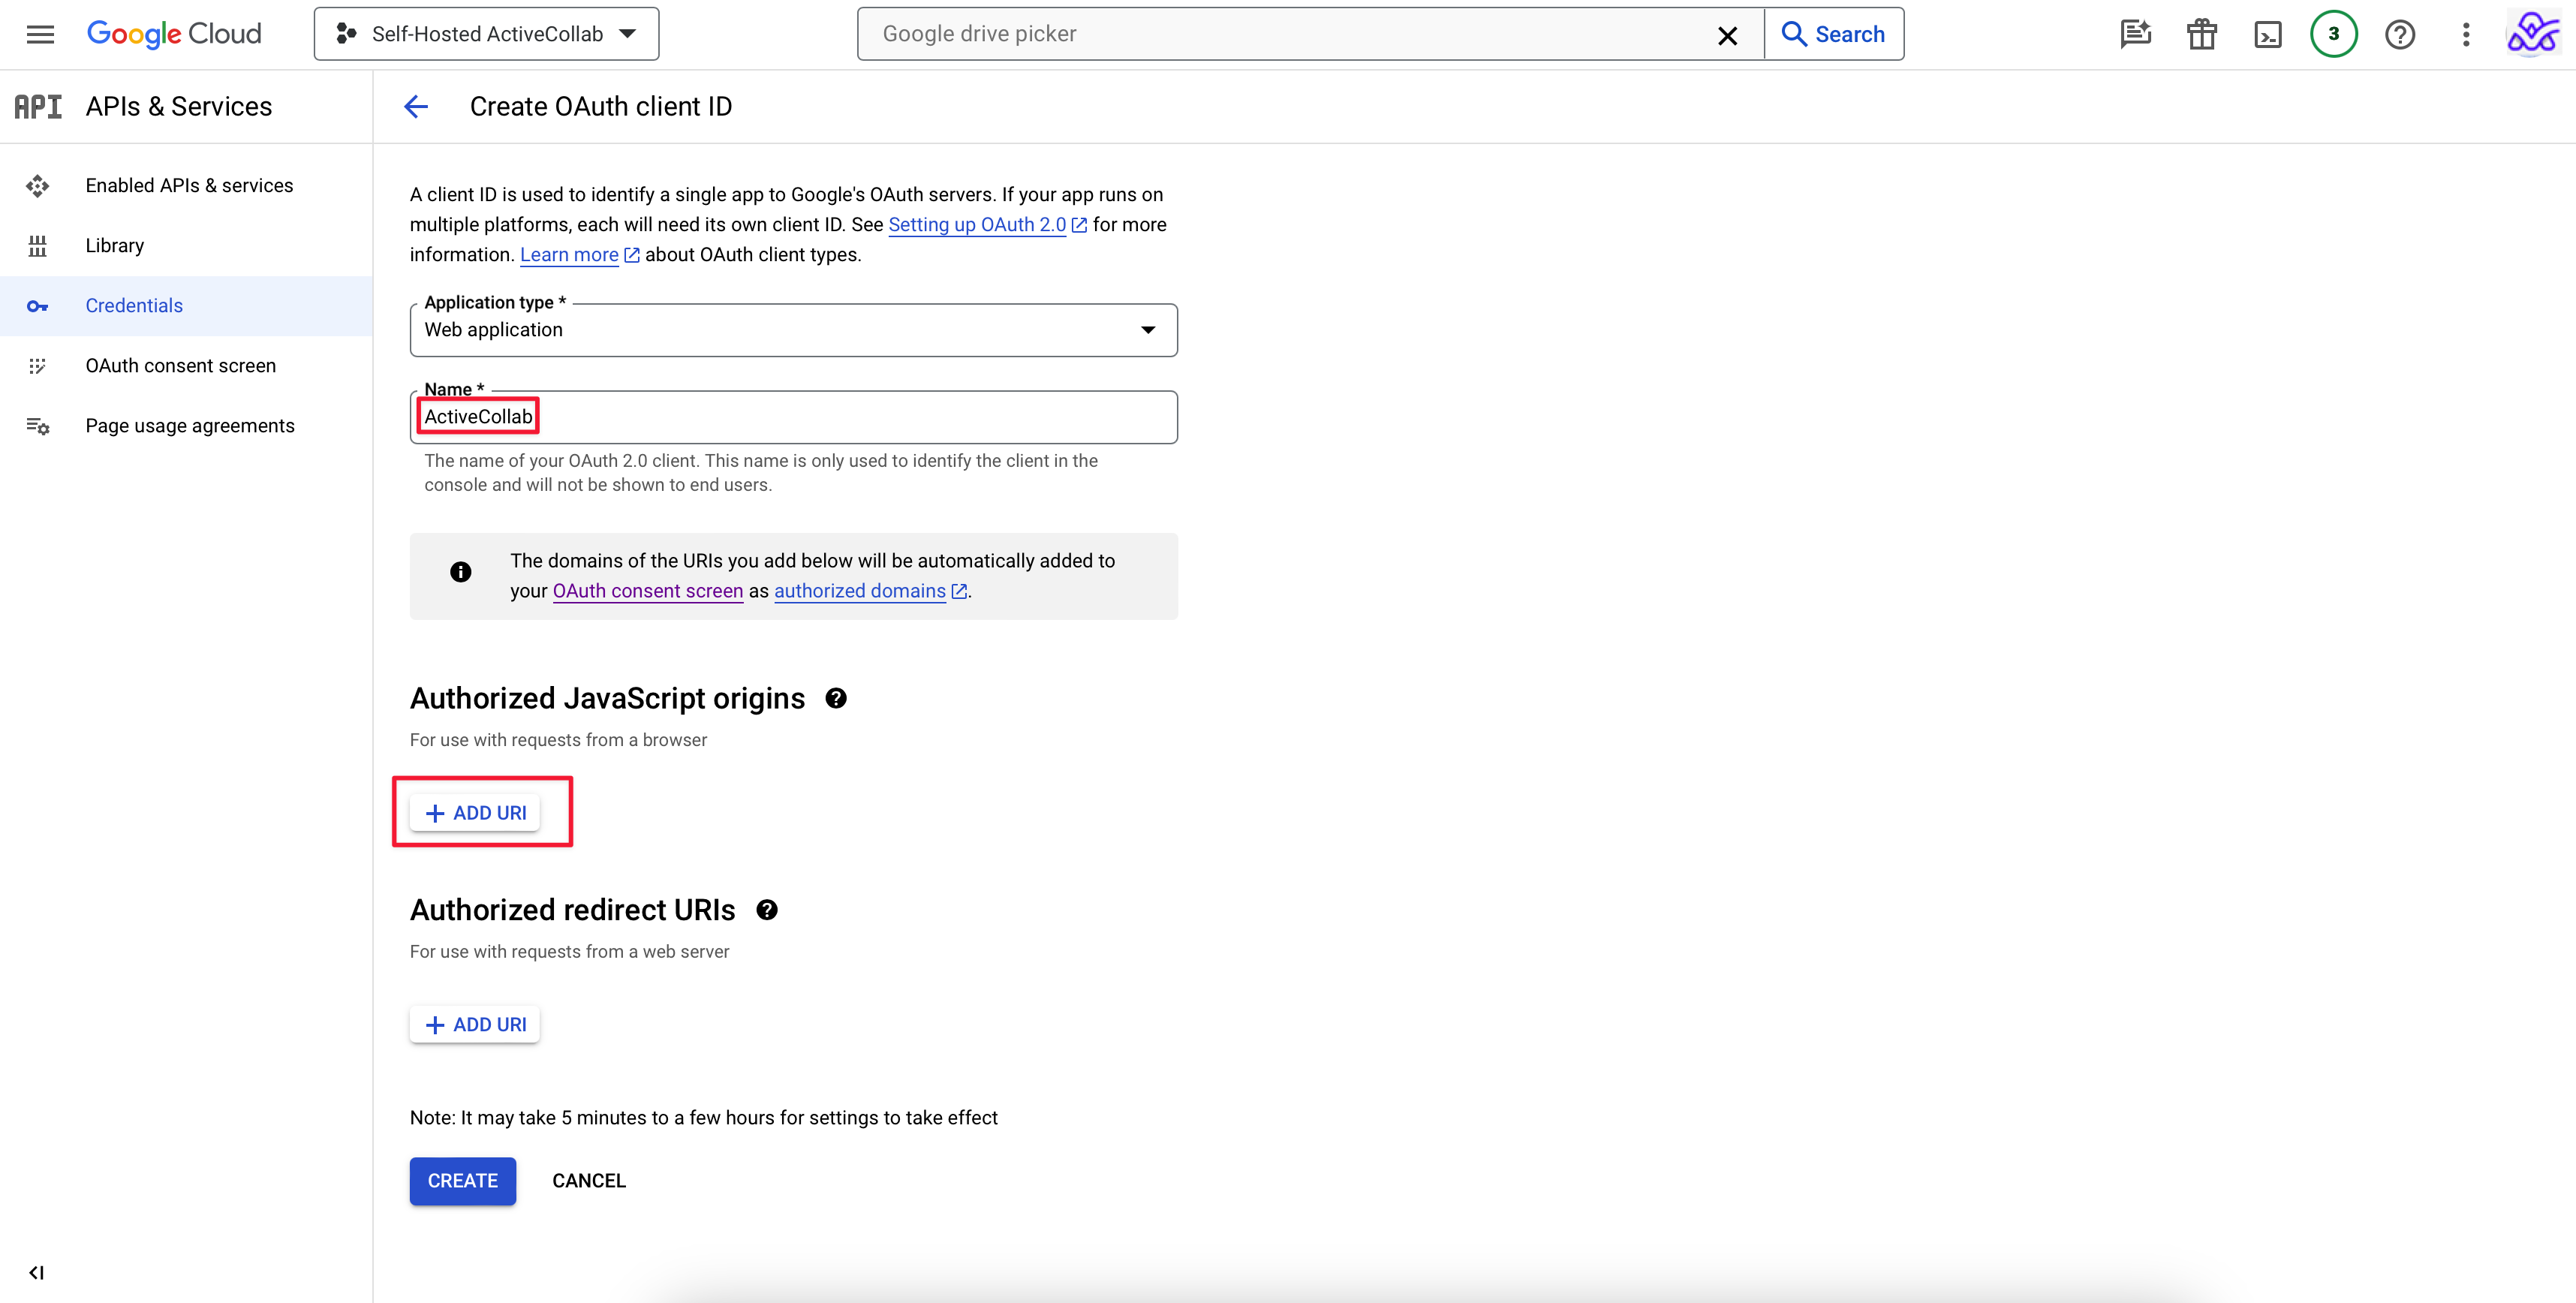
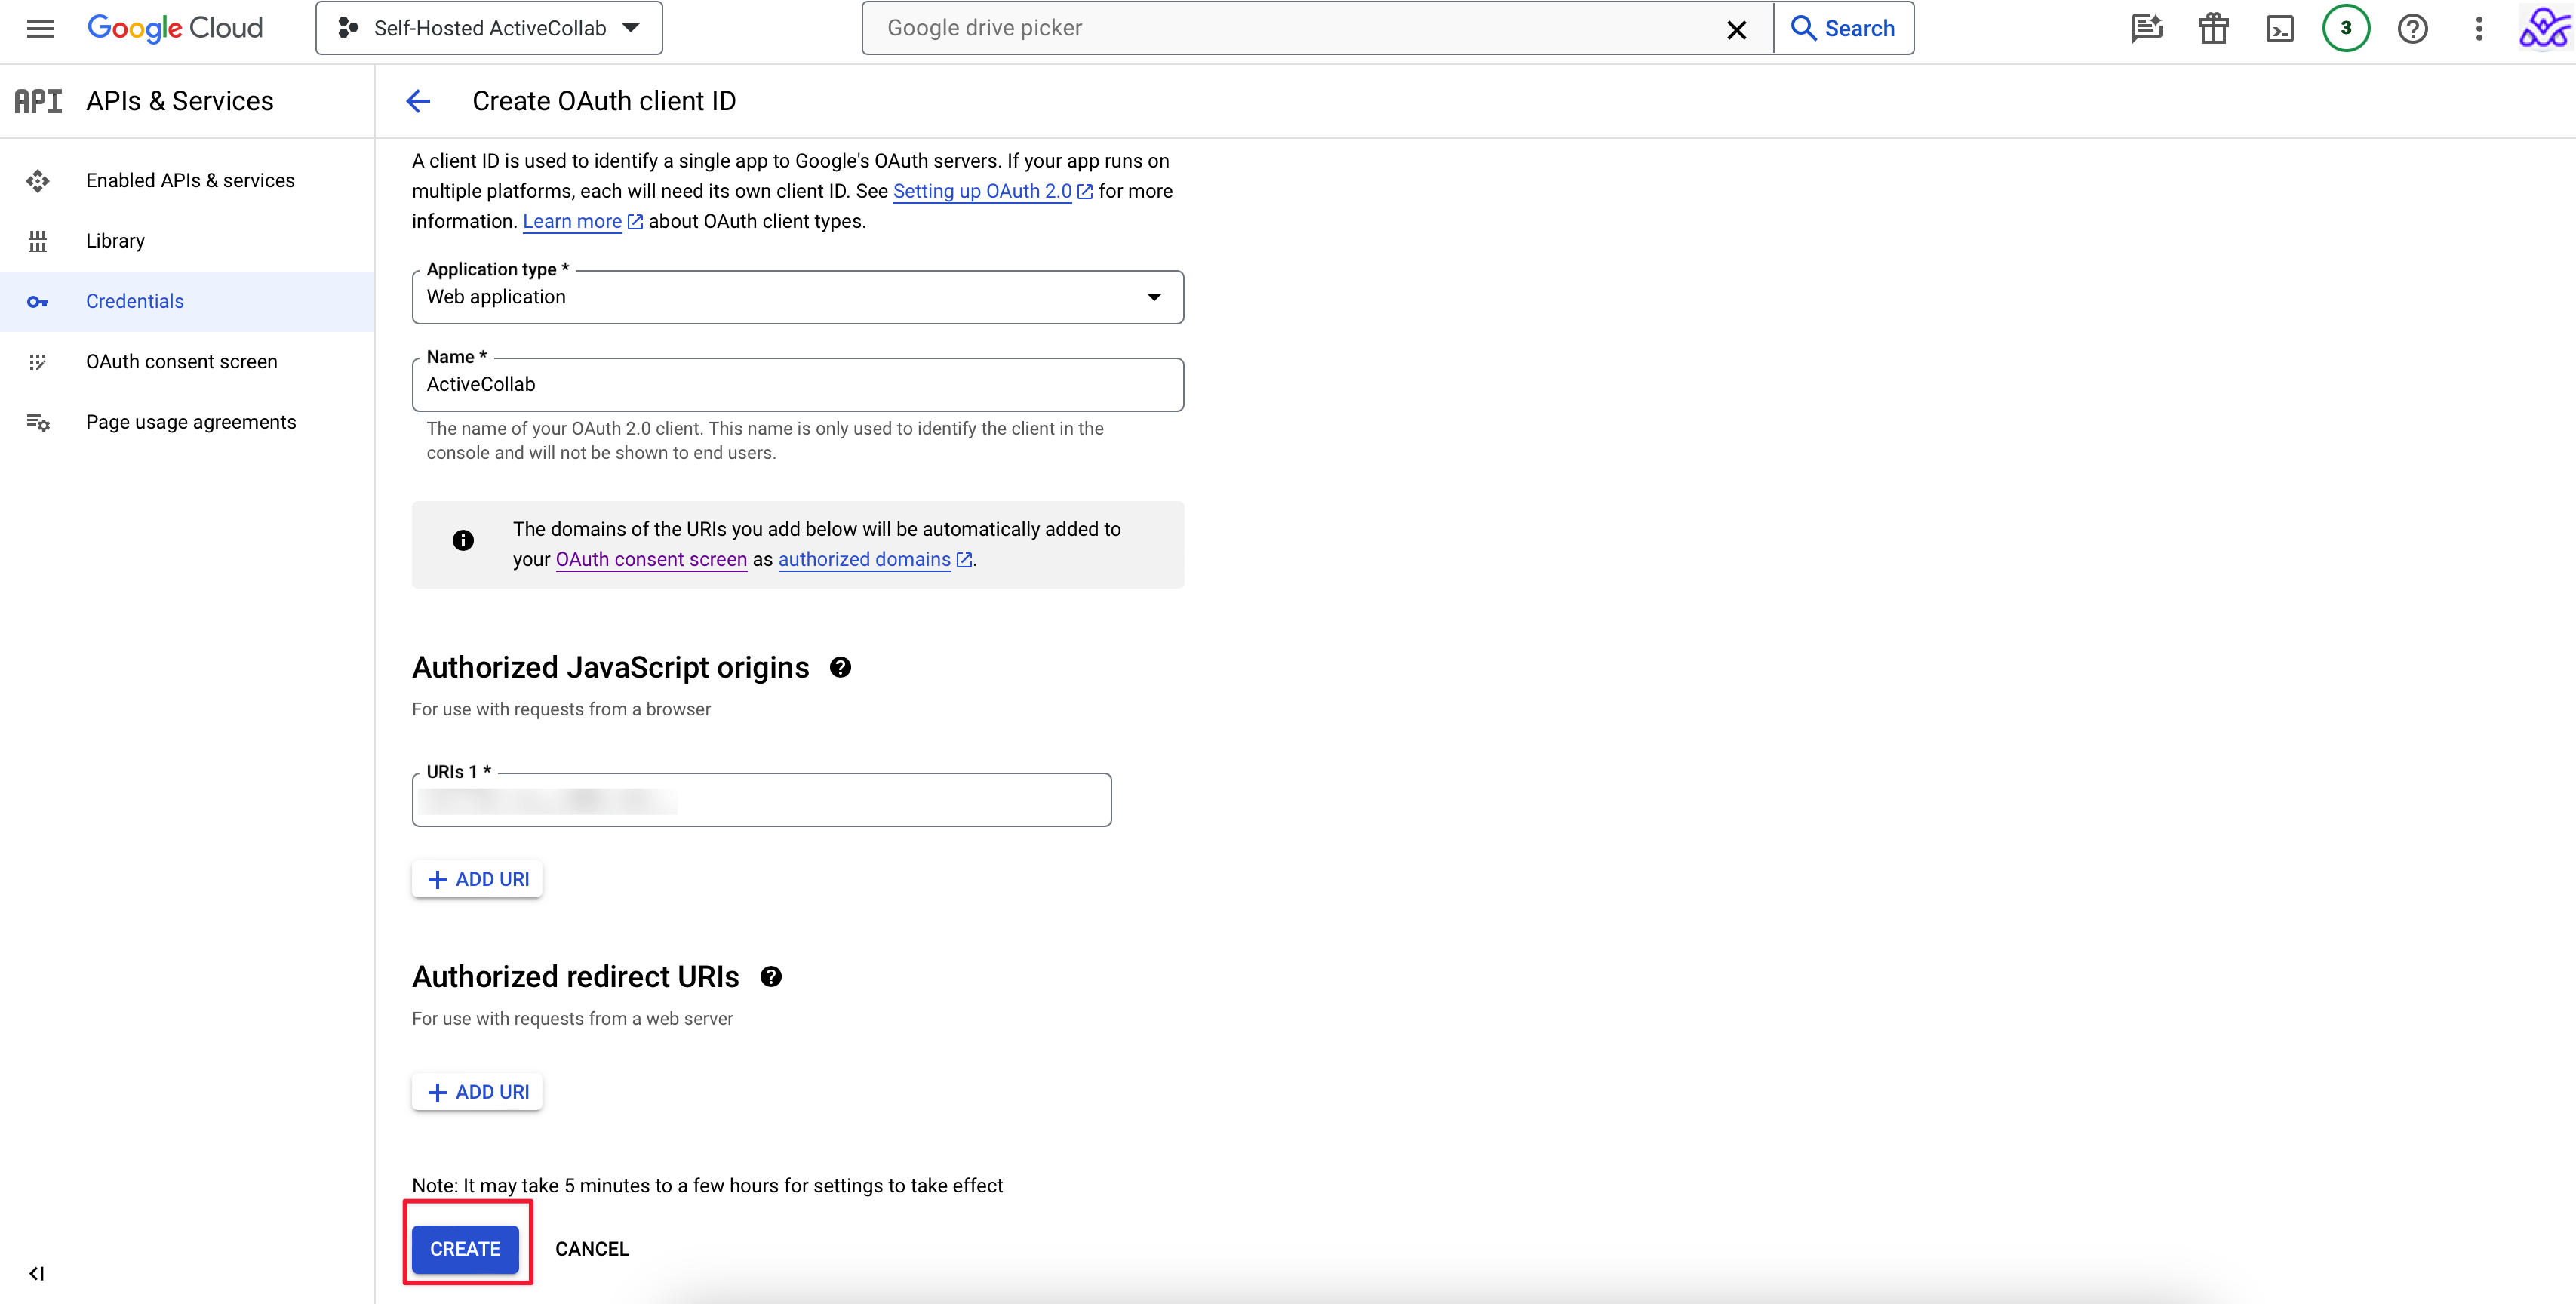
Add the URL of your ActiveCollab Self-Hosted license.
Then click CREATE.
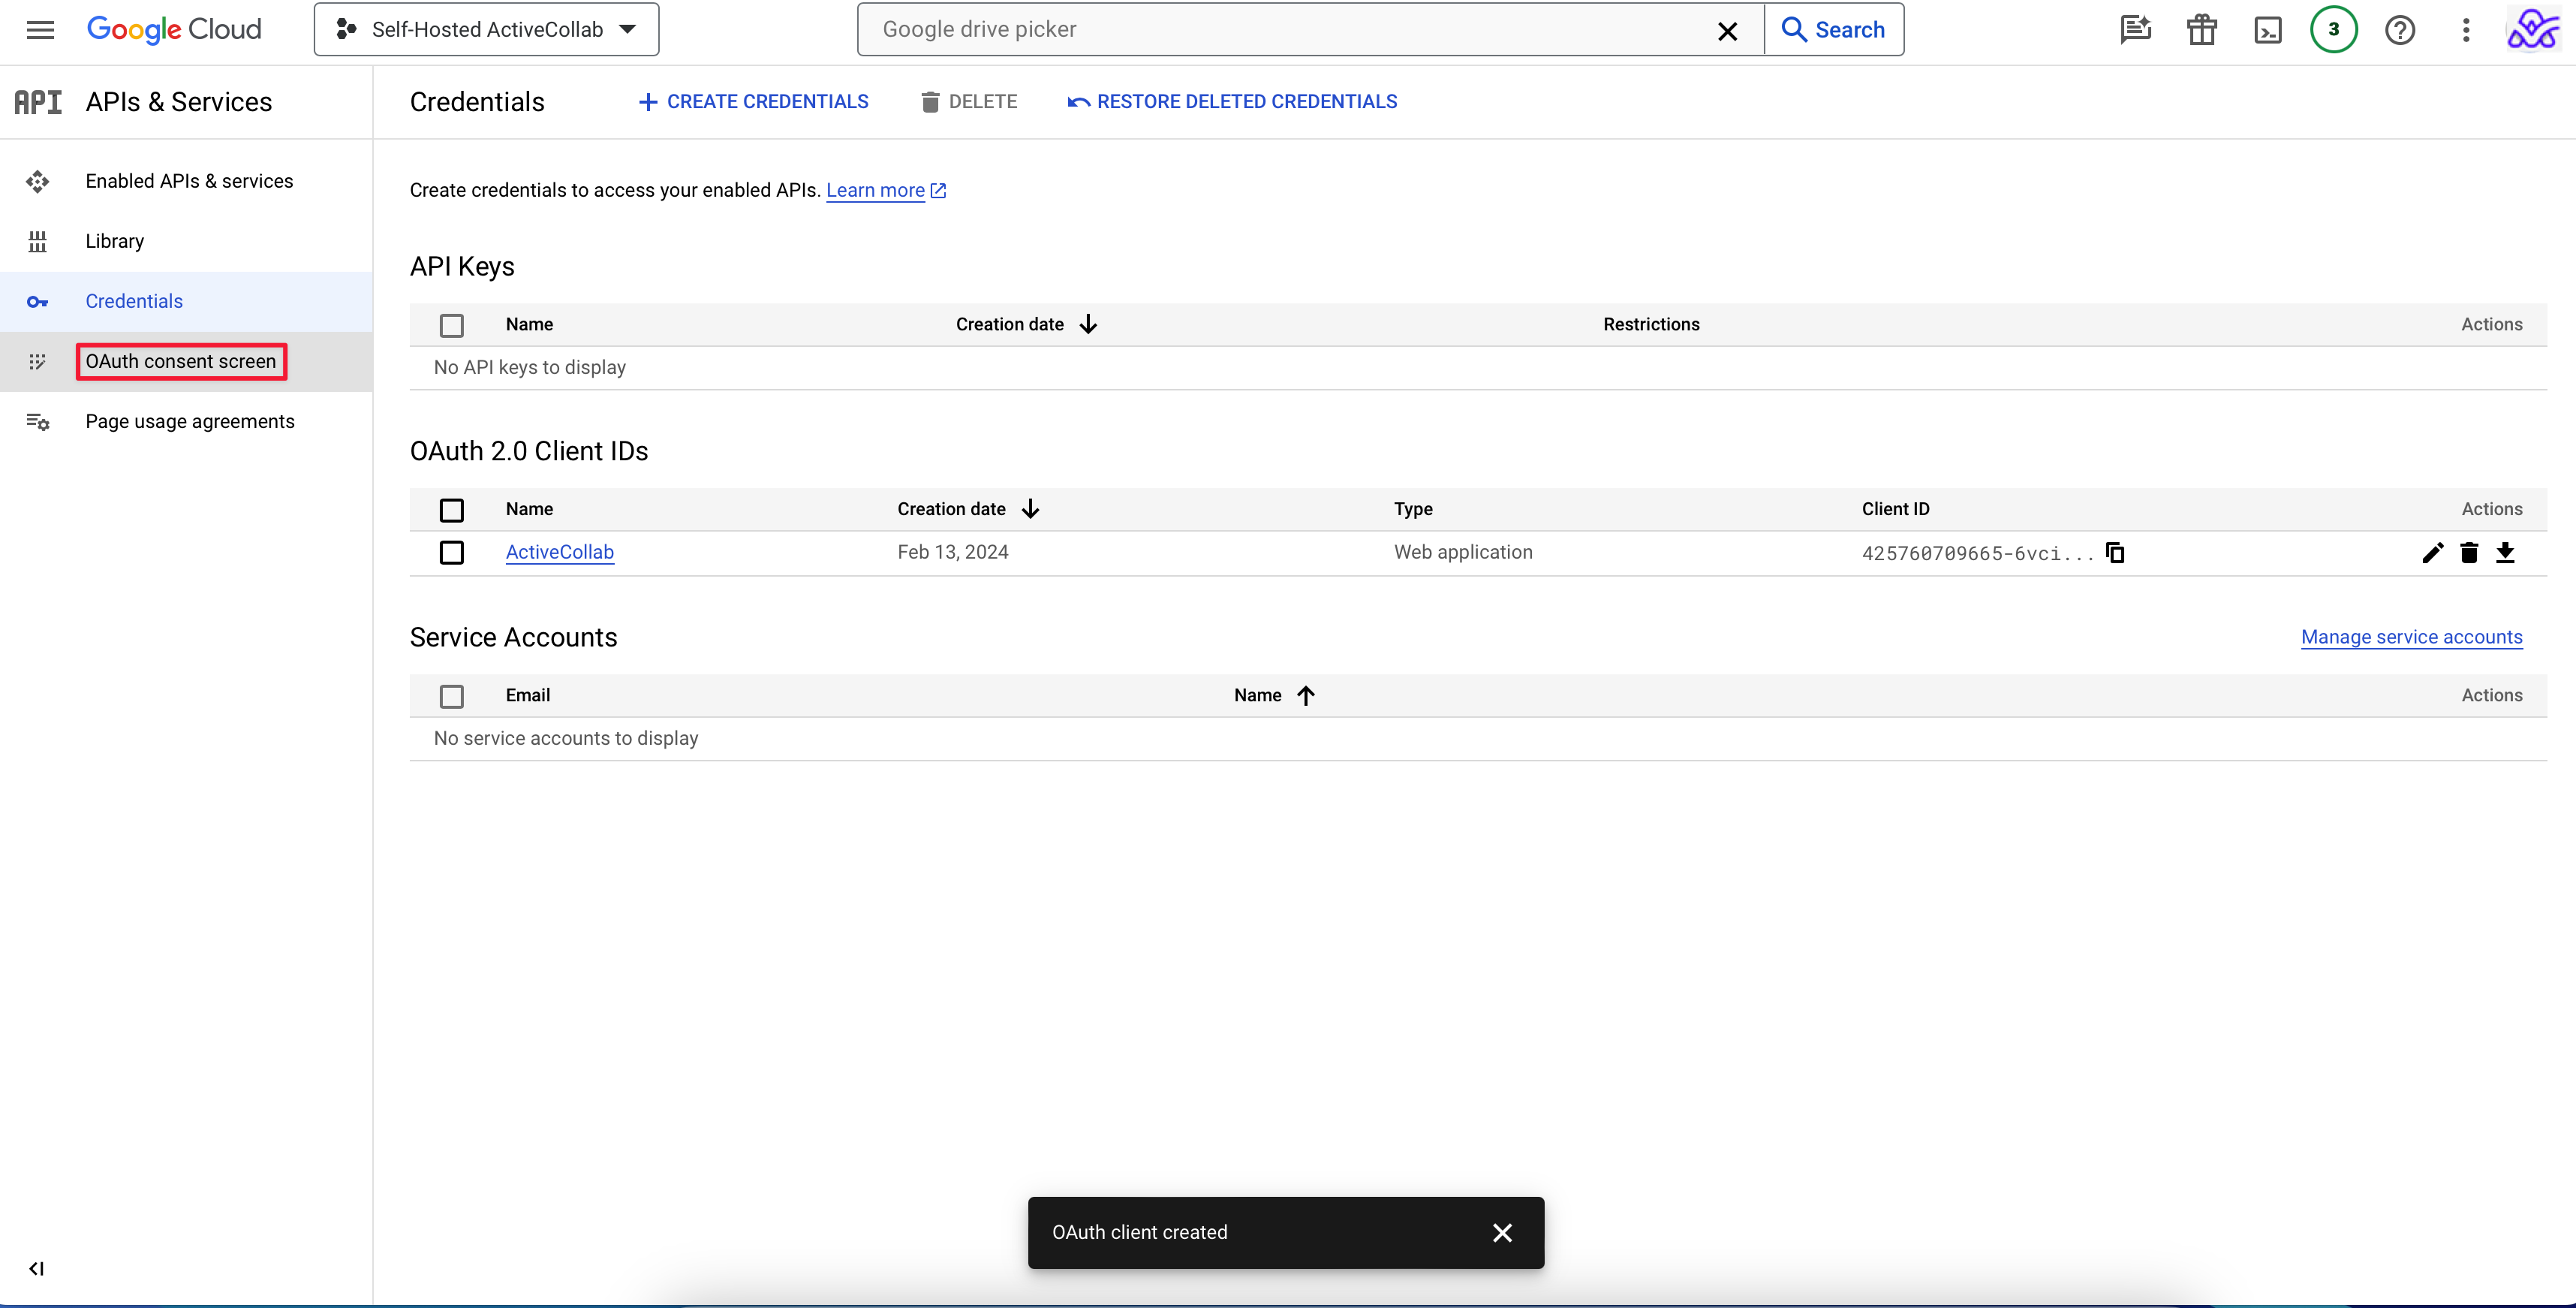
Copy the Client ID and Client secret.

Add and copy the Client ID and Client secret, then click Connect.
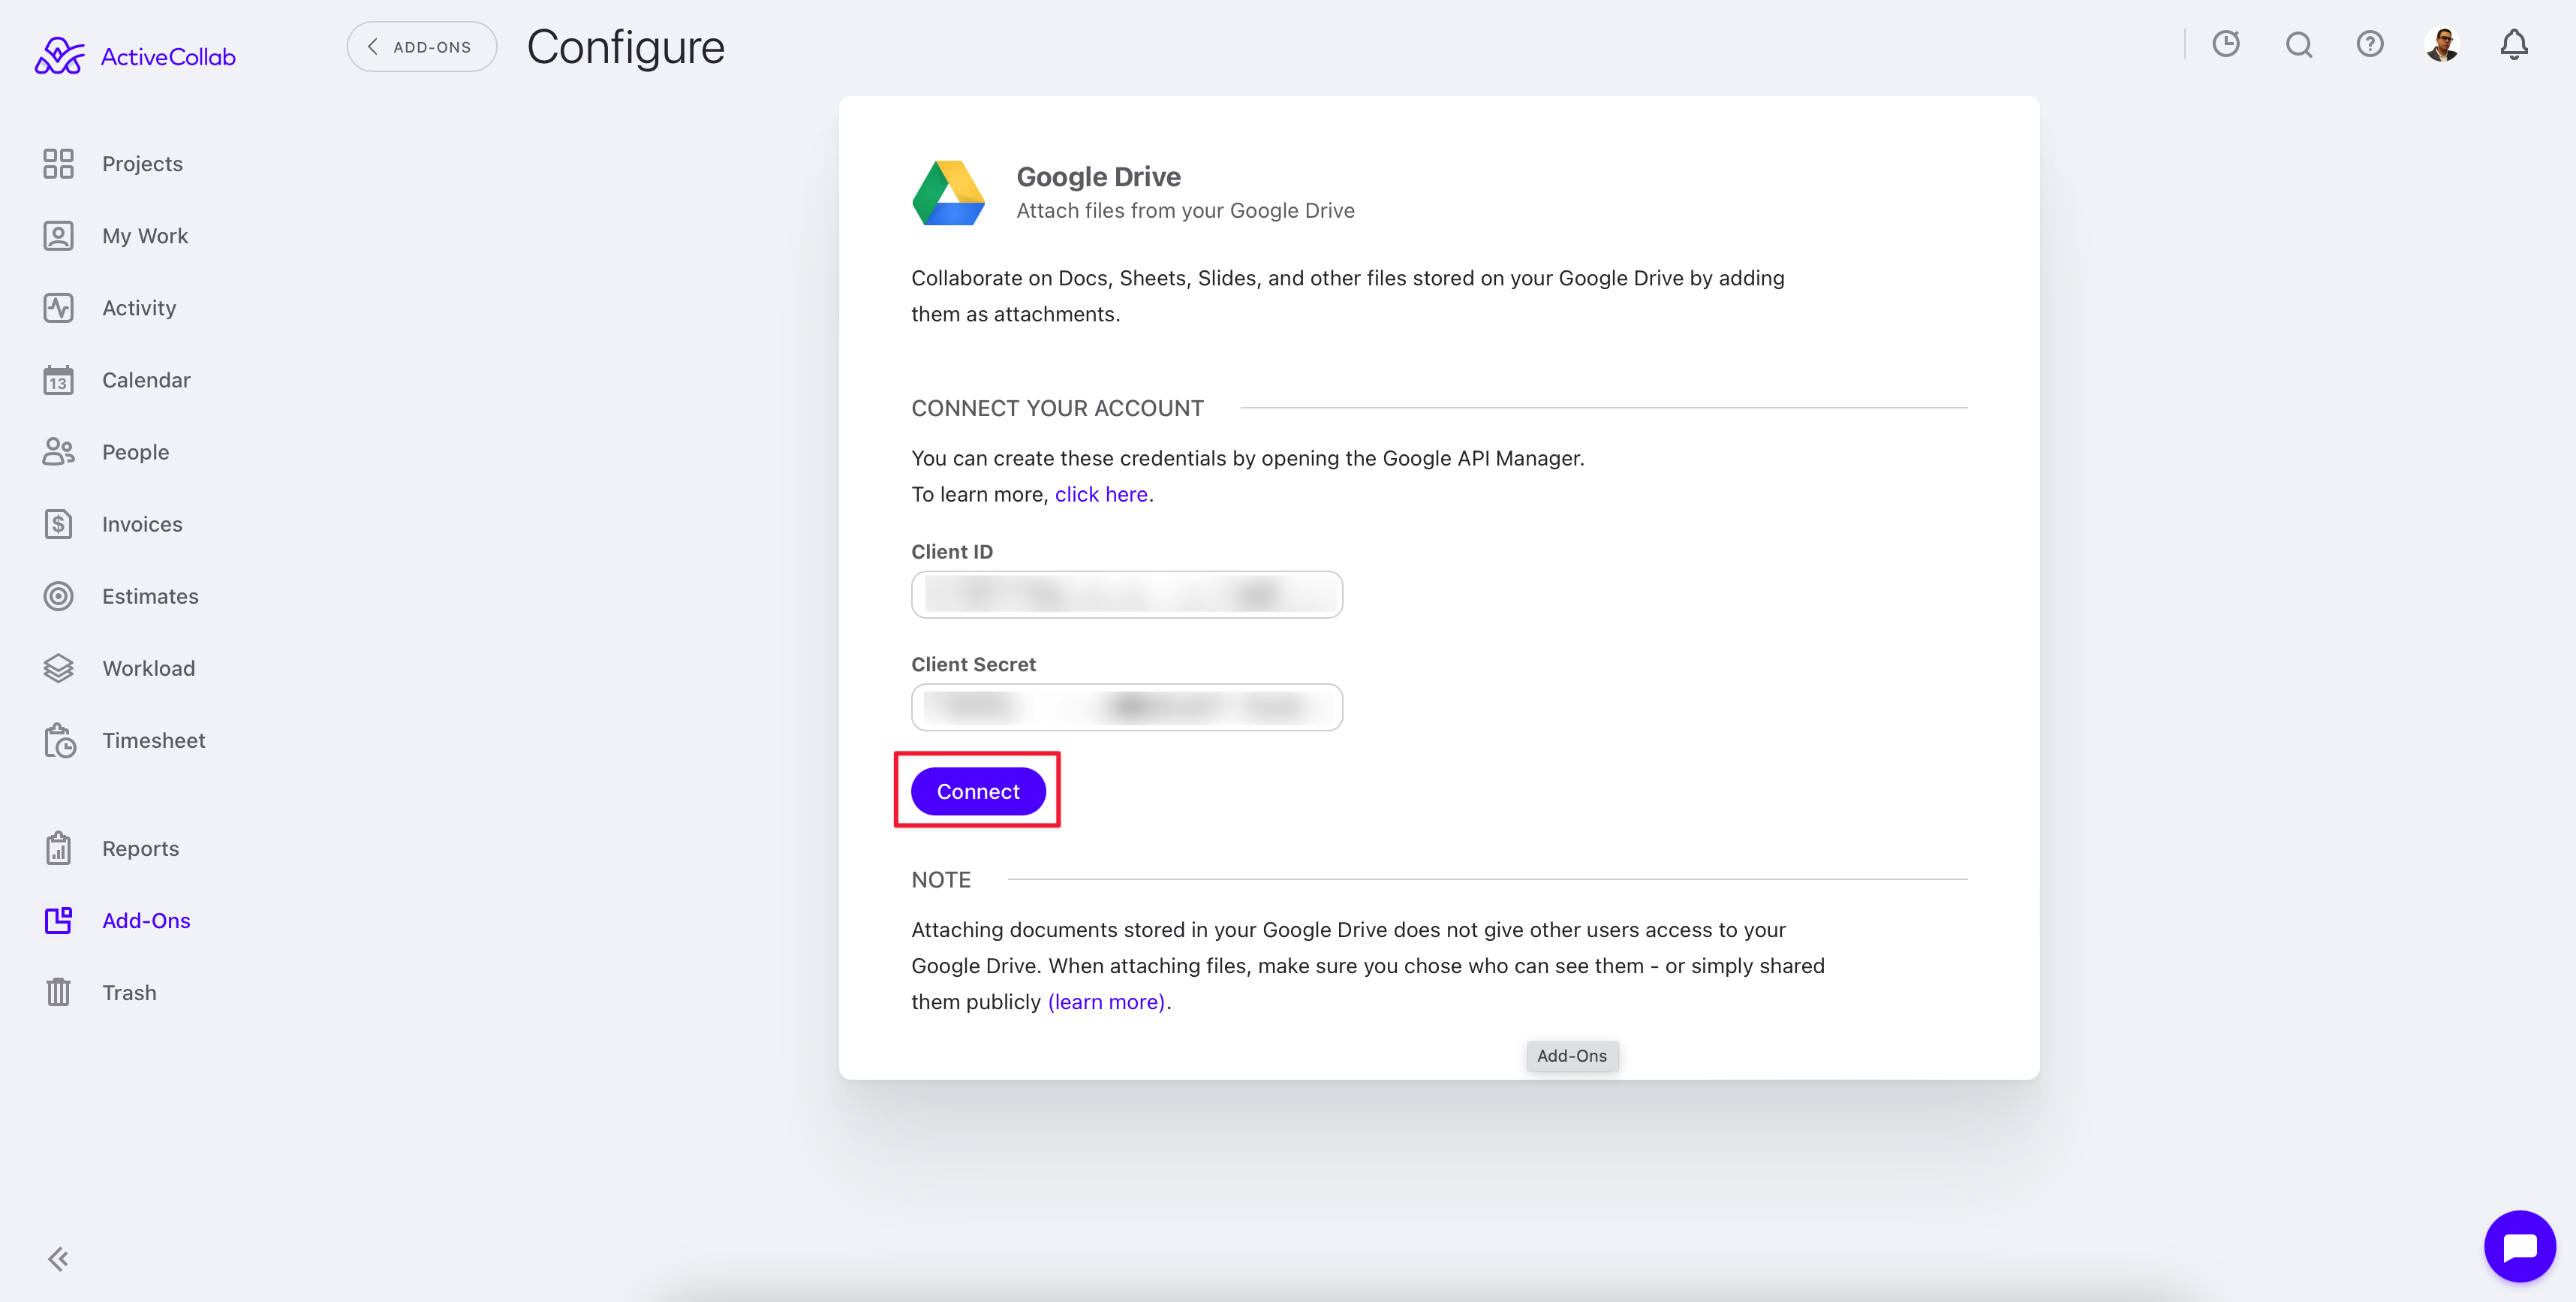
You'll receive a notification that the connection has been made.
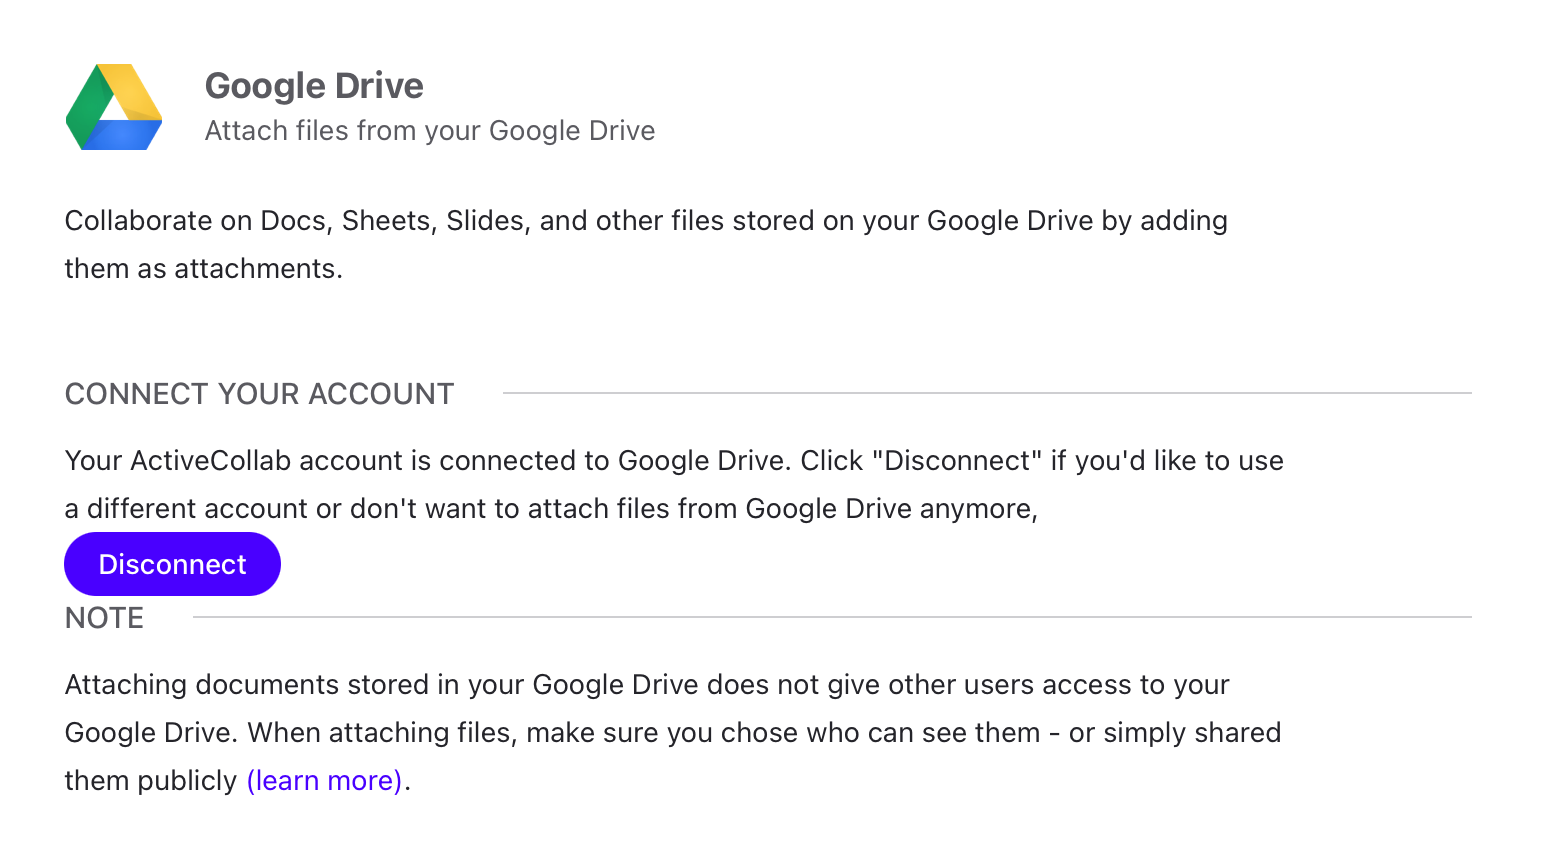
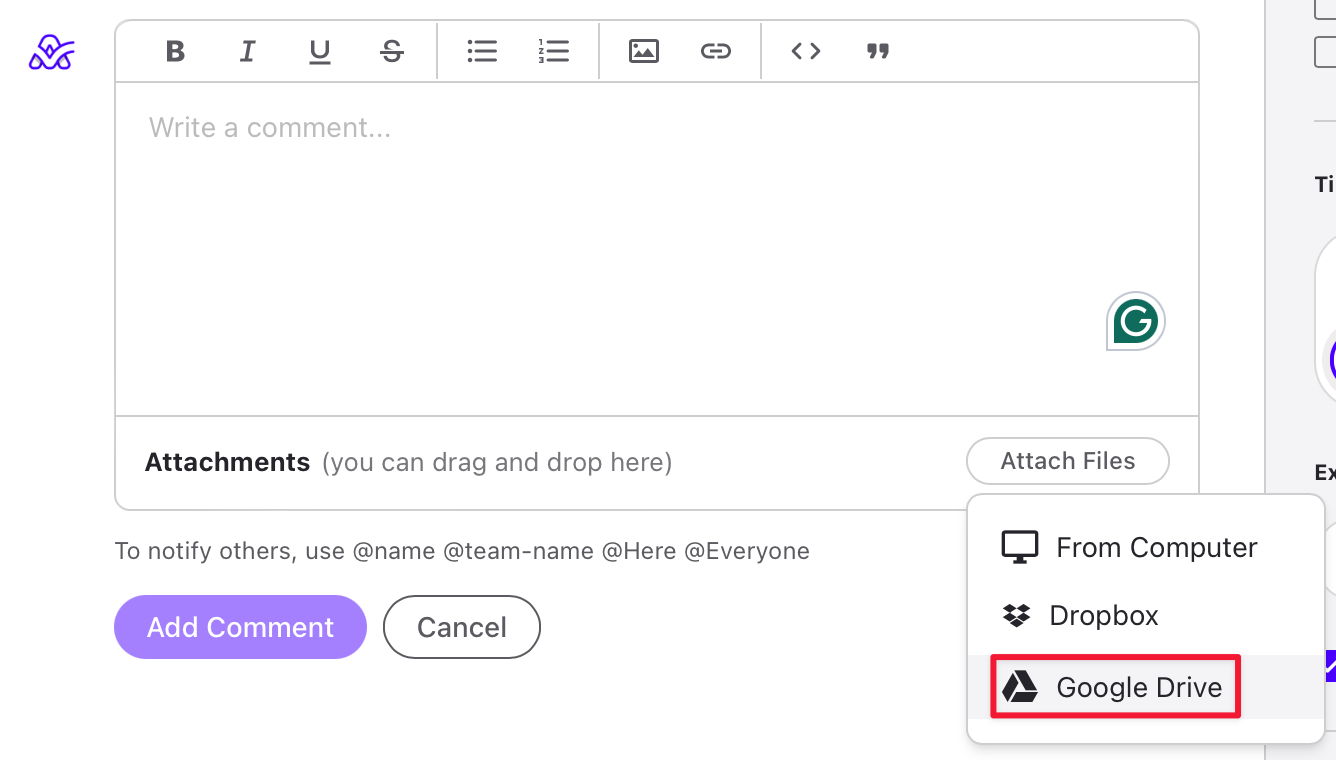
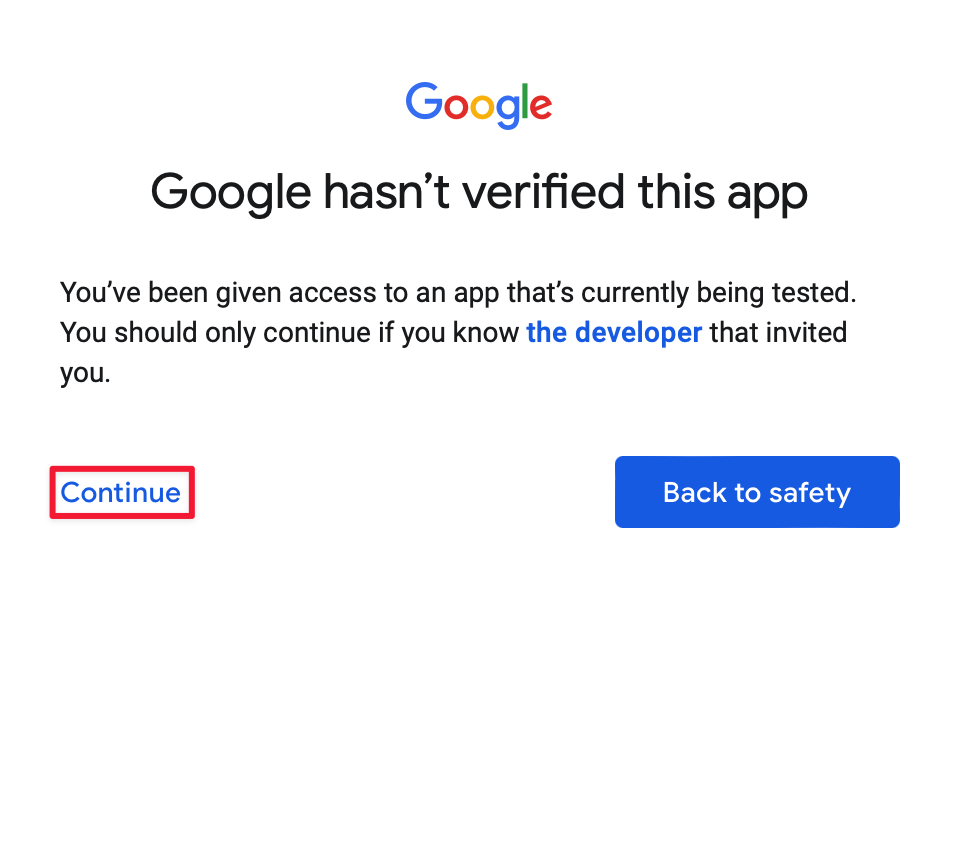
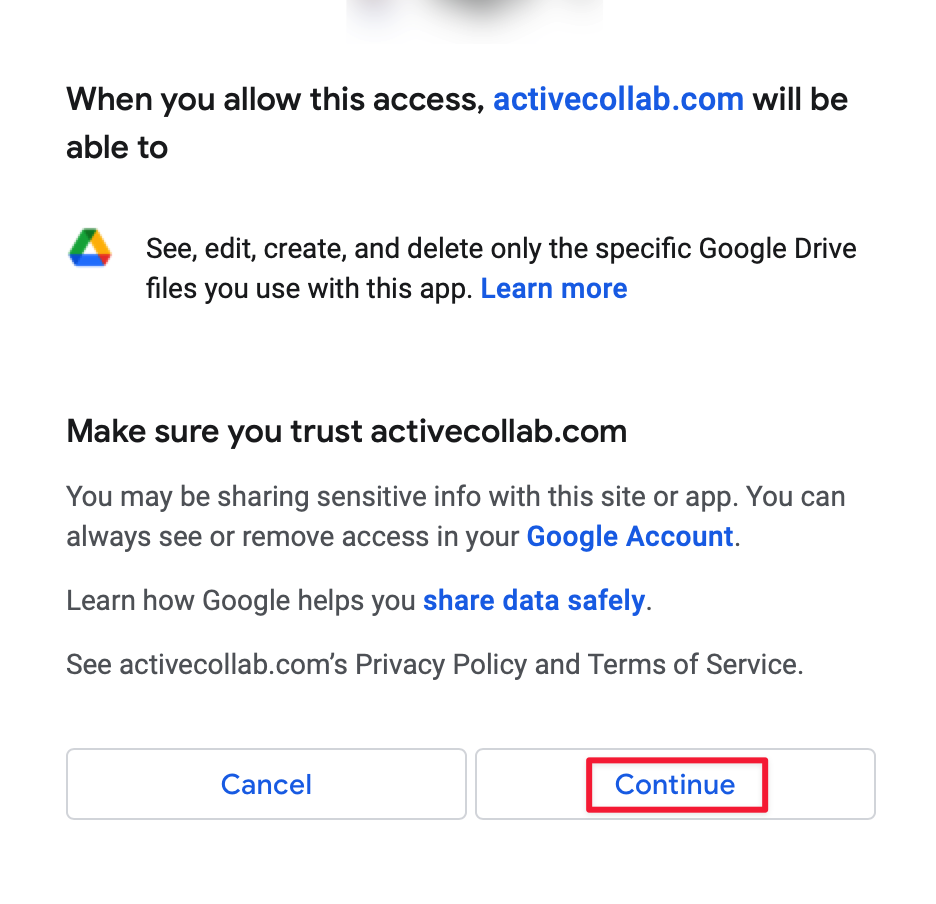
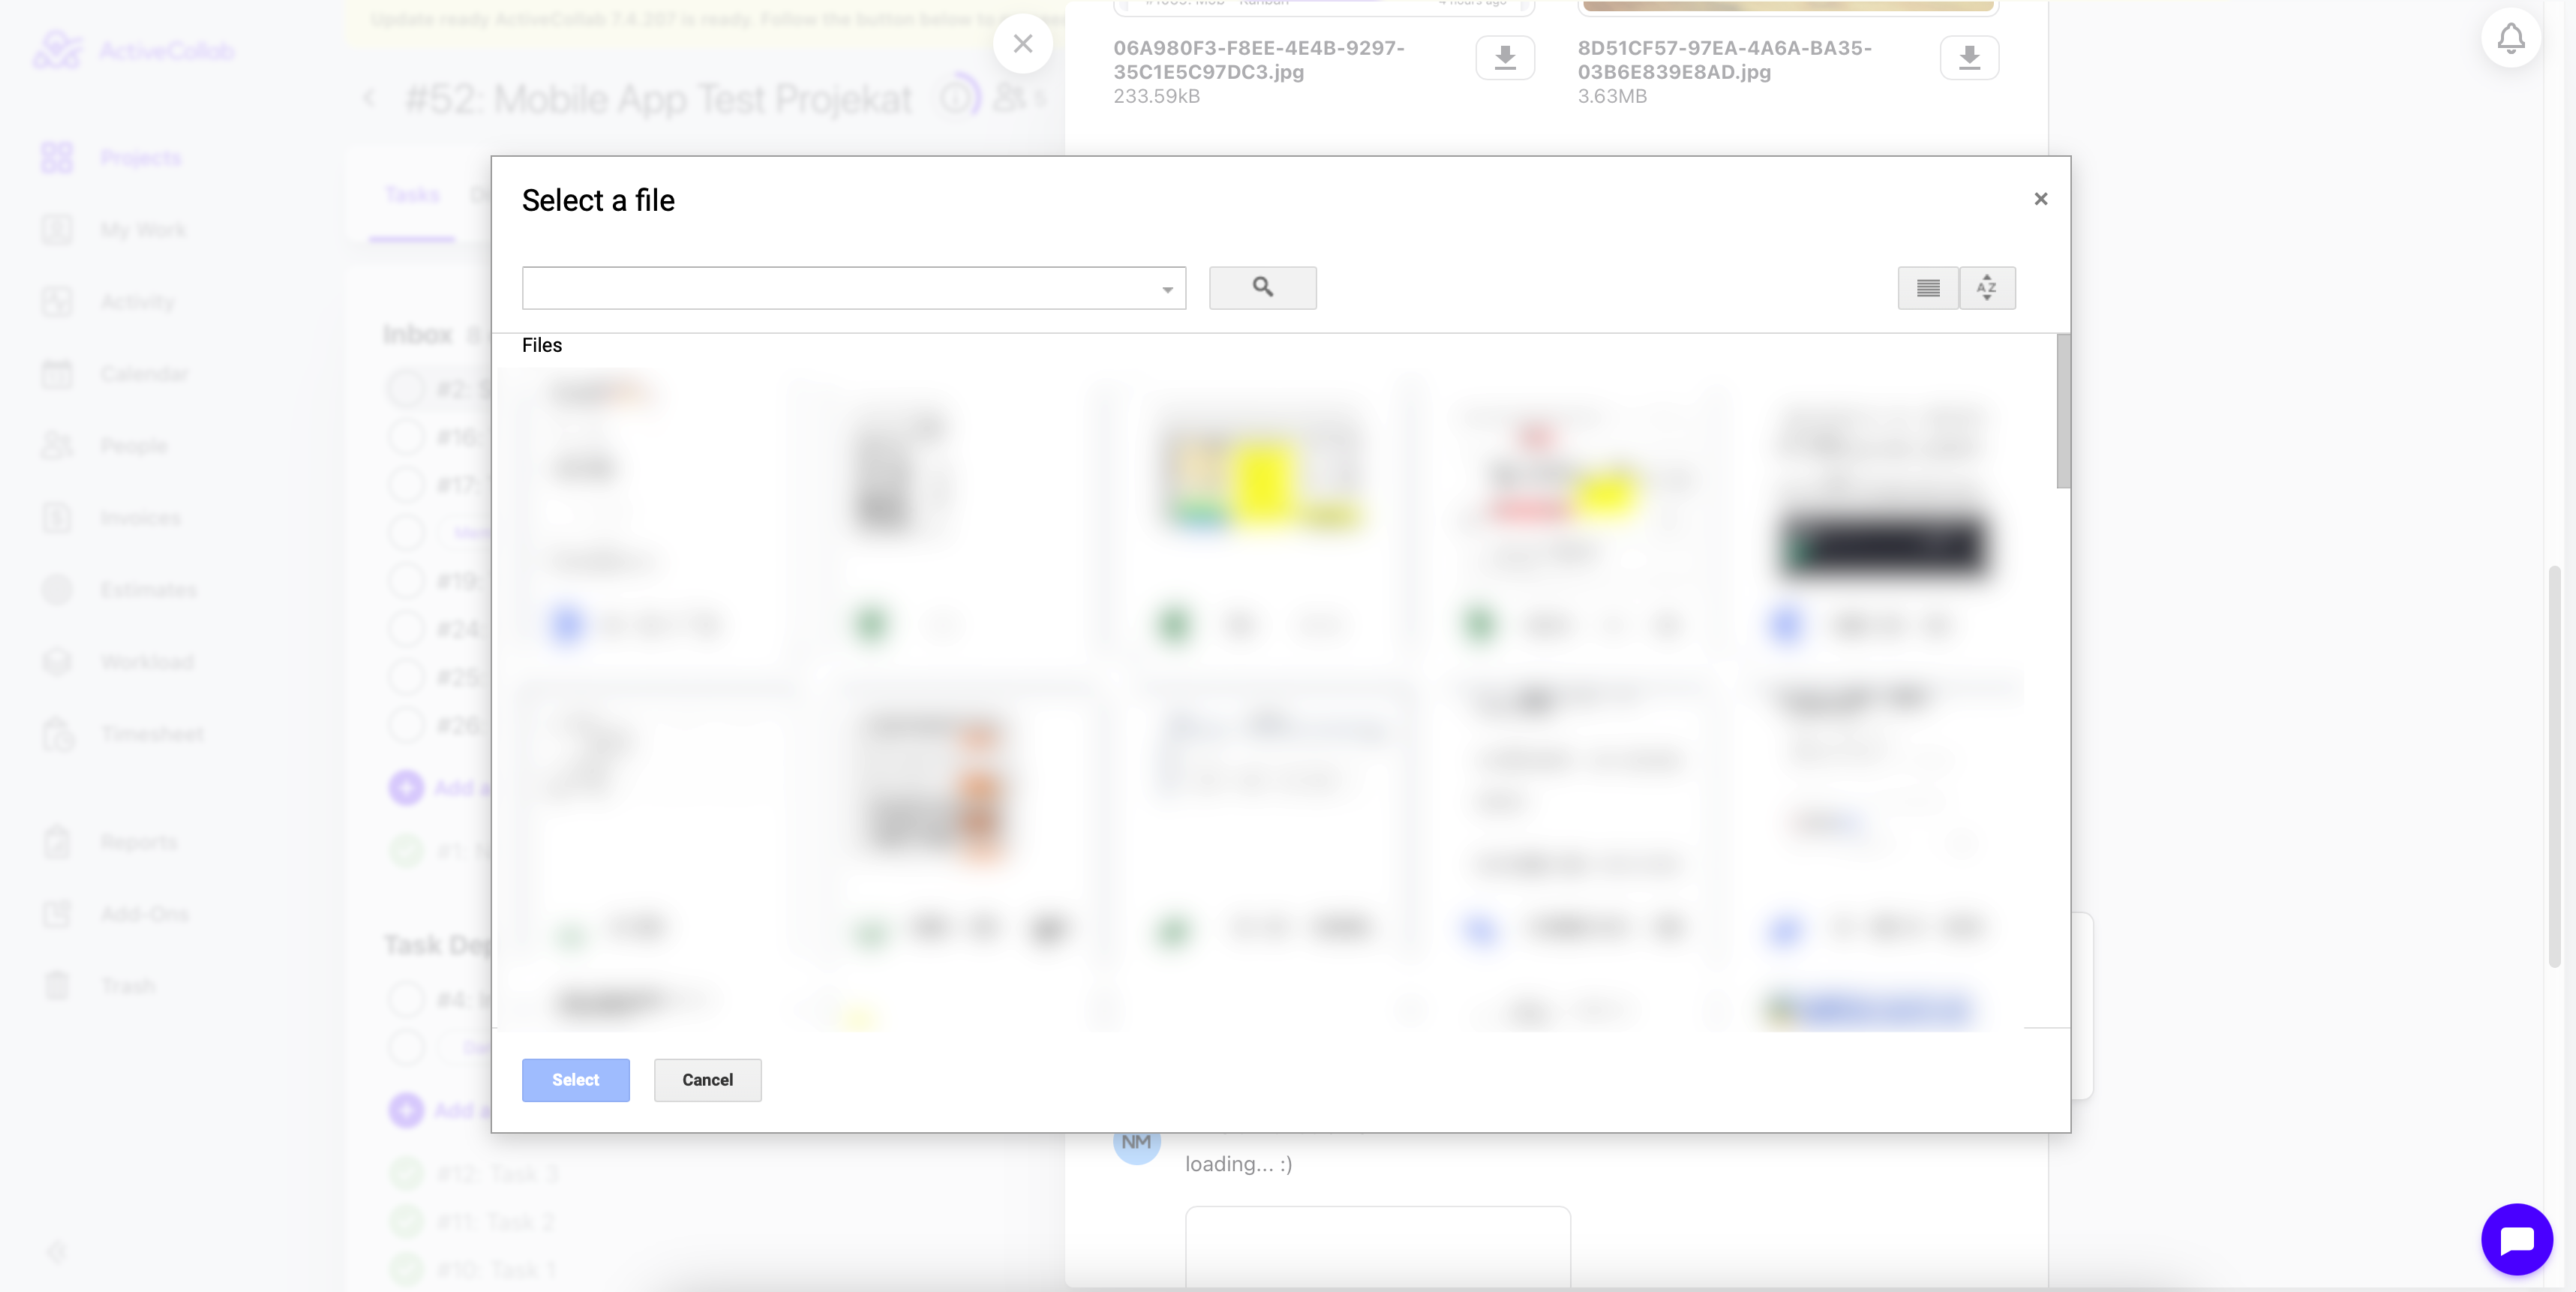
To add a file from Google Drive in the ActiveCollab application, you need to allow access to your Google Drive profile.
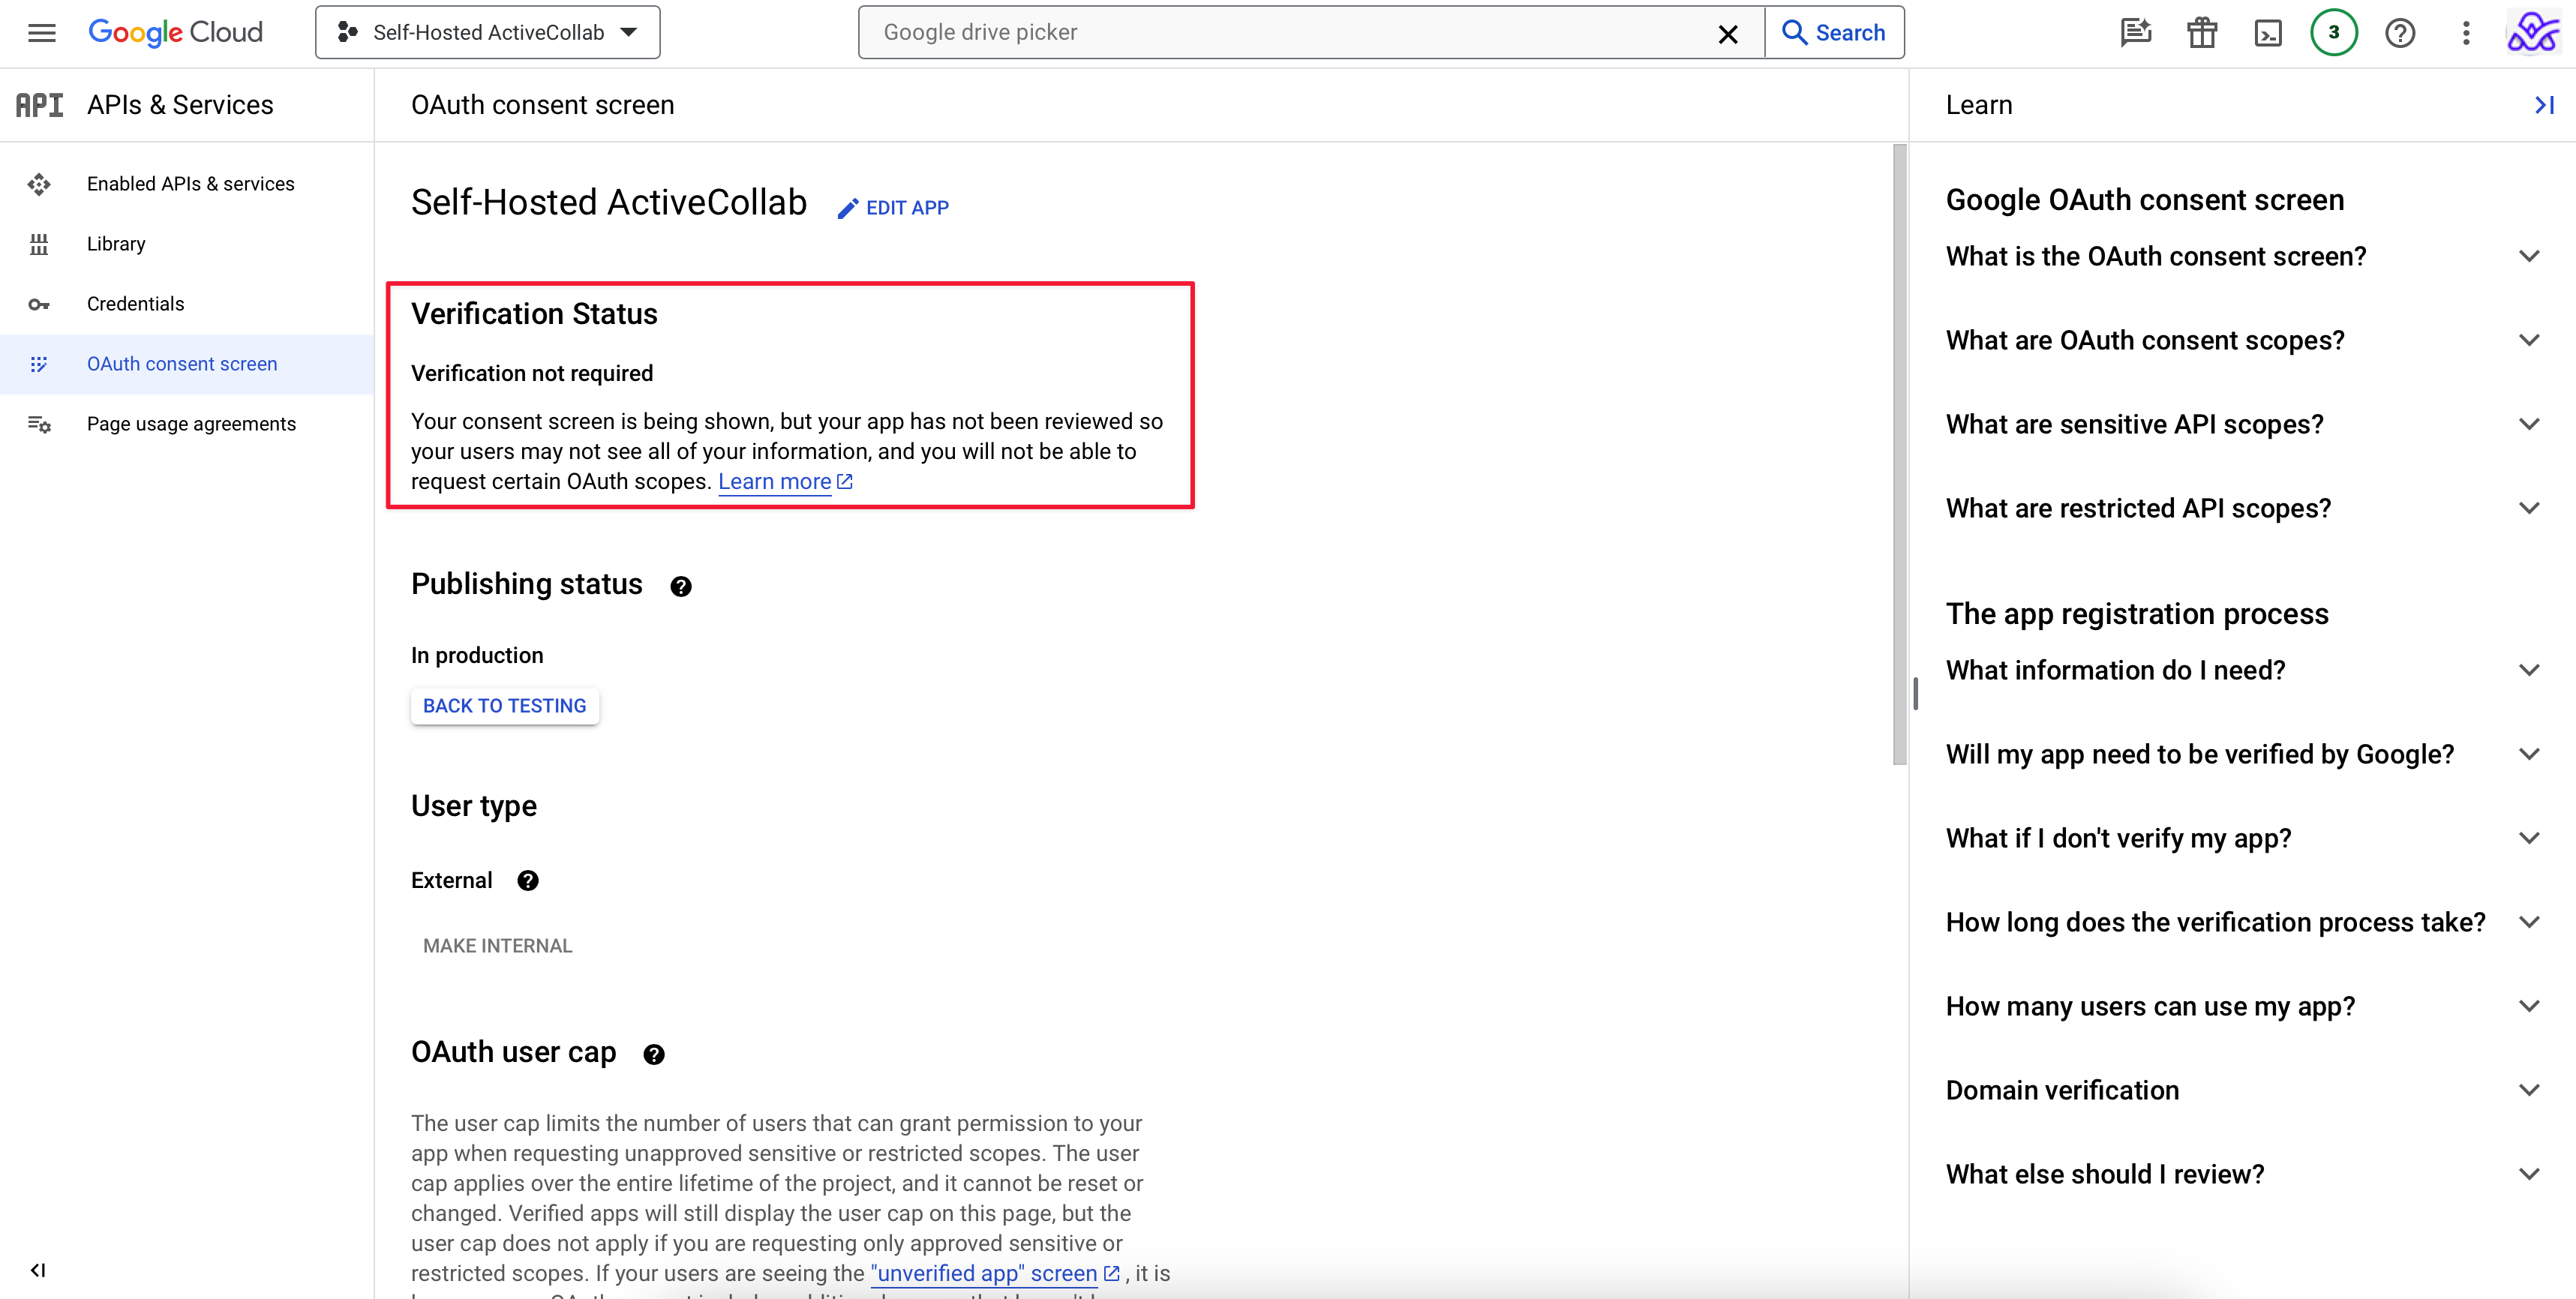
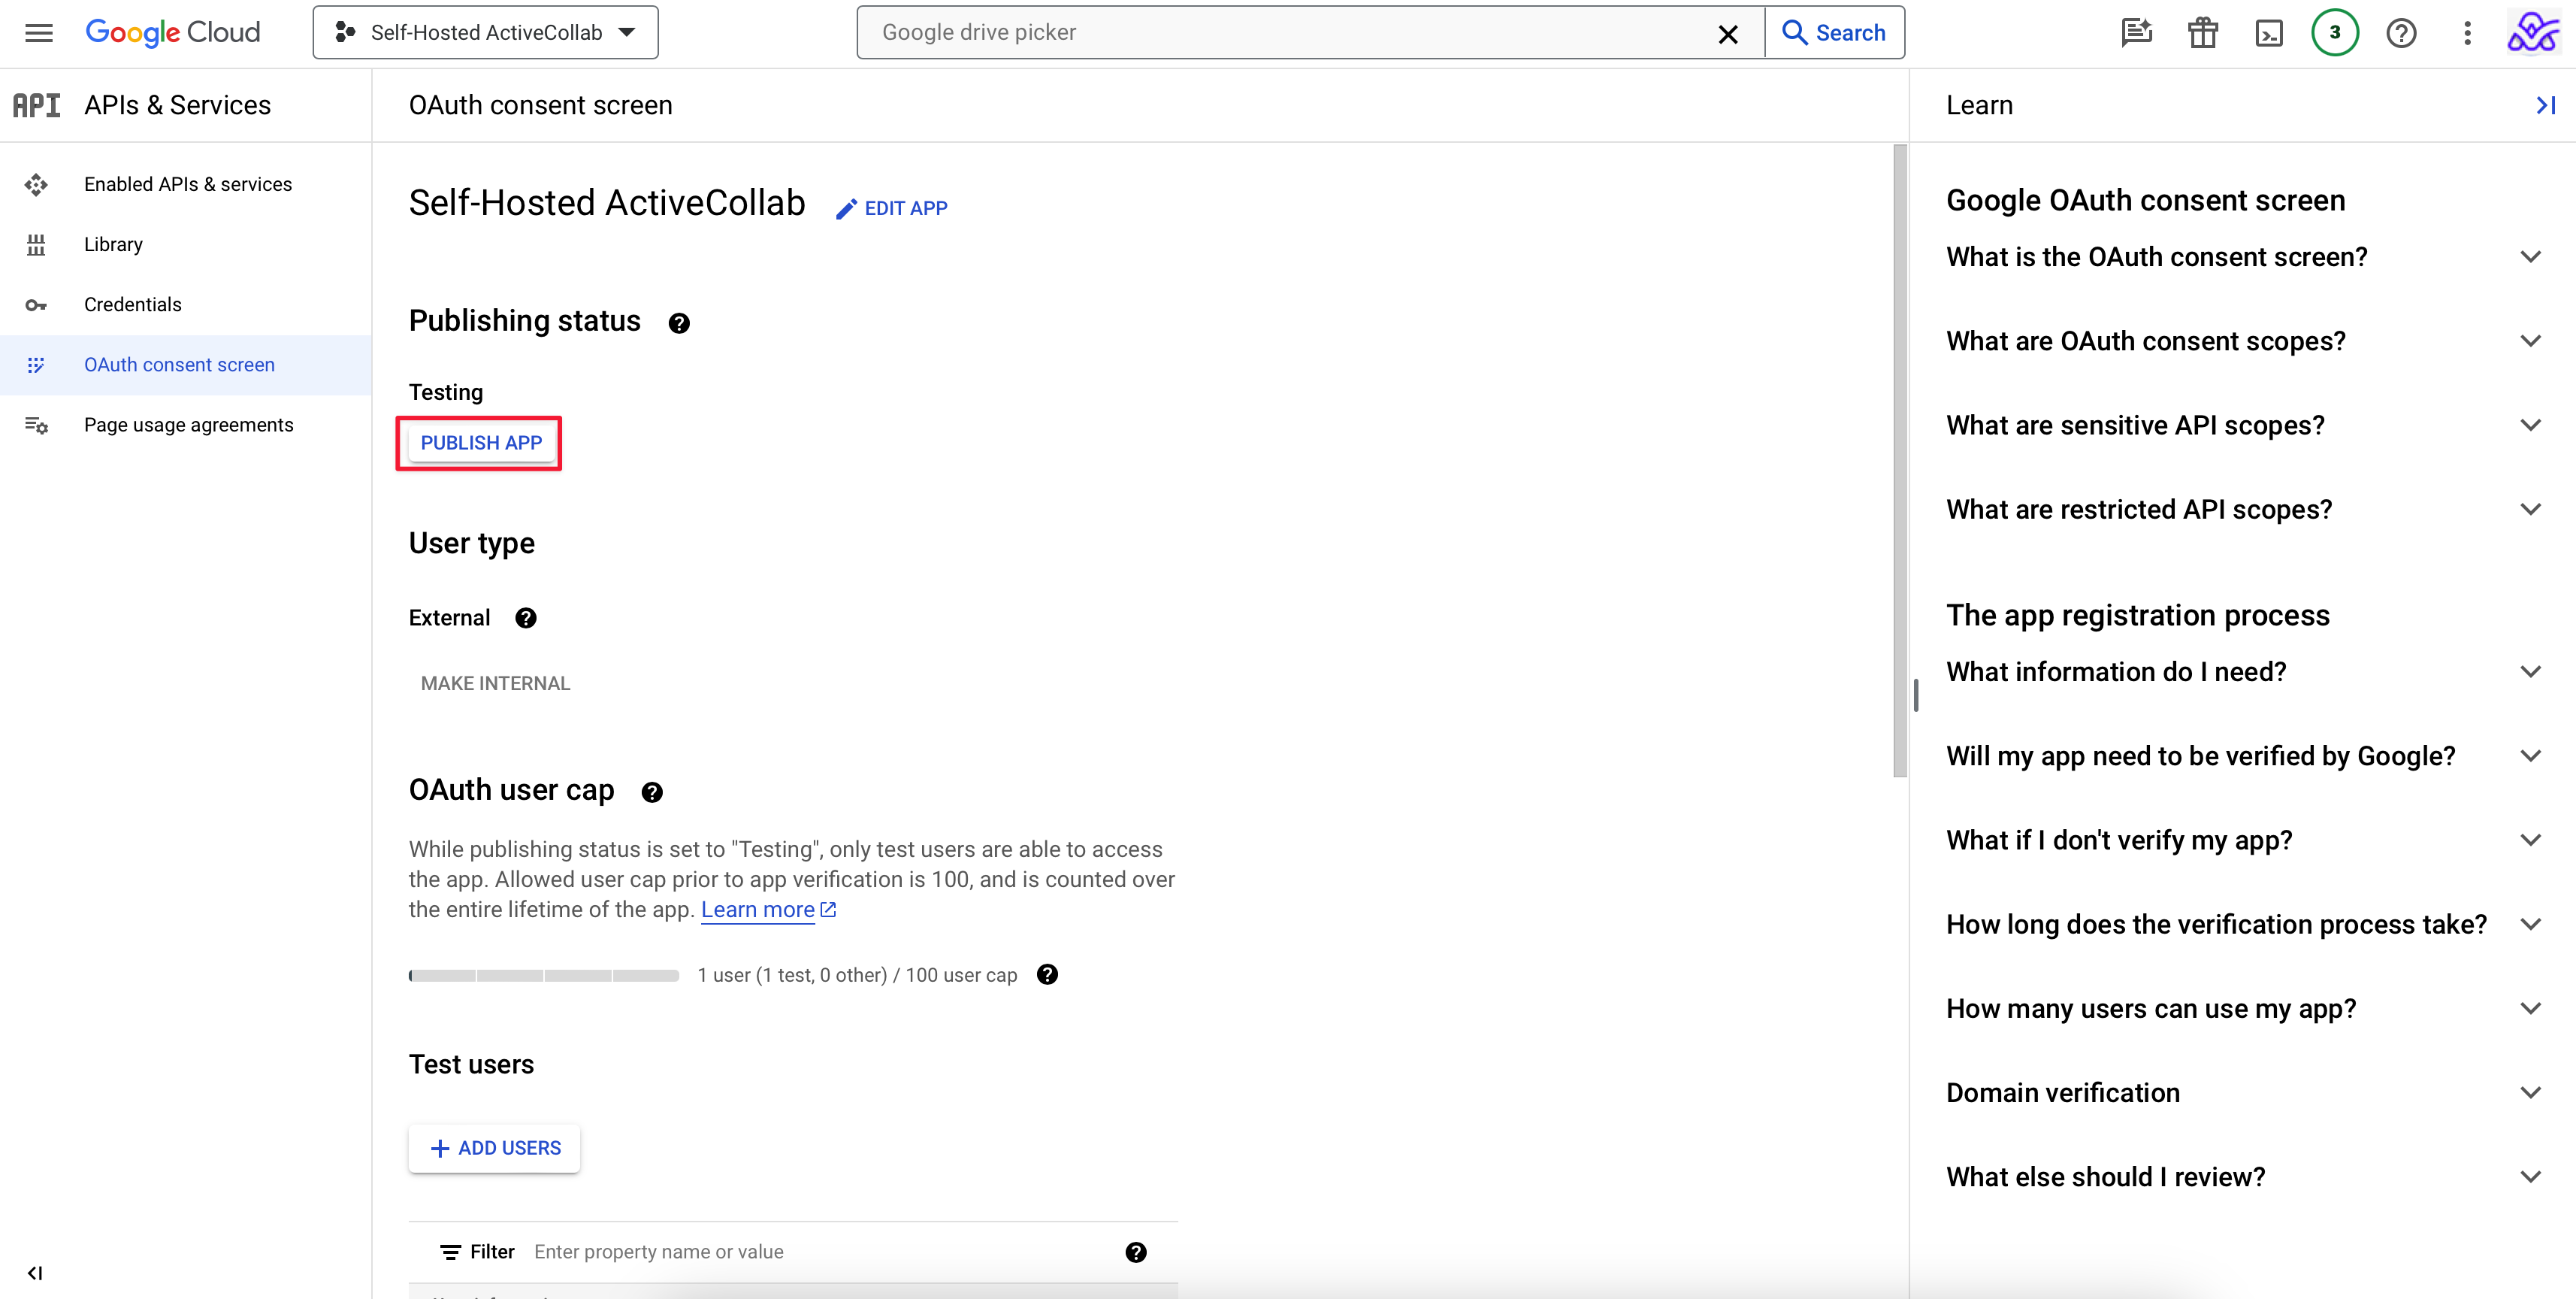
On the Google portal, select OAuth consent screen from the navigation menu.
Select PUBLISH APP.
Confirm the change.
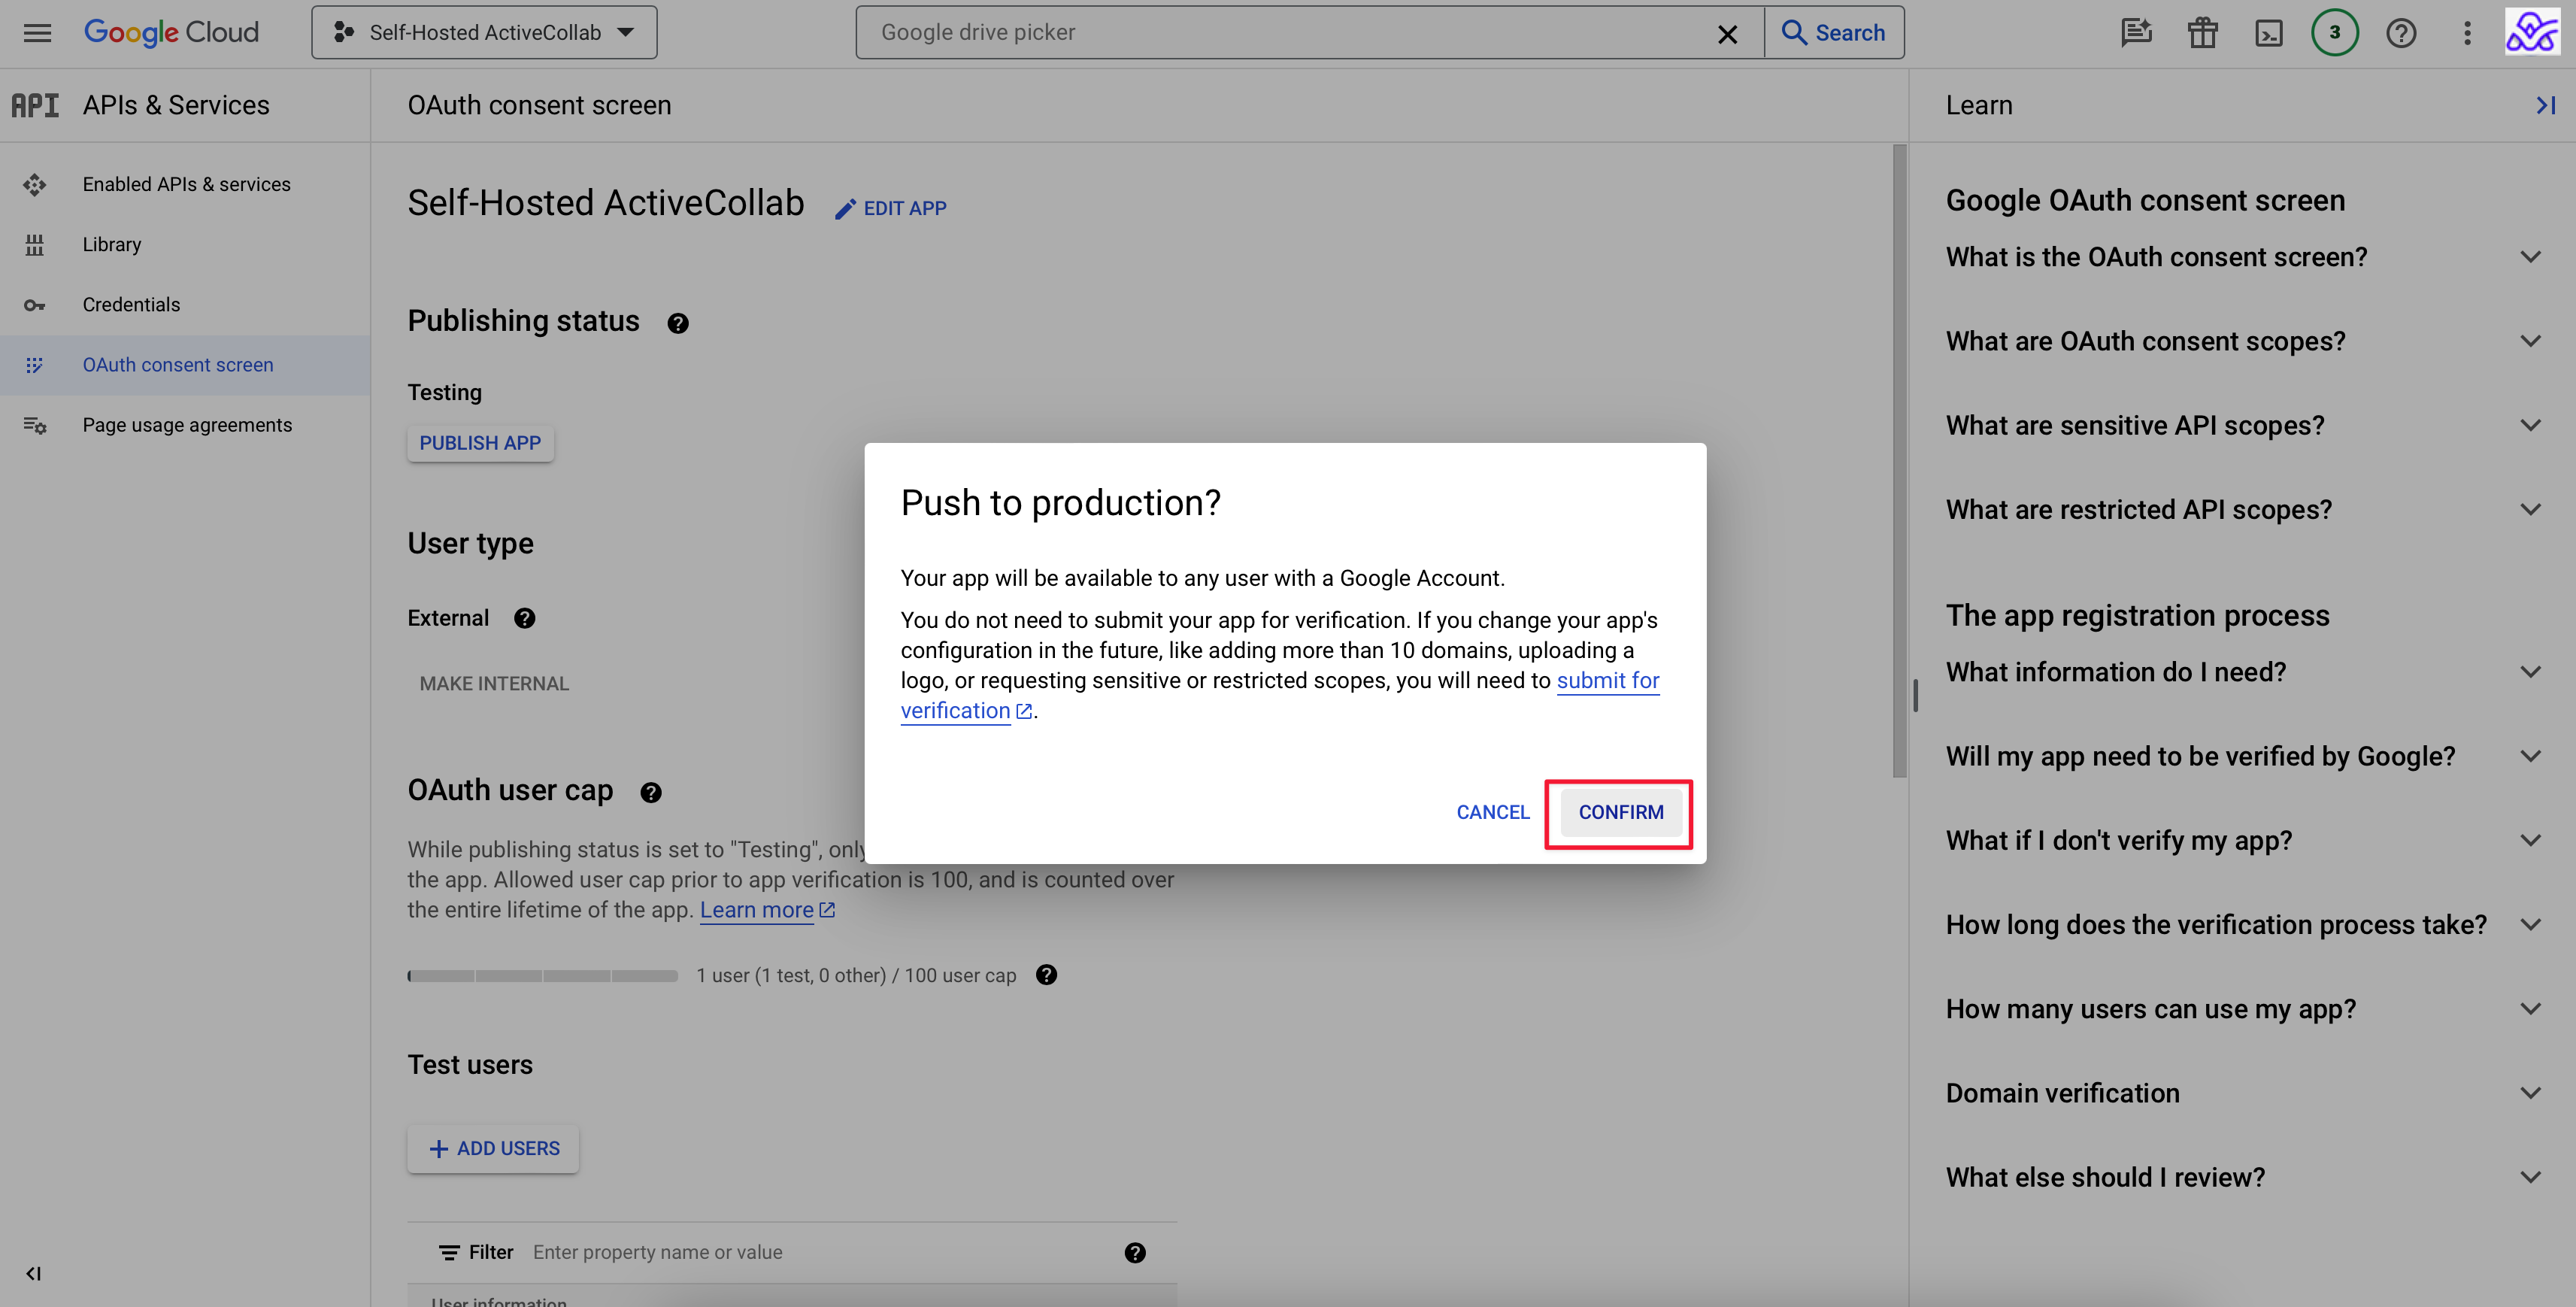
You'll receive information that verification is not required, as in our example.