ActiveCollab lets you create invoices that are regularly sent to your clients.
This is very useful if you wish to automatically charge your clients for subscriptions or recurring services.
How to create recurring invoices
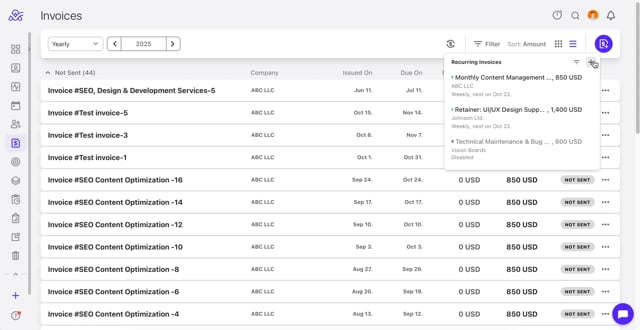
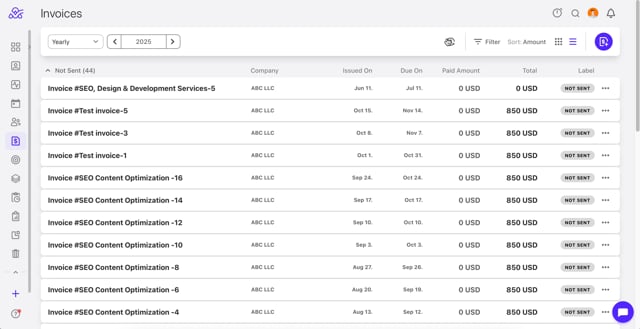
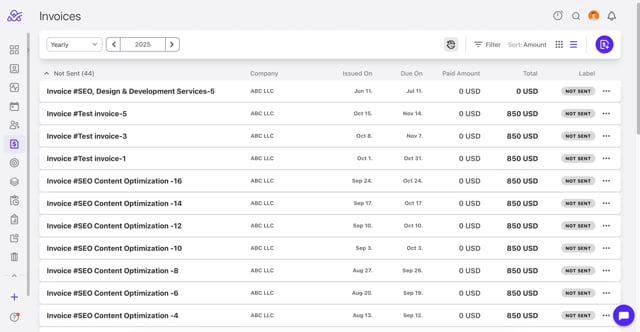
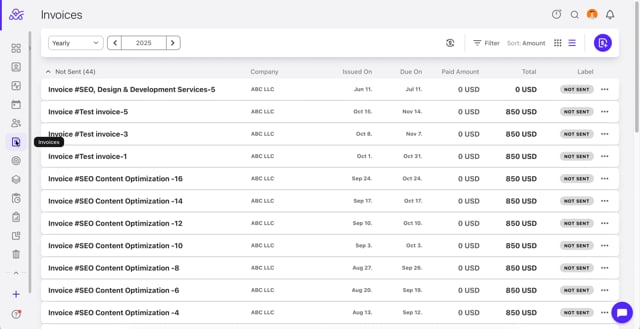
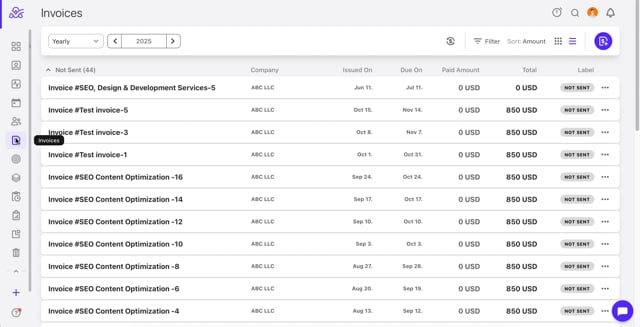
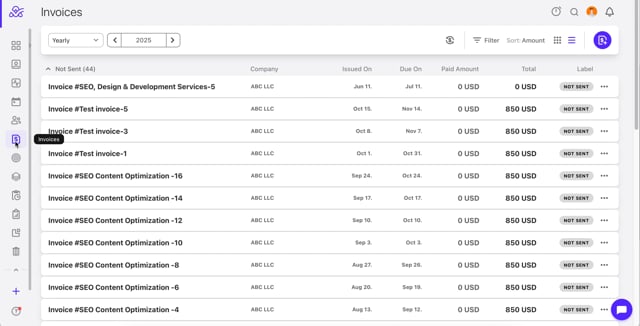
- Step 1: Open Invoices from the left side menu.
- Step 2: Click Recurring Invoices (the dollar sign icon next to the Filter settings)
- Step 3: Click + New Recurring Invoice
- Step 4: Fill out the required fields:
- The Name
- Choose a currency and language
- Client company name (select from your contacts)
- Enter the address
- Step 5:
- Start on- Choose when the first invoice will be issued,
- Choose the frequency: daily, weekly, bi-weekly, monthly, bi-monthly, quarterly, half-yearly, yearly, biennially
- Set when the invoice will be due after being issued.
- Step 6:
- Add the description, items, quantity, cost, and the tax (if applicable)
- Add a discount (optional)
- Step 7:
- Add Note ( or insert a note template)
- Add Reference
- Add QR Code
- Step 8: Click on Create Recurring Invoice
- Video Tutorial: https://vimeo.com/1128916518
How to adjust the frequency of the recurring invoice
After enabling the recurring invoice, the first invoice will be created on the specified date. Subsequent invoices will be created in the selected time intervals.
For example, if you set the Start date to January 1 and the Frequency to biweekly, the invoices will be created on January 1st, January 15th, January 29th, etc.
- Step 1: Open Invoices from the left side menu.
- Step 2: Click Recurring Invoices (the dollar sign icon next to the Filter settings)
- Step 3: Click the three dots (...) in the upper right corner of the selected invoice to Edit the invoice
- Step 4: Click on Frequency on the right side of the invoice. Select from the following options:
- Daily
- Weekly
- Bi-Weekly
- Monthly
- Bi-Monthly
- Quarterly
- Half-Yearly
- Yearly
- Bienally
- Video Tutorial: https://vimeo.com/1128916781
How to set multiple recipients on the recurring invoice
- Step 1: Open Invoices from the left side menu.
- Step 2: Click Recurring Invoices (the dollar sign icon next to the Filter settings)
- Step 3: Choose the desired invoice
- Step 4: Click on the Set recipients icon in the upper right corner below the 3 dots. You can enter multiple recipients. Leave empty to remove all recipients.
- Video Tutorial: https://vimeo.com/1128917238
How to enable the recurring invoice
Enable the recurring invoice, which will automatically create a new recurring invoice on the set date or interval.
- Step 1: Open Invoices from the left side menu.
- Step 2: Click Recurring Invoices (the dollar sign icon next to the Filter settings)
- Step 3: Click the three dots (...) in the upper right corner of the selected invoice to Enable the invoice
- Video Tutorial: https://vimeo.com/1128917505
How to edit the recurring invoice

- Step 1: Open Invoices from the left side menu.
- Step 2: Click Recurring Invoices (the dollar sign icon next to the Filter settings)
- Step 3: Click the three dots (...) in the upper right corner of the selected invoice to Edit the invoice
- Video Tutorial: https://vimeo.com/1128917831
How to duplicate the recurring invoice

- Step 1: Open Invoices from the left side menu.
- Step 2: Click Recurring Invoices (the dollar sign icon next to the Filter settings)
- Step 3: Click the three dots (...) in the upper right corner of the selected invoice to Duplicate the invoice
- Video Tutorial: https://vimeo.com/1128918078
How to delete the recurring invoice
- Step 1: Open Invoices from the left side menu.
- Step 2: Click Recurring Invoices (the dollar sign icon next to the Filter settings)
- Step 3: Click the three dots (...) in the upper right corner of the selected invoice to Delete the invoice
- Video Tutorial: https://vimeo.com/1128918261
How to filter recurring invoices
Use the Filter option for the recurring invoices to filter them by Company.
- Step 1: Open Invoices from the left side menu.
- Step 2: Click on the dollar sign next to the Filter menu
- Step 3: Click on the filter sign in the upper right corner
- Step 4: Filter by company
- Video Tutorial: https://vimeo.com/1128918546
How to stop recurring invoices
- Step 1: Click the three dots (...) in the upper right corner of the invoice to Disable the invoice which will prevent subsequent invoices from being created.
- Step 2: Click the three dots (…) in the upper right corner of the invoice and then click Delete to remove the invoice.
- Video Tutorial: https://vimeo.com/1128918856