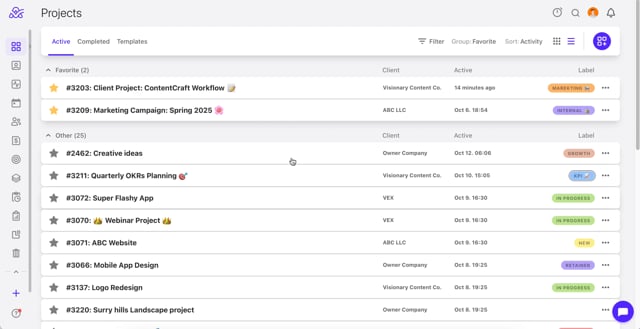
How to Add Time on a Task
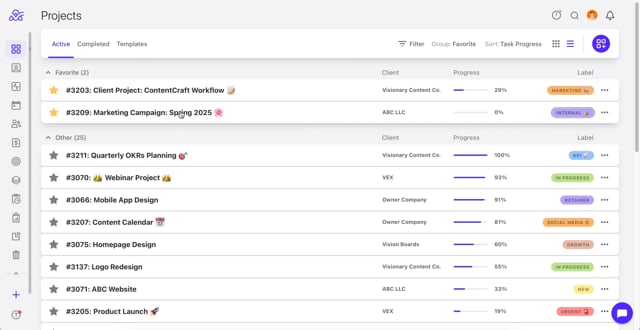
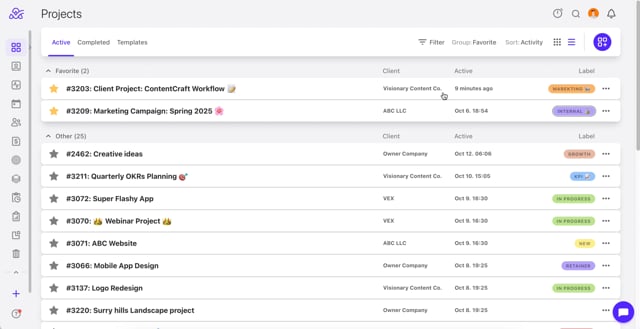
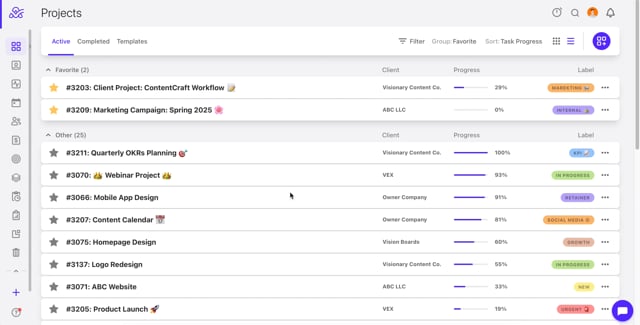
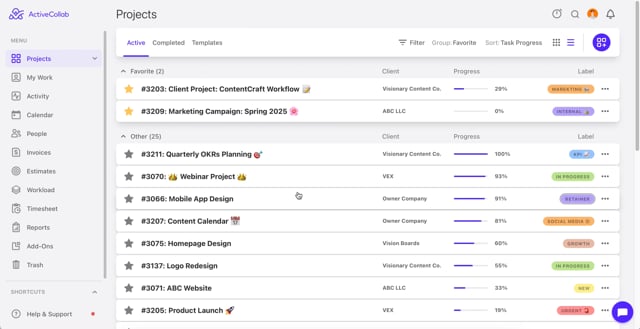
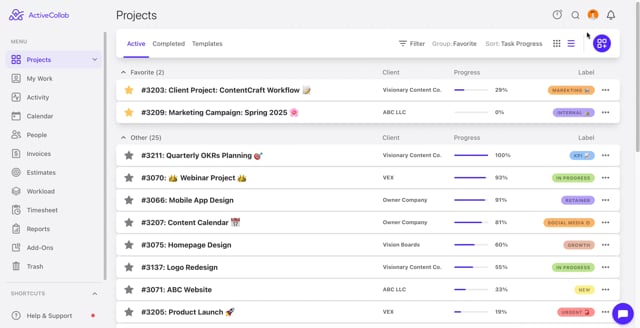
- Step 1: Open your desired project
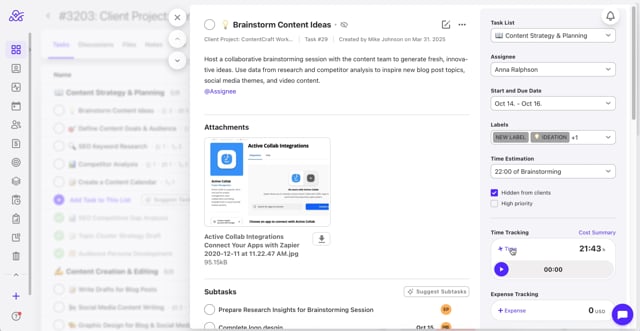
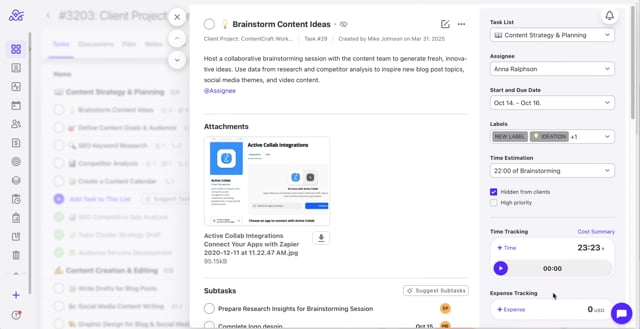
- Step 2: Click on a desired Task.
- Step 3: Click the “+Time” button to Add Time.
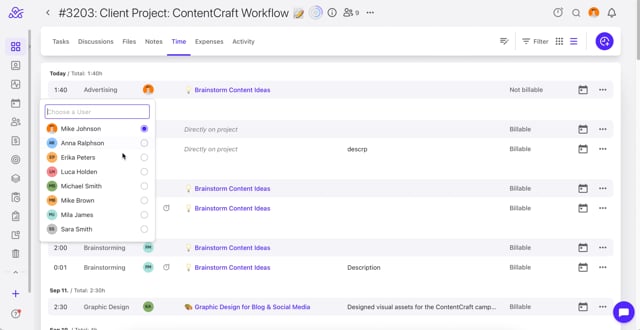
- Step 4: In the popup, pick the task (if not pre-selected), enter the duration (for example “1:40”), and add an optional description.
- Step 5: Choose the user and job type, and check or uncheck Billable.
- Step 6: Click Add Time Record
- Video Tutorial: https://vimeo.com/1127507354
How to Add Expenses on a Task
- Step 1: Open your desired project
- Step 2: Click on a desired Task.
- Step 3: Within the project’s Tasks tab, click the “+ Expense” button
- Step 4: Enter the amount and optional description.
- Step 5: Select the user, category, date, task, and check Billable if needed.
- Step 6: Click Add Expense.
- Video Tutorial: https://vimeo.com/1127508487
How to Enable Time and Expenses on a Project
- Step 1: When starting a new project, click Start a new Project and then Show more options.
- Step 2: Tick the Time and expenses checkboxes to enable tracking.
- Step 2.1 (Optional) If a project is made, you can edit it. Click on the “...” option
- Step 2.2 Click on “Edit”
- Step 2.3. Repeat the process from Step 1 and Step 2.
- Video Tutorial: https://vimeo.com/1127508724
How to Enable Time and Expenses for all Projects
- Step 1: Go to System Settings.
- Step 2: Click Edit Time and Expense Settings.
- Step 3: Turn on Track Time and Expenses and Time Estimates.
- Step 4: Define hourly rates and expense categories.
- Step 5: Click Save Changes.
- Video Tutorial: https://vimeo.com/1127508996
How to Change the Billable/Non-billable Status of Time and Expenses
- Step 1: When adding time or an expense, check or uncheck the Billable box.
- Step 2: To change it later, go to the project’s Time or Expenses tab, click Edit on the entry, toggle the Billable status, and save.
- Video Tutorial: https://vimeo.com/1127509331
How to Edit Time and Expenses
- Step 1: Open the project’s Time or Expenses tab.
- Step 2: Find the entry you want and click to edit.
- Step 3: Update details such as duration, description, date, job type, or billable status.
- Video Tutorial: https://vimeo.com/1127509576
How to Edit Time and Expense Settings
- Step 1: Go to System Settings.
- Step 2: Click Edit Time and Expense Settings.
- Step 3: Turn on or off Track Time and Expenses and Time Estimates.
- Step 4: Set default hourly rates and expense categories.
- Step 5: Click Save Changes.
- Video Tutorial: https://vimeo.com/1127508996
How to Log Time on a Task
- Step 1: Open the task where you want to log time.
- Step 2: Click the clock icon or the Add Time button.
- Step 3: Enter duration, select job type, add description, and choose billable status.
- Step 4: Click Add Time.
- Video Tutorial: https://vimeo.com/1127507354
How to Log Time With Stopwatch
- Step 1: Make sure time tracking is enabled on the project.
- Step 2: In a task or project menu, click the three-dot menu and select Start Stopwatch.
- Step 2.1 (Optional) You can click on the Stopwatch icon in the upper right corner.
- Step 3: Use the pause and stop buttons as needed.
- Step 4: When finished, submit the recorded time—you can edit entries before saving.
- Video Tutorial: https://vimeo.com/1127509948
How to Log Expenses on a Task
- Step 1: Open the task where you want to log an expense.
- Step 2: Click Add Expense.
- Step 3: Enter amount, optional description, select category, date, task, and toggle Billable if needed.
- Step 4: Click Add Expense.
- Video Tutorial: https://vimeo.com/1127508487
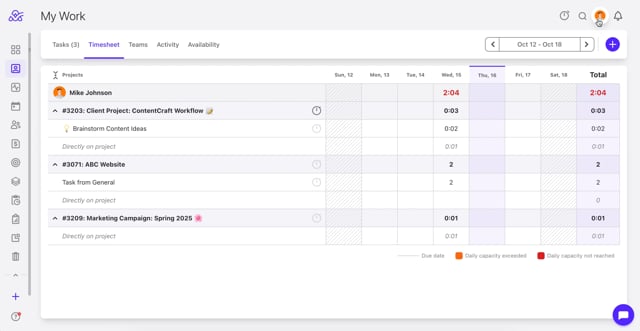
How to Add Time From the My Work Tab
- Step 1: Click My Work from the main menu.
- Step 2: Click on Timesheet section,
- Step 3: Click on the “+” icon and select “Add Time Record”
- Step 4: Select project and optionally a task.
- Step 5: Enter time, choose job type and billable status, then click Add Time Entry.
- Video Tutorial: https://vimeo.com/1127510415
How to Set Time Tracking Limits?
- Step 1: Click on your Profile Icon in the upper right corner.
- Step 2: Click on System Settings.
- Step 3: Click on Time and Expense Tracking.
- Step 4: Under Time Tracking Limits set the desired Limit Logging Period.
- This sets how far in the past users can add time records.
- Step 5: You can click on the field and type the desired number of days.
- Step 6: Under Limit Editing Period you can set the editing period for time entries.
- Step 7: Return to your ActiveCollab dashboard and the changes will be saved automatically.
- Video Tutorial: https://vimeo.com/1127841478
How to Set Expense Tracking Limits?
- Step 1: Click on your Profile Icon in the upper right corner.
- Step 2: Click on System Settings.
- Step 3: Click on Time and Expense Tracking.
- Step 4: Under Expense Tracking Limits set the desired Limit Logging Period. This sets how far in the past users can add time records.
- Step 5: You can click on the field and type the desired number of days.
- Step 6: Under Limit Editing Period, you can set the editing period for time entries.
- Step 7: Return to your ActiveCollab dashboard, and the changes will be saved automatically.
- Video Tutorial: https://vimeo.com/1127841700
Why can’t I add Time for a Day in the Past?
This is most likely related to the Time Tracking limits set in the System Settings under Time and Expense Tracking - Limit Logging Period. Any Owner role on your account can access these settings and change them to allow for a greater scope of time tracking periods.
How Can I Add a Job Type?
- Step 1: Click on your Profile Icon in the upper right corner.
- Step 2: Click on System Settings.
- Step 3: Click on Time and Expense Tracking.
- Step 4: Click on Job Types under Job Types and Expense Categories to expand the list
- Step 5: Scroll to the bottom of the list and click on Add Job Type
- Step 6: Enter the Job Type name and rate
- Step 7: Click on Add once you are done.
- Step 8: Return to your ActiveCollab dashboard and the changes will be saved automatically.
- Video Tutorial: https://vimeo.com/1127842109
How Can I Edit a Job Type?

- Step 1: Click on your Profile Icon in the upper right corner.
- Step 2: Click on System Settings.
- Step 3: Click on Time and Expense Tracking.
- Step 4: Click on Job Types under Job Types and Expense Categories to expand the list
- Step 5: Click on the “...” menu next to the desired Job Type you wish to edit.
- Step 6: Click on Edit.
- Step 6: Enter the new Job Type name and new rate.
- Step 7: Click on Save once you are done.
- Step 8: Return to your ActiveCollab dashboard and the changes will be saved automatically.
- Video Tutorial: https://vimeo.com/1127842287
How Can I Delete a Job Type?

- Step 1: Click on your Profile Icon in the upper right corner.
- Step 2: Click on System Settings.
- Step 3: Click on Time and Expense Tracking.
- Step 4: Click on Job Types under Job Types and Expense Categories to expand the list
- Step 5: Click on the “...” menu next to the desired Job Type you wish to delete.
- Step 6: Click on Archive.
- Step 7: Click on Archive to confirm the selection.
- Step 8: Return to your ActiveCollab dashboard and the changes will be saved automatically.
- Video Tutorial: https://vimeo.com/1127842471
How Can I Add an Expense Category?
- Step 1: Click on your Profile Icon in the upper right corner.
- Step 2: Click on System Settings.
- Step 3: Click on Time and Expense Tracking.
- Step 4: Click on Expense Categories under Job Types and Expense Categories to expand the list
- Step 5: Scroll to the bottom of the list and click on Add Expense Category.
- Step 6: Enter the new Expense category name.
- Step 7: Click on Save once you are done.
- Step 8: Return to your ActiveCollab dashboard and the changes will be saved automatically.
- Video Tutorial: https://vimeo.com/1127842708
How Can I Edit an Expense Category?
- Step 1: Click on your Profile Icon in the upper right corner.
- Step 2: Click on System Settings.
- Step 3: Click on Time and Expense Tracking.
- Step 4: Click on Expense Categories under Job Types and Expense Categories to expand the list
- Step 5: Click on the “...” menu next to the desired Expense Category you wish to edit.
- Step 6: Click on Edit.
- Step 7: Enter the new Expense category name.
- Step 8: Click on Save once you are done.
- Step 9: Return to your ActiveCollab dashboard and the changes will be saved automatically.
- Video Tutorial: https://vimeo.com/1127842921
How Can I Delete an Expense Category?
- Step 1: Click on your Profile Icon in the upper right corner.
- Step 2: Click on System Settings.
- Step 3: Click on Time and Expense Tracking.
- Step 4: Click on Expense Categories under Job Types and Expense Categories to expand the list
- Step 5: Click on the “...” menu next to the desired Expense Category you wish to delete.
- Step 6: Click on Delete.
- Step 7: Click on Delete to confirm the selection.
- Step 8: Return to your ActiveCollab dashboard and the changes will be saved automatically.
- Video Tutorial: https://vimeo.com/1127843146