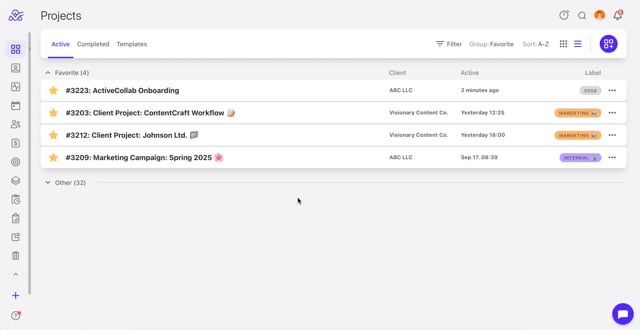
Working with Tasks
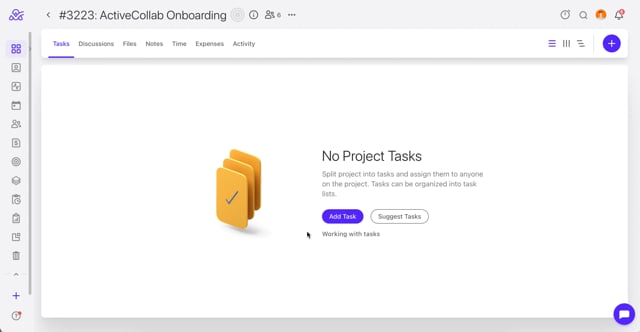
Tasks tell your team what needs to be done and when. They can be organized into task lists and assigned to anyone on the project.
How To Create a New Task in ActiveCollab
You can create a task by following these steps:
- Step 1: Go to your project and click on the Tasks tab.
- Step 2: Click the “+ Add a Task” button.
- Step 3: Enter the task name in the provided field.
- Step 4: (Optional) Add a description to explain the task.
- Step 5: Choose an assignee to assign the task to a team member.
- Step 6: Select a due date to set a deadline.
- Step 7: Pick a label (e.g., “New”, “In Progress”) to organize status.
- Step 8: Add a time estimate if needed.
- Step 9: Add subscribers if others need to get updates.
- Step 10: Set visibility for clients (if required).
- Step 11: Click Save to create the task.
- Video Tutorial: https://vimeo.com/1123470279
If you set an assignee and/or subscribers, they’ll get a notification about the new task in ActiveCollab and via email:
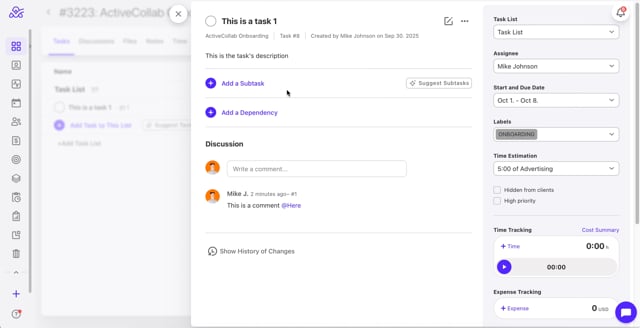
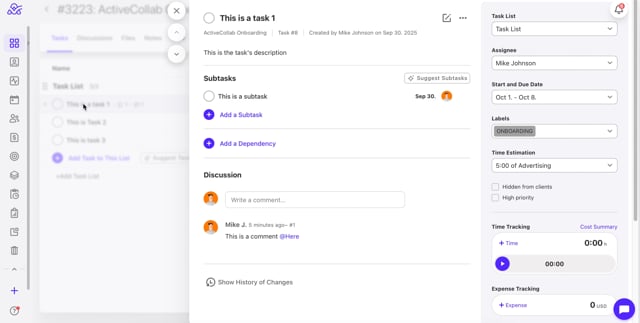
How To Update an Existing Task
Open a task to see or edit the details. You can update an existing task by doing the following:
- Step 1: Go to your project’s Tasks tab.
- Step 2: Click on the task you want to update.
- Step 3: Edit any field you need: title, description, assignee, due date, etc.
- Step 4: Make changes to the label, time estimate, or priority if needed.
- Step 5: Click Save to apply your changes.
- Video Tutorial: https://vimeo.com/1123470874
How To Comment on a Task

- Step 1: Open the task you want to comment on.
- Step 2: Scroll to the Comments section.
- Step 3: Type your comment in the text field.
- Step 4: (Optional) Use `@Name` to mention someone.
- Step 5: Click Post Comment.
- Video Tutorial: https://vimeo.com/1123471336
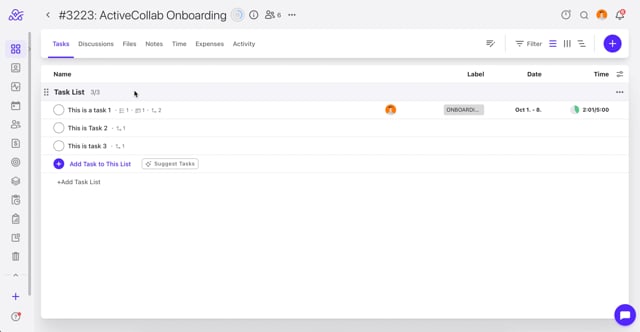
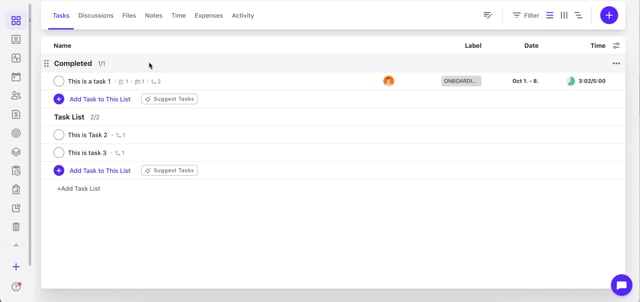
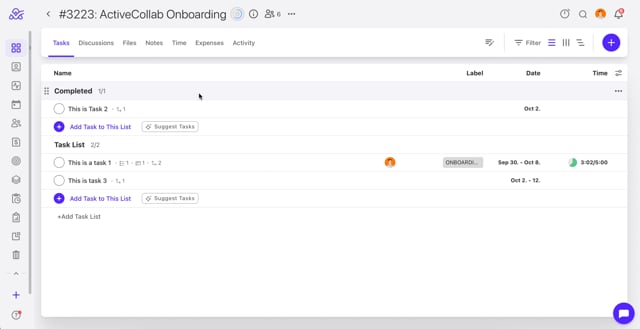
How To Mark a Task as Complete
- Step 1: Open the Tasks tab in your project.
- Step 2: Find the task you completed.
- Step 3: Click the checkbox next to the task’s name.
- Step 4:The task will now move to the completed section.
- Video Tutorial: https://vimeo.com/1123471637
How To Add a Subtask
- Step 1: Open the main task where you want to add subtasks.
- Step 2: Scroll down to the Subtasks section.
- Step 3: Click “+ Add Subtask”.
- Step 4: Type the subtask name and assign it if needed.
- Step 5: Press **Enter** to save.
- Video Tutorial: https://vimeo.com/1123472114
How To Set Task Dependencies (Parent/Child)
- Step 1: Open the task you want to make a child task.
- Step 2: Click the options menu (⋮).
- Step 3: Select Set as Child Task.
- Step 4: Choose a parent task from the list.
- Step 5: The tasks will now be linked.
- Video Tutorial: https://vimeo.com/1123472381
How To Track Time on a Task
- Step 1: Open the task where you want to track time.
- Step 2: Click the Time Tracking icon or button.
- Step 3: Start the timer or enter time manually.
- Step 4: Click Save to record the entry.
- Video Tutorial: https://vimeo.com/1123472630
How To Add an Expense to a Task
- Step 1:Open the task.
- Step 2: Scroll to the Expenses section.
- Step 3: Click “+ Add Expense”.
- Step 4: Fill in the amount, description, and category.
- Step 5: Click Save
- Video Tutorial: https://vimeo.com/1123472809
How To Set a Reminder for a Task
- Step 1: Open the task.
- Step 2: Click the Reminder icon (bell).
- Step 3: Select when you want to be reminded (e.g., 1 day before).
- Step 4: Click Save.
- Video Tutorial: https://vimeo.com/1123475637
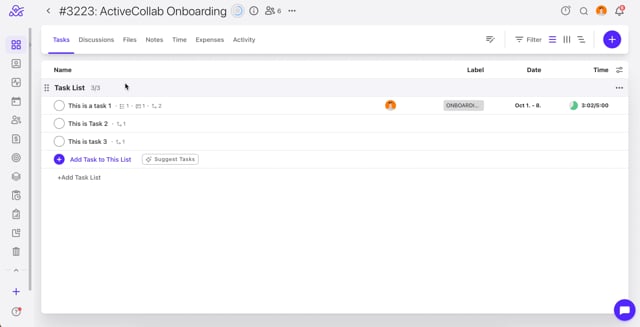
How To Organize Tasks With Task Lists

Task lists let you group tasks and break the project into stages.
- Step 1:In the Tasks tab, click “+ Add a Task List”.
- Step 2: Enter a name for the list (e.g., “To Do” or “Completed”).
- Step 3: Click Create.
- Step 4: Add or move tasks into this list by dragging them.
- Video Tutorial: https://vimeo.com/1123475961
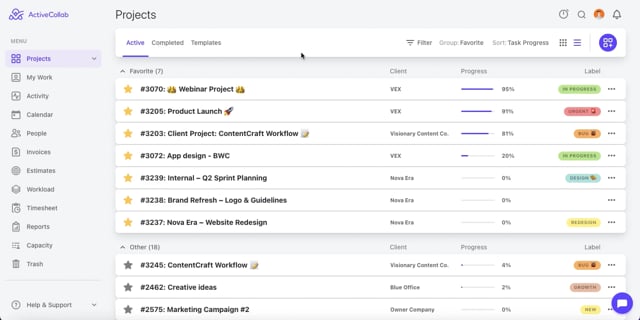
Using Task Views
ActiveCollab can adapt to your workflow and display tasks in three different views.
How To Use Column View (Kanban)
- Step 1: Open the Tasks tab in your project.
- Step 2: Click the View switcher in the upper right corner.
- Step 3: Select Column View.
- Step 4: Drag tasks between columns to change their status.
- Video Tutorial: https://vimeo.com/1123476347
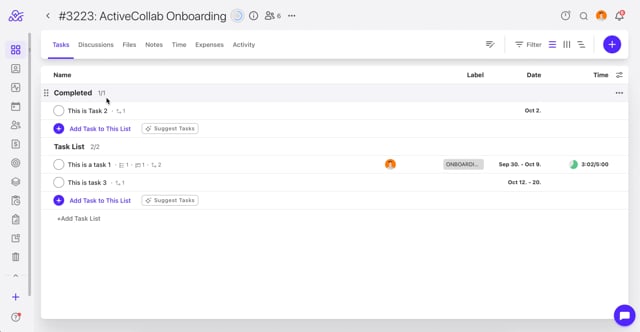
How To Use Timeline View (Gantt)
- Step 1: Go to the Tasks tab.
- Step 2: Click the View switcher.
- Step 3: Select Timeline View.
- Step 4: Drag tasks along the timeline to adjust dates.
- Video Tutorial: https://vimeo.com/1123476567
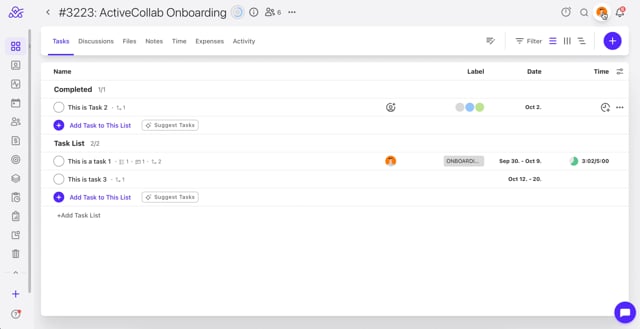
How To Use Task Labels
- Step 1: While creating or editing a task, find the Labels field.
- Step 2: Click it and select a label from the dropdown.
- Step 3: (Optional) Click Manage Labels to create a new one.
- Step 4: Click Save to assign the label.
- Video Tutorial: https://vimeo.com/1123479094
How To Create Custom Task Labels
- Step 1: Click your profile icon and go to System Settings.
- Step 2: Click on Task Labels.
- Step 3: Click “+ Add Label”.
- Step 4: Enter the label name and choose a color.
- Step 5: Click Save.
- Video Tutorial: https://vimeo.com/1123479311
How To Edit Multiple Tasks

You can easily edit multiple tasks at once in the Batch edit mode.
- Step 1: In the Tasks tab, check the boxes next to the tasks.
- Step 2: Click the Bulk Actions button at the top.
- Step 3: Select what you want to change (e.g., assignee, label).
- Step 4: Apply your changes.
- Video Tutorial: https://vimeo.com/1123479523
How To Filter or Search for Tasks

- Step 1: Click the Filter button in the top right of the Tasks tab.
- Step 2:Select filters such as assignee, label, due date, or priority.
- Step 3: Use the search bar to find tasks by keyword.
- Step 4: View the filtered results instantly.
- Video Tutorial: https://vimeo.com/1123509946
Recurring Tasks. How to make Recurring tasks?
Recurring tasks are common tasks that you create often. They are task templates that can get created automatically every day, week, or month. There are two ways in which you can create a recurring task.
From the project:
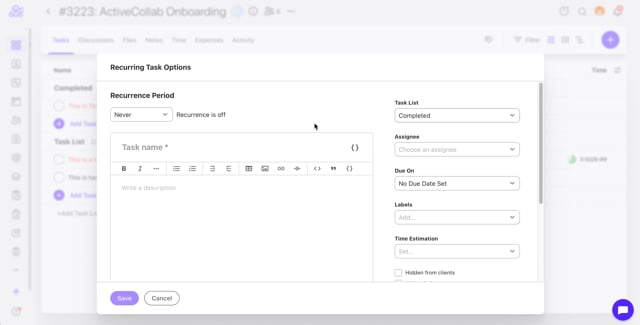
- Step 1 : Click the Add button and choose to Add Recurring Task,
- Step 2: Fill out the task details (task name, description, add the assignee, etc.)
- Step 3: Choose when the task is set to create automatically,
- Step 4: Save.
- Video Tutorial: https://vimeo.com/1123510222
From the existing task:
- Step 1: Create and/or open a regular task first,
- Step 2: Open the task options dropdown on the three-dots menu,
- Step 3: Click “Make Recurring Task”,
- Step 4: Define task template, set recurrence, and save the recurrence profile.
- Video tutorial: https://vimeo.com/1123510559
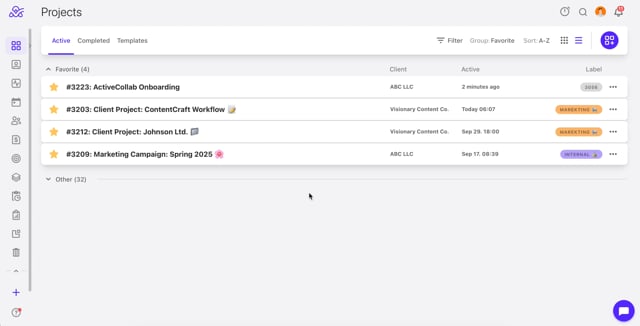
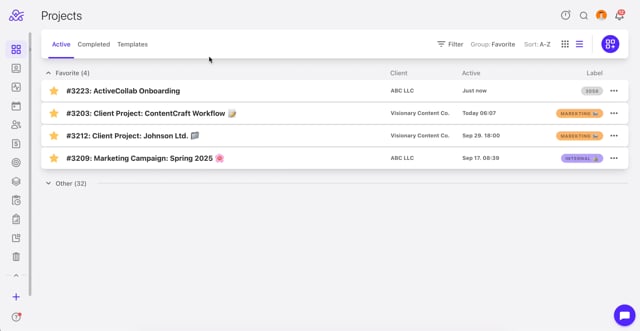
Once you make a recurring task, it will show up at the bottom of your project. There, you can update it or create a task from it right away.
You can also use recurring tasks as task templates. You just create a recurring profile as usual and disable recurrence. When you need the task, go to the bottom of the project and create a task from the profile by clicking "Make One Now".
Tasks that were made from a recurring profile will have a recurrence icon next to them.
Recurring tasks will also show up in the Calendar, so you can always know what's coming up and plan accordingly.
How to Append a Comment to a Task?
Step 2: Find the comment inside the task with the info you wish to append.
Step 3: Click on the "..." on the right side of the comment.
Step 4: Click on "Append to Task"
Step 5: Select Text and/or Attachments you wish to append from the comment to the task.
Step 6: Click on Append
Video Tutorial: https://vimeo.com/1123511018
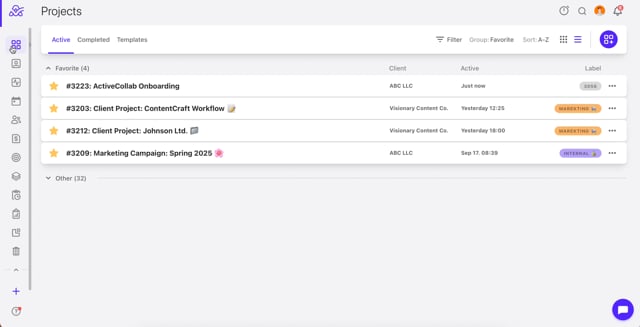
How to toggle Task ID (Task Numbers) ?
Step 1: Click on your Profile Icon in the upper right corner.
Step 2: Click on System Settings.
Step 3: Click on the category "Project".
Step 4: Toggle "Task ID in Lists" to On/Off.
Step 5: Changes are saved automatically.
Video tutorial: https://vimeo.com/1185802763