Labels help you organize and follow your tasks. You can use them to show what stage the task is in (eg. NEW or INPROGRESS) and then filter your task lists.
There are two types of task labels in ActiveCollab:
Project-specific task labels
Global labels
How to Create a Task Label?
Project-specific task labels are labels that are created directly on the task, and they can be added only on the tasks that are part of the same project.
- Step 1: Log in to your ActiveCollab account
- Step 2: Click on a desired project from the Projects page
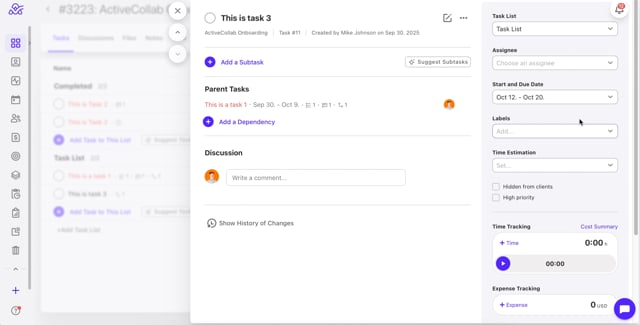
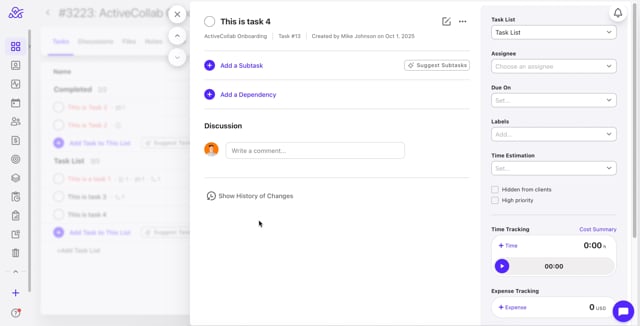
- Step 3: Open a task
- Step 4: In the right side menu, click on Add in the task label window
- Step 5: Enter the name of the new label
- Step 6: Click on Add new label
- Video Tutorial: https://vimeo.com/1123535973
How to Change the Color of a Task Label?
- Step 1: Open a project where the task label is located
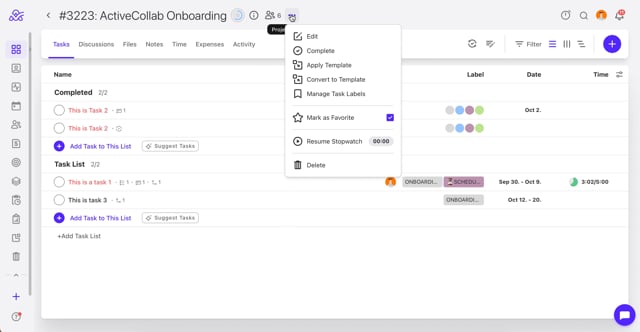
- Step 2: Click on the three dots (...) next to the project’s name
- Step 3: From the dropdown menu, click on Manage Task Labels
- Step 4: Click on the three dots (...) next to the task label name
- Step 5: From the dropdown menu, click Edit
- Step 6: Choose a color of your choice from the dropdown menu
- Step 7: Click on Save
- Video Tutorial: https://vimeo.com/1123539481
How to Rename a Task Label?
- Step 1: Open a project where the task label is located
- Step 2: Click on the three dots (...) next to the project’s name
- Step 3: From the dropdown menu, click on Manage Task Labels
- Step 4: Click on the three dots (...) next to the task label name
- Step 5: From the dropdown menu, click Edit
- Step 6: Type in a new name
- Step 7: Click on Save
- Video Tutorial: https://vimeo.com/1123539807
How to Delete a Task Label?

- Step 1: Open a project where the task label is located
- Step 2: Click on the three dots (...) next to the project’s name
- Step 3: From the dropdown menu, click on Manage Task Labels
- Step 4: Click on the three dots (...) next to the task label name
- Step 5: Click on Delete
- Video Tutorial: https://vimeo.com/1123540155
How to Select Task Labels?
Labels are sorted alphabetically. There are two ways to select Task Labels:
On the project level
- Step 1: Open a desired project
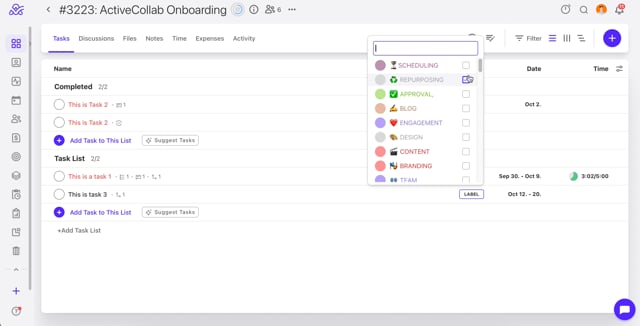
- Step 2: Hover over the label section on the right side of a desired task
- Step 3: Click on Label
- Step 4: In the dropdown menu, check the boxes of the labels you wish to use
- Video Tutorial: https://vimeo.com/1123540549
Note: When a task has one or two labels assigned, you can see their full name, but if it has three or more, they're shown as circles over which you can hover the mouse and see the names of the labels assigned.
Through the task modal
- Step 1: Open a desired project
- Step 2: Click on a task where you wish to add your labels
- Step 3: In the right side menu, click on Add in the task label window
- Step 4: In the dropdown menu, check the boxes of the labels you wish to use
- Video Tutorial: https://vimeo.com/1123541013
How to Filter Task Labels?
After you’ve applied a couple of labels to your tasks, you’ll be able to filter them on your project task lists. This is helpful when you have a lot of tasks on your project and you wish to narrow down your selection. Labels also help you categorize your tasks and then get the information you need.
- Step 1: Log in to your ActiveCollab account
- Step 2: Click on a desired project from the Projects page
- Step 3: Click on the Filter option in the top-right corner
- Step 4: From the dropdown menu, click on Label
- Step 5: Select the task labels that you would like to show
- Video Tutorial: https://vimeo.com/1123542748
How to Create Global Labels?
Global labels are labels that are available across all projects and can be added to any tasks.
There are two ways to create a global label.
Through the System Settings
- Step 1: Log in to your ActiveCollab account
- Step 2: Click on your profile picture or initials in the upper-right corner of the screen
- Step 3: From the dropdown menu, click on System Settings
- Step 4: Click on the Project Settings
- Step 5: Find the Labels & Categories section
- Step 6: Click on Global task labels
- Step 7: Scroll down until you find the Add Task Label button
- Step 8: Enter a name and select a desired color
- Step 9: Click on Add
- Video Tutorial: https://vimeo.com/1123543545

Changing a Task label into a Global label
To change the task label to a global label, you must create the same task label with the same color in another project.
- Step 1: Log in to your ActiveCollab account
- Step 2: Click on a project from the Projects page
- Step 3: Open a task
- Step 4: In the right side menu, click on Add in the task label window
- Step 5: Enter the name of an already existing project-specific task label
- Video Tutorial: https://vimeo.com/1123544047
Note: Only users with the Owner role have access to the Global Labels through the System Settings.
How to Edit Global Labels?
- Step 1: Log in to your ActiveCollab account
- Step 2: Click on your profile picture or initials in the upper-right corner of the screen
- Step 3: From the dropdown menu, click on System Settings
- Step 4: Click on the Project Settings
- Step 5: Find the Labels & Categories section
- Step 6: Click on Global task labels
- Step 7: Find the global label you wish to edit
- Step 8: Click on the three dots (...) next to the label’s name
- Step 9: From the dropdown menu, click on Edit
- Step 10: Edit the global label by changing its name or color
- Step 11: Click Save
- Video Tutorial: https://vimeo.com/1123545658
Note: Only users with the Owner role can edit or delete global labels from the System Settings.
How to Delete Global Labels?
- Step 1: Log in to your ActiveCollab account
- Step 2: Click on your profile picture or initials in the upper-right corner of the screen
- Step 3: From the dropdown menu, click on System Settings
- Step 4: Click on the Project Settings
- Step 5: Find Labels & Categories section
- Step 6: Click on Global task labels
- Step 7: Find the global label you wish to delete
- Step 8: Click on the three dots (...) next to the label’s name
- Step 9: From the dropdown menu, click on Delete
- Step 10: Click Delete to confirm deletion
- Video Tutorial: https://vimeo.com/1123546162
Note: The label will be removed from the label list and the labeled tasks.
Project Labels
Project labels are used for projects and can be edited in the System Settings. Please note that you can select only one project label per project.
How to Create Project Labels?
There are two ways to create Project Labels.
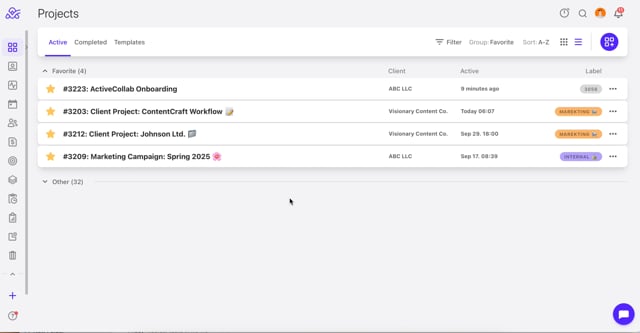
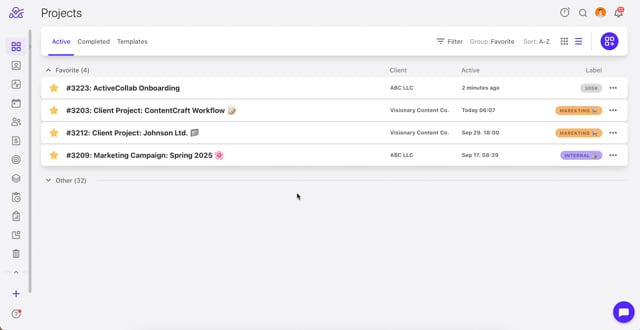
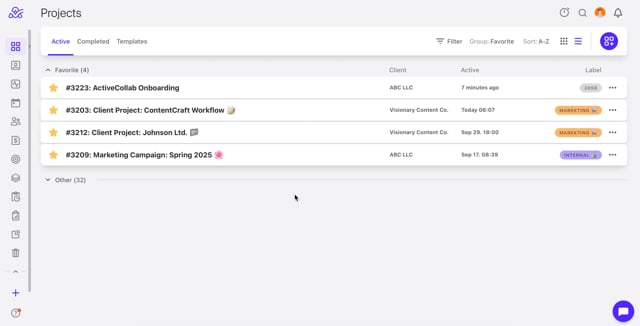
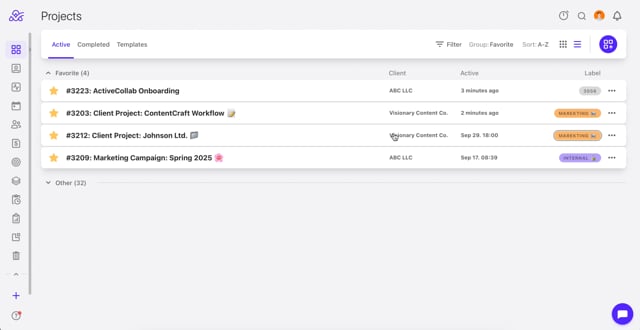
Directly from the Projects page

- Step 1: Log in to your ActiveCollab account
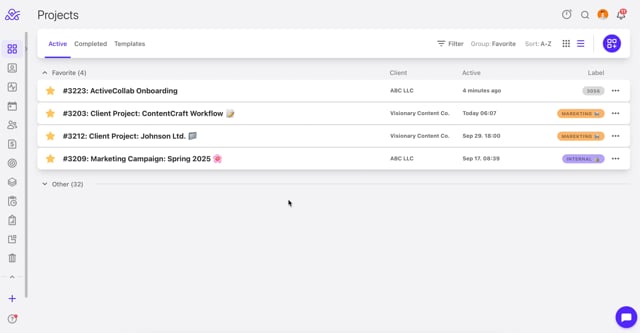
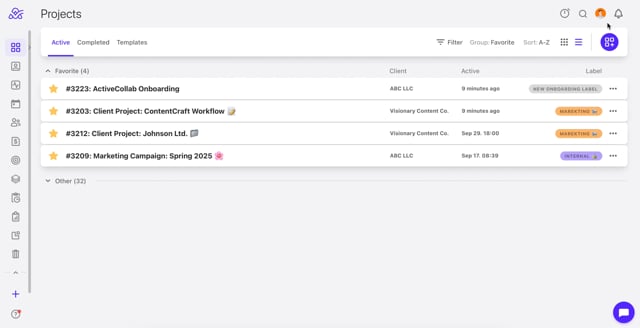
- Step 2: On the Projects page, click on +Label button in the right corner next to the three dots (...)
- Step 3: Enter the name of the project label
- Step 4: Click on +Add New
- Video Tutorial: https://vimeo.com/1123546547
Through the System Settings

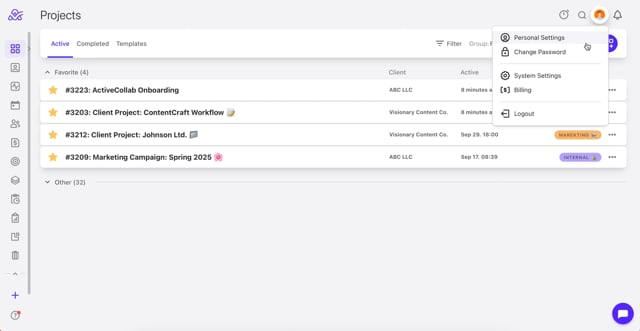
- Step 1: Log in to your ActiveCollab account
- Step 2: Click on your profile picture or initials in the upper-right corner of the screen
- Step 3: From the dropdown menu, click on System Settings
- Step 4: Click on the Project Settings
- Step 5: Find the Labels & Categories section
- Step 6: Click on Project Labels
- Step 7: Scroll down until you find the Add Project Label button
- Step 8: Enter a name and select a desired color
- Step 9: Click on Add
- Video Tutorial: https://vimeo.com/1123546957
How to Edit/Rename a Project Label?

- Step 1: Log in to your ActiveCollab account
- Step 2: Click on your profile picture or initials in the upper-right corner of the screen
- Step 3: From the dropdown menu, click on System Settings
- Step 4: Click on the Project Settings
- Step 5: Find the Labels & Categories section
- Step 6: Click on Project Labels
- Step 7: Click on the three dots (...) next to the name of a project label you wish to edit
- Step 8: In the dropdown menu, click Edit
- Step 9: Type in a new name for your project label
- Step 10: Click Save
- Video Tutorial: https://vimeo.com/1123551359
How to Change the Color of a Project Label?
- Step 1: Log in to your ActiveCollab account
- Step 2: Click on your profile picture or initials in the upper-right corner of the screen
- Step 3: From the dropdown menu, click on System Settings
- Step 4: Click on the Project Settings
- Step 5: Find the Labels & Categories section
- Step 6: Click on Project Labels
- Step 7: Click on the three dots (...) next to the name of a project label you wish to edit
- Step 8: In the dropdown menu, click Edit
- Step 9: Click on the color button
- Step 10: Select a desired color from the dropdown menu
- Step 11: Click Save
- Video Tutorial: https://vimeo.com/1123551942
How to Delete a Project Label?
- Step 1: Log in to your ActiveCollab account
- Step 2: Click on your profile picture or initials in the upper-right corner of the screen
- Step 3: From the dropdown menu, click on System Settings
- Step 4: Click on the Project Settings
- Step 5: Find the Labels & Categories section
- Step 6: Click on Project Labels
- Step 7: Click on the three dots (...) next to the name of a project label you wish to delete
- Step 8: Click Delete
- Step 9: Confirm the deletion process by clicking on the Delete button
- Video Tutorial: https://vimeo.com/1123552987