Managing Projects
In ActiveCollab, all work happens inside projects. There you’ll be able to assign tasks, discuss ideas, attach files, write notes, and track time and expenses.
How To Start a New Project in ActiveCollab
You can create a new project by following these steps:
- Step 1: Go to the Projects tab in the top menu.
- Step 2: Click the “+ Start a New Project” button.
- Step 3: Enter a name for your project.
- Step 4: (Optional) Add a description to explain the project's purpose.
- Step 5: Choose a template if you want to start from an existing project setup.
- Step 6: Set a label to categorize the project (e.g., “New”, “In Progress”).
- Step 7: Select a category to help organize your projects.
- Step 8: Choose a client company to associate the project with.
- Step 9: Enable budget and time tracking if you plan to track costs and time.
- Step 10: Select a budgeting type: Fixed price, Time and Expenses, or Non-Billable.
- Step 11: Set the billable status for time and expense records.
- Step 12: Choose rates for different job types on the project.
- Step 13: Click Create Project to finalize.
- Video Tutorial: https://vimeo.com/1123466888
How To Invite People to a Project
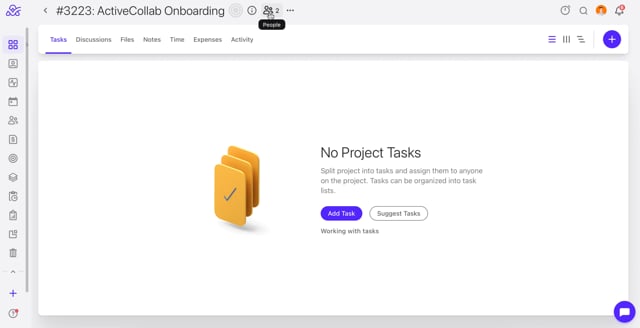
After you’ve created a project, you’ll immediately be able to invite people:
You can add team members or clients to your project by doing the following:
- Step 1: After creating the project, go to the People tab.
- Step 2: Click Invite/Manage People.
- Step 3: Enter the name or email of the person you want to invite.
- Step 4: (Optional) Enter the name of a team to invite a group of people.
- Step 5: Click Send Invitations.
- Step 6: The invited individuals will receive an email with an invitation to join the project.
- Video Tutorial: https://vimeo.com/1123467544
Understanding the Parts of a Project
Once inside a project, you'll find several tabs:
- Tasks: Where you can assign and manage tasks.
- Discussions: For sharing ideas and posting comments.
- Files: To store and manage project-related files.
- Notes: For creating and sharing text documents.
- Time: To track all hours logged into the project.
- Expenses: To monitor project costs.
- Activity: Shows all updates and changes within the project.
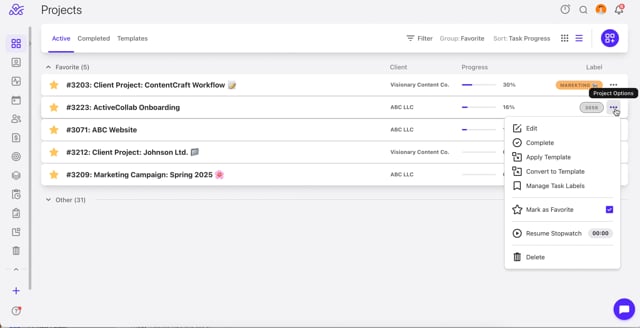
How To Make Changes to a Project
By clicking on the three-dots menu next to a Project you can modify a project.
To modify a project:
- Step 1: Open the project.
- Step 2: Click the three-dots menu (...) next to the project name.
- Step 3: Choose from the following options:
- Edit: Modify project details.
- Manage Task Labels: Add or change task labels.
- Complete: Mark the project as completed.
- Convert to Template: Save the project as a template for future use.
- Star: Mark the project as a favorite.
- Move to Trash: Delete the project.
- Video Tutorial: https://vimeo.com/1123467943
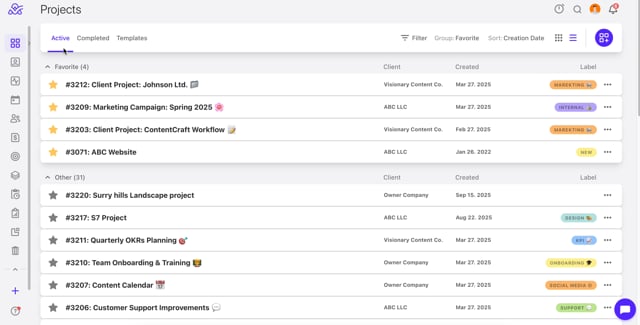
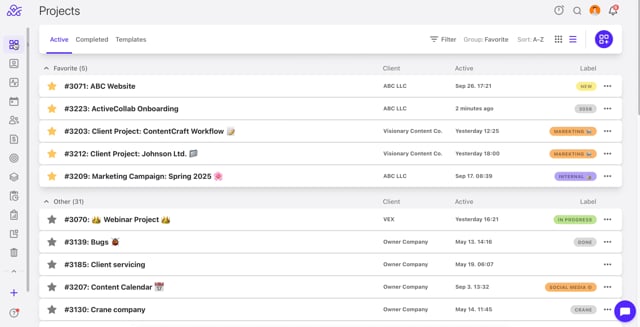
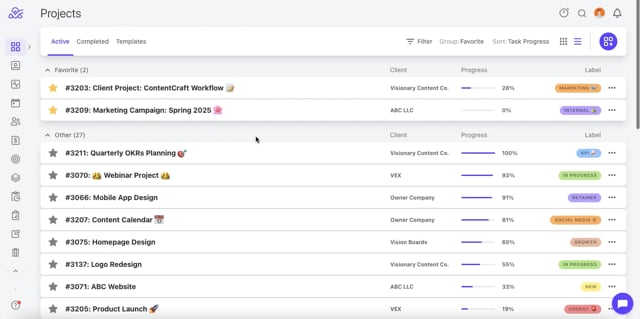
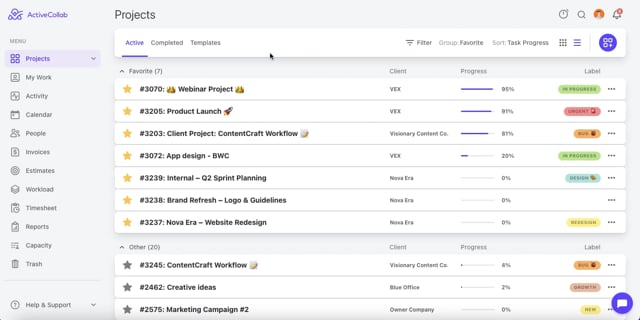
How To Organize Projects
In the header, you can choose from Active, Completed, and Templates when viewing projects, and there is a number of ways to keep the list organized.
Use the labels to sort out projects. You can add or change the labels directly from the project overview.
How To keep your projects organized:
- Step 1: In the Projects tab, use the filters in the header to view projects by:
- Client
- Label
- Category
- Project Lead
- Step 2: Group projects by:
- Favorite
- Label
- Client
- Category
- Project Lead
- Step 3: Once grouped, you can expand or collapse these groups for a better overview.
- Step 4: Sort groups by:
- Name
- Activity
- Creation date
- Step 5: To add or change a label:
- Hover over the label area.
- Click the +Label button.
- Choose an existing label or type a new one.
- Click again to remove a label.
- Video Tutorial: https://vimeo.com/1123468476
How To Complete a Project
To mark a project as completed:
- Step 1: Open the project.
- Step 2: Click the Options menu.
- Step 3: Select Complete.
- Step 4: The project will move to the Completed Projects section.
- Step 5: You can restore a completed project by opening it and changing its status back to active.
- Video Tutorial: https://vimeo.com/1123468848
How to Convert a Project to a Template
To export projects :
- Step 1: Go to the Projects tab.
- Step 2: Click on the “...” menu for the desired project
- Step 3: Click on "Convert to Template”
- Step 4: Write the desired Project Template Name
- Step 5: Click on “Convert”
- Step 6: Done, you have converted the desired Project to a Template.
- Video Tutorial: https://vimeo.com/1123469291
How to Duplicate a Project
- Step 1: Go to the Projects tab.
- Step 2: Click on the “...” menu for the desired project
- Step 3: Click on "Duplicate"
- Step 4: Enter the new name for the Duplicated project and the starting date for tasks.
Note: Project structure will be duplicated. Tasks will begin on the selected date. Comments, time records, and expenses will be excluded. - Step 5: Click on "Duplicate" once you are done.
- Video tutorial: https://vimeo.com/1131696931
How to Duplicate a Completed Project
- Step 1: Go to the Projects tab.
- Step 2: Click on the "Completed" tab, located in between the "Active" and "Templates"
- Step 3: Click on the "..." next to the desired Completed Project.
- Step 4: Select "Duplicate" from the drop down menu.
- Step 5: Enter the new name for the Duplicated project and the starting date for tasks.Note: Project structure will be duplicated. Tasks will begin on the selected date. Comments, time records, and expenses will be excluded.
- Step 6: Click on "Duplicate" once you are done.
- Video tutorial: https://vimeo.com/1131698027
How to Add a Project Label to a Completed Project?
- Step 1: Go to the Projects tab.
- Step 2: Click on the "Completed" tab, located in between the "Active" and "Templates"
- Step 3: Click on the "..." next to the desired Completed Project.
- Step 4: Click on "Reopen" and confirm
- Step 5: Locate the recently reopened project and hover over it
- Step 6: Click on "+ Label" and add the desired label.
- Video tutorial: https://vimeo.com/1193583667