Estimates help you negotiate project expenses with your clients or evaluate how much a project will cost. They help:
- Align expectations on budget and scope
- Serve as a foundation for invoices and project acceptance
Only users with the following roles can create and manage estimates:
- Owner
- Members with permissions to manage time and finances
How to access the Estimates section
- Step 1: Log in to your ActiveCollab account.
- Step 2: From the main left menu, click on Estimates ( under the “Invoices” section)
- Step 3: You’ll see a list of existing estimates and an option to Create a New Estimate in the upper right corner
- Video Tutorial: https://vimeo.com/1129253926
How to create a new estimate
- Step 1: Click the + New Estimate button.
- Step 2: Fill out the required fields:
- Estimate Name
- Choose a currency and language
- Client (select from your contacts)
- Enter the address
- Issue Date
- Step 3:
- Add the description, items, quantity, cost, amount, and the tax (if applicable)
- Add a discount (optional),
- Add a note for the client (insert a note template) or a private comment (optional),
- Step 4: Click Create Estimate.
- Video Tutorial: https://vimeo.com/1129254138
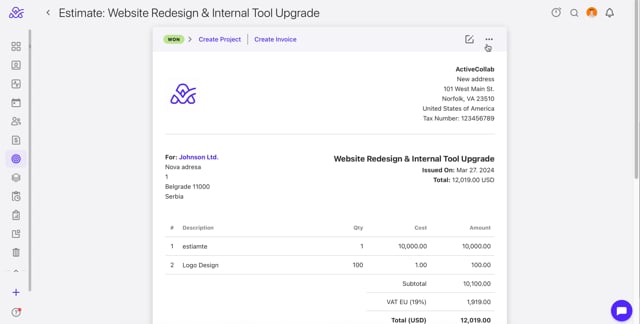
How to customize the estimate
- Step 1: From the main left menu, click on Estimates ( under the “Invoices” section)
- Step 2: Select a desired estimate from the List/Grid view
- Step 3: Click Access Invoice Designer at the bottom of the page to customize the appearance and layout.
- Step 4: Аdjust the items, company details, header, and footer
- Video Tutorial: https://vimeo.com/1129254431
How to send an estimate
- Step 1: From the main left menu, click on Estimates ( under the “Invoices” section)
- Step 2: Select a desired estimate from the List/Grid view and click on the three dots in the upper right corner
- Step 3: After reviewing, click Send by email.
- Step 4: Choose a client contact to send it to. You can enter multiple recipients.
- Step 5: Enter a short message ( optional)
- Step 6: Click Send
- Video Tutorial: https://vimeo.com/1129254686
How to mark as sent
- Step 1: From the main left menu, click on Estimates ( under the “Invoices” section)
- Step 2: Select a desired estimate from the List/Grid view and click on the three dots in the upper right corner
- Step 3: Click Mark as Sent. The estimate will be moved to the Sent section.
- Video Tutorial: https://vimeo.com/1129254930
How to mark as won
- Step 1: From the main left menu, click on Estimates ( under the “Invoices” section)
- Step 2: Select a desired estimate from the List/Grid view and click on the three dots in the upper right corner
- Step 3: Click Mark as Won to update the details
- Video Tutorial: https://vimeo.com/1129255161
Note: When the client responds and you reach an agreement, you can mark the estimate as Won and start a Project based on this estimate.
How to mark as lost
- Step 1: From the main left menu, click on Estimates ( under the “Invoices” section)
- Step 2: Select a desired estimate from the List/Grid view and click on the three dots in the upper right corner
- Step 3: Click Mark as Lost to update the details
- Video Tutorial: https://vimeo.com/1129255381
Note: When an agreement with the client is not reached, mark the estimate as Lost. All lost estimates remain visible until you decide to move them to the Trash. You can also edit or resend a lost estimate to other clients.
How to create a new project from an estimate
- Step 1: From the main left menu, click on Estimates ( under the “Invoices” section)
- Step 2: Select a desired estimate from the List/Grid view and click on the three dots in the upper right corner
- Step 3: Click Create Project. Fill in the required project information.
- Video Tutorial: https://vimeo.com/1129255589
Note: The project budget will be determined by the current amount from the estimate.
How to create an invoice from an estimate
- Step 1: From the main left menu, click on Estimates ( under the “Invoices” section)
- Step 2: Select a desired estimate from the List/Grid view and click on the three dots in the upper right corner
- Step 3: Click Create Invoice. Fill in the required invoice information.
- Video Tutorial: https://vimeo.com/1129255831
How to access logs on an estimate
- Step 1: From the main left menu, click on Estimates ( under the “Invoices” section)
- Step 2: Select a desired estimate from the List/Grid view and click on the three dots in the upper right corner
- Step 3: Click Access logs
- Video Tutorial: https://vimeo.com/1129257061
How to edit the estimate
- Step 1: From the main left menu, click on Estimates ( under the “Invoices” section)
- Step 2: Select a desired estimate from the List/Grid view and click on the edit icon in the upper right corner
- Step 3: Click Save to update the details
- Video Tutorial: https://vimeo.com/1129257446
How to duplicate an estimate
- Step 1: From the main left menu, click on Estimates ( under the “Invoices” section)
- Step 2: Select a desired estimate from the List/Grid view and click on the three dots in the upper right corner
- Step 3: Click on Duplicate.
- Video Tutorial: https://vimeo.com/1129257684
How to download an estimate

- Step 1: From the main left menu, click on Estimates ( under the “Invoices” section)
- Step 2: Select a desired estimate from the List/Grid view and click on the three dots in the upper right corner
- Step 3: Click on Download PDF.
- Video Tutorial: https://vimeo.com/1129257898
How to delete an estimate
- Step 1: From the main left menu, click on Estimates ( under the “Invoices” section)
- Step 2: Select a desired estimate from the List/Grid view and click on the three dots in the upper right corner
- Step 3: Click Delete. This will send the estimate to the Trash folder, where you can delete it permanently or recover it if needed.
- Video Tutorial: https://vimeo.com/1129258109
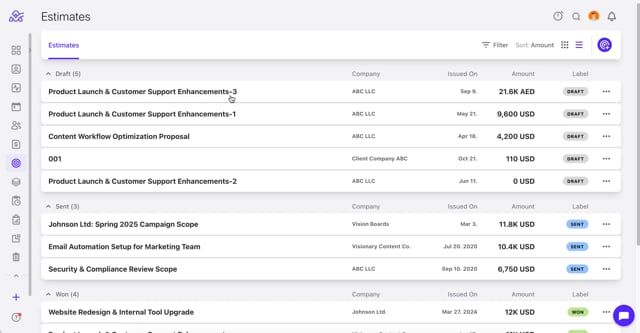
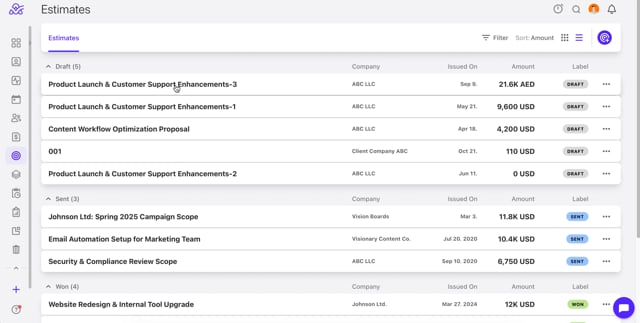
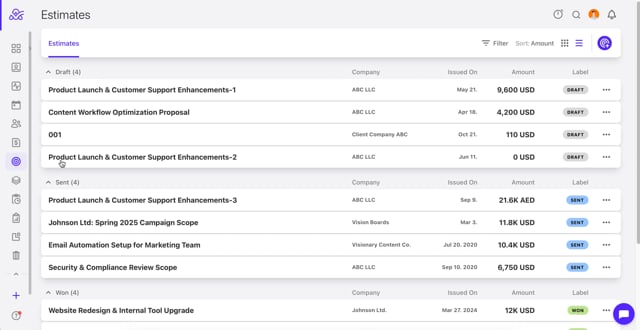
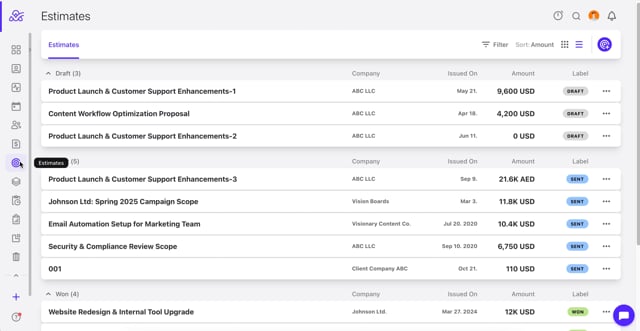
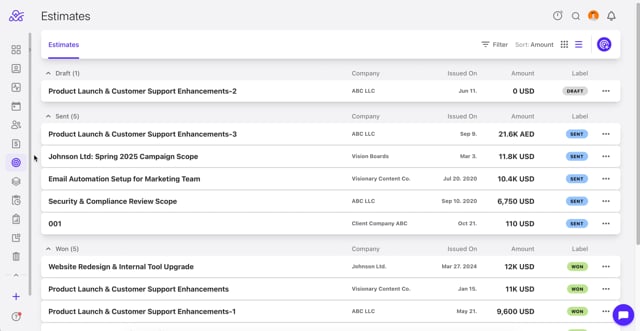
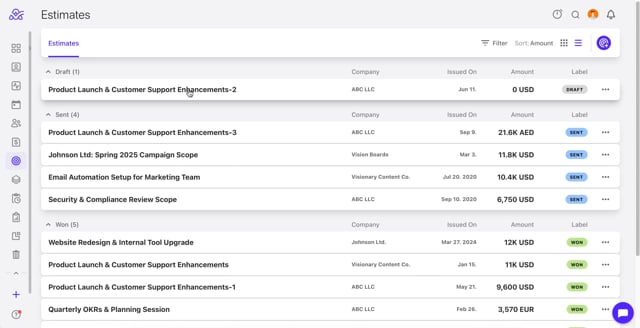
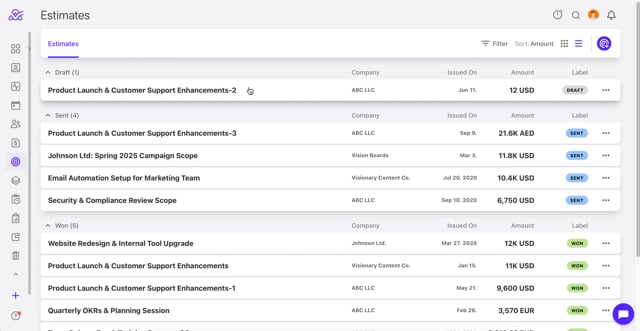
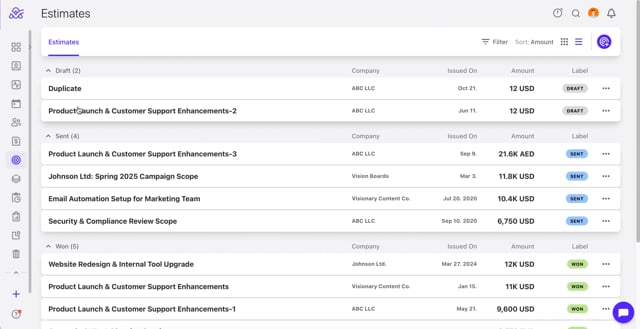
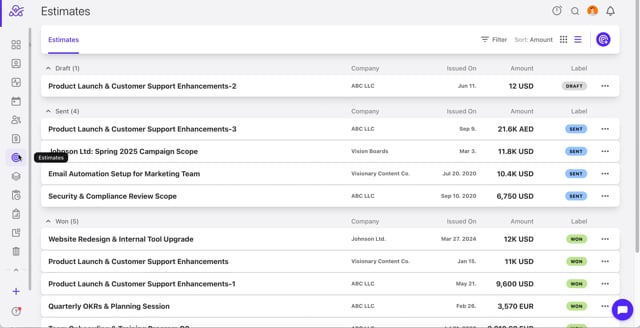
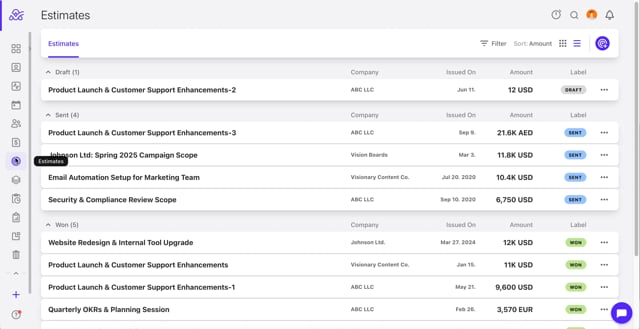
How to manage estimates
- Step 1: From the main left menu, click on Estimates ( under the “Invoices” section)
- Step 2: Click on Grid/List view next to the Sort button in the upper right corner.
- Switch from Grid to List view for a better overview
- Status Tracking: Estimates move through statuses like Draft, Sent, Won, Lost, or Cancelled.
- Step 1: From the main left menu, click on Estimates ( under the “Invoices” section)
- Step 2: Click on Draft, Sent, Won, Lost, or Cancelled to see the desired estimates.
- Video Tutorial: https://vimeo.com/1129258407
How to filter estimates
- Step 1: From the main left menu, click on Estimates ( under the “Invoices” section)
- Step 2: Click on the Filter button next to the Sort button
- Step 3: Proceed to filter by:
- Status
- Client
- Date
- Currency
- Video Tutorial: https://vimeo.com/1129259109
How to sort estimates
- Step 1: From the main left menu, click on Estimates ( under the “Invoices” section)
- Step 2: Click on the Sort button next to the Filter button
- Step 3: Proceed to sort by:
- Issued on
- Activity
- Amount
- Video Tutorial: https://vimeo.com/1129259393