Due to the European Union's directive on standardized invoice formats (EN 16931), we have updated the way client details are entered in invoices and estimates. This change ensures compliance with regulations and facilitates compatibility with accounting software that processes eInvoices.
How to add client details to invoices
When creating a new invoice, you are now required to fill in your client's details using the new format:
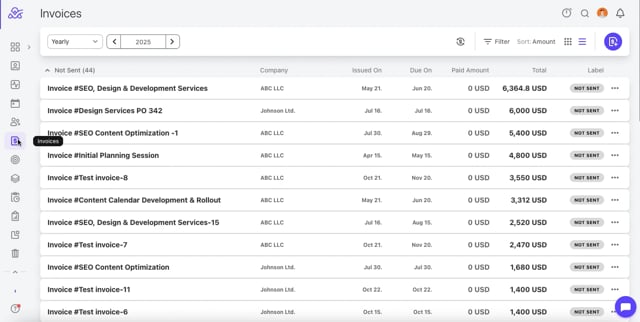
- STEP 1: Click on Invoices in the left-side menu
- STEP 2: Click on “+” in the upper right corner to Create a new invoice
- STEP 3: Select a Client company name ( the system will show a warning that the address is in old format)
- STEP 4: Type in the new address in the Address field
- STEP 5: Add the other details:
- Client Address (required)
- Apt/Suite Number (optional)
- City (required)
- State/Province (optional)
- Tax Number (EIN, TIN, UTR, etc.) (optional)
- STEP 6: Add description, qty and cost
- STEP 7: Click Create invoice
- Video tutorial: https://vimeo.com/1129895239
The new address will be displayed.
How to add client details to estimates
When creating a new estimate, you are now required to fill in your client's details using the new format.
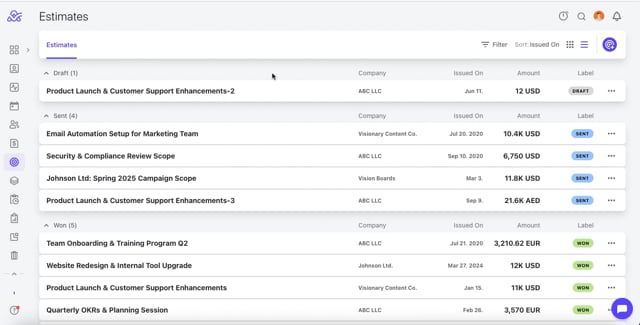
- STEP 1: Click on Estimates in the left-side menu
- STEP 2: Click on “+” in the upper right corner to Create a new estimate
- STEP 3: Select a Client company name ( the system will show a warning that the address is in old format)
- STEP 4: Type in the new address in the Address field
- STEP 5: Add the other details:
- Client Address (required)
- Apt/Suite Number (optional)
- City (required)
- State/Province (optional)
- Tax Number (EIN, TIN, UTR, etc.) (optional)
- STEP 6: Add description, qty, and cost
- STEP 7: Click Create invoice
- Video tutorial: https://vimeo.com/1129897040
The new address will be displayed.
How to edit client details on invoices and estimates
If you are editing existing invoices or estimates, you also have to update the client details to align with the new format:
- STEP 1: Click on Invoices/Estimates in the left-side menu
- STEP 2: Select the desired invoice/estimate
- STEP 3: Click on the three dots (...) in the upper right corner
- STEP 4: Click on Edit to make the necessary changes
- STEP 5: Click on Save
- Video tutorial: https://vimeo.com/1129898372
Note: Once client details are updated using the new format during editing, they will be saved, and you will not need to re-enter them for future edits.