Stopwatch
The Stopwatch is an efficient way to track the time you and your team members spend working on tasks.
Who can use the Stopwatch feature?
The Stopwatch is available to all users on your account who have permission to track time on tasks:- Owner,
- Member+,
- Member.
Those with Client and Client+ roles can see the total tracked time but are not able to use the Stopwatch.
How to enable the Stopwatch?
- Step 1: Click on your Profile Icon.
- Step 2: Click on System Settings.
- Step 3: Click on Time and Expense Settings
- Step 4: Enable Budget and Time Tracking under Budget and Time Tracking by setting the slider to On.
- Step 5: Enable the Task Estimates under Time Estimates by setting the slider to On.
- Video Tutorial: https://vimeo.com/1130826730
Note: This is only available for the Owner role.
How to enable the rounding options for the Stopwatch?
- Step 1: Click on your Profile Icon.
- Step 2: Click on System Settings.
- Step 3: Click on Time and Expense Settings
- Step 4: Enable the Rounding up options under Stopwatch Settings to your preference.
- Step 5: Enter the desired amount.
- Video Tutorial: https://vimeo.com/1130826893
Note: This is only available for the Owner role.
Note: This will set the smallest value that can be logged. This is only available for the Owner role.
How to enable time tracking in a Project?
- Step 1: Click on the desired Project.
- Step 2: Click on the “...” menu.
- Step 3: Click on the “Edit” option from the drop down menu.
- Step 4: Click on “Enable budget, time and expense tracking”
- Step 5: Click on “Update Project”.
- Video Tutorial: https://vimeo.com/1130827081
How to set the minimal entry for the Stopwatch?
- Step 1: Click on your Profile Icon.
- Step 2: Click on System Settings.
- Step 3: Click on Time and Expense Settings
- Step 4: Under “Stopwatch Settings” find the “Minimal Entry” and enter your preferred amount.
- Note: This will set the smallest value that can be logged. This is only available for the Owner role.
- Video Tutorial: https://vimeo.com/1130827239
How to Run the Stopwatch from a Task?
- Step 1: Click on the desired Project.
- Step 2: Click on the desired task where you wish to track the time.
- Step 3: Click on the “Play” icon under Time Tracking on the right side of your task.
- Video Tutorial: https://vimeo.com/1130827420
Note: You can't track time on multiple tasks at the same time.
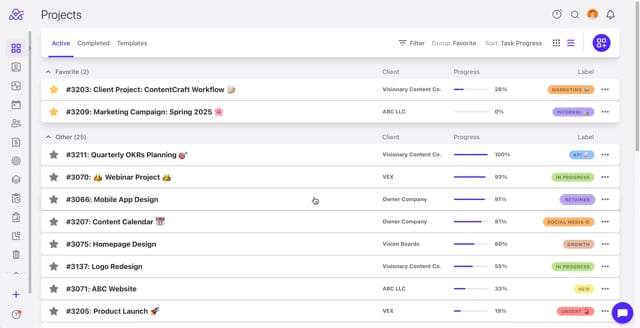
How to Run the Stopwatch for a Project?
- Step 1: On the Project Dashboard, click on the “...” next to the desired Project.
- Step 2: Click on “Start Stopwatch” from the drop-down menu.
- Video Tutorial: https://vimeo.com/1130827614
How to Run the Stopwatch from outside the Project?
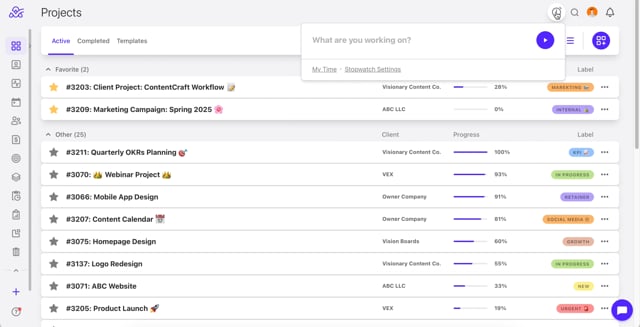
- Step 1: Click on the Stopwatch Icon in the upper right corner.
- Step 2: Click on the “Play” icon.
- Step 3: Click on the “What are you working on” field.
- Step 4: Select the Project you are working on.
- Step 5: Select to track the time directly on the project or on a specific task.
- Video Tutorial: https://vimeo.com/1130827805
How to Pause tracking time from the Stopwatch?
- Step 1: You need to have an active Stopwatch running.
- Step 2: Click on the red time in your upper right corner.
- Step 3: Click on the Pause icon next to the red time.
- Video Tutorial: https://vimeo.com/1130827997
How to upload my time tracked from the Stopwatch?
- Step 1: You need to have an active Stopwatch running.
- Step 2: Click on the red time in your upper right corner.
- Step 3: Click on the upload icon next to the time tracked.
- Step 4: You can now edit the:
- Time amount,
- Job type,
- The Billable/Non-Billable status,
- Date of time entry
- Add the description for the time entry.
- Step 5: Once you are done click on “Add Time Record”
- Video Tutorial: https://vimeo.com/1130828181
How to cancel my time tracked from the Stopwatch?
- Step 1: You need to have an active Stopwatch running.
- Step 2: Click on the red time in your upper right corner.
- Step 3: Click on the “X” icon next to the tracked time.
- Step 4: Click on “ Discard” to confirm your choice.
- Video Tutorial: https://vimeo.com/1130828377
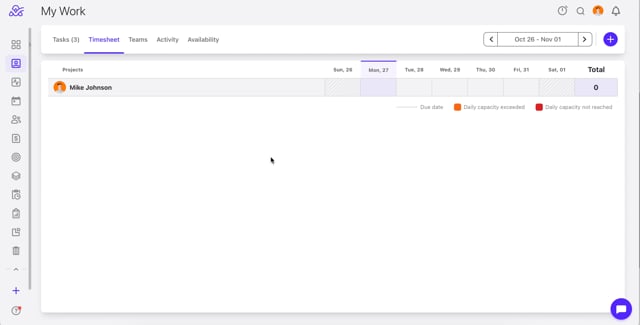
How to see all of my tracked time from the Stopwatch?

- Step 1: Click on the Stopwatch Icon in the upper right corner.
- Step 2: Click on the “My Time” icon.
- Video Tutorial: https://vimeo.com/1130828578
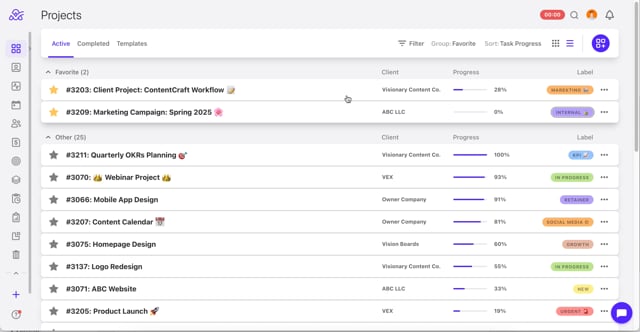
How to see my active Stopwatch?
- Step 1: You need to have an active Stopwatch running.
- Step 2: Click on the red time in your upper right corner.
- Step 3: The red running time is your active Stopwatch.
- Video Tutorial: https://vimeo.com/1130828734
How to Set Time Tracking Limits?
- Step 1: Click on your Profile Icon in the upper right corner.
- Step 2: Click on System Settings.
- Step 3: Click on Time and Expense Tracking.
- Step 4: Under Time Tracking Limits set the desired Limit Logging Period. This sets how far in the past users can add time records.
- Step 5: You can click on the field and type the desired number of days.
- Step 6: Under Limit Editing Period you can set the editing period for time entries.
- Step 7: Return to your ActiveCollab dashboard and the changes will be saved automatically.
- Video Tutorial: https://vimeo.com/1130832623
Why Can’t I add Time for a Day in the Past?
This is most likely related to the Time Tracking limits set in the System Settings under Time and Expense Tracking - Limit Logging Period. Any Owner role on your account can access these settings and change them to allow for a greater scope of time tracking periods.