Your Favorite Tools, Connected to ActiveCollab
Integrate tools you love with ActiveCollab—create seamless processes and work more efficiently.
File Storage and Sharing Made Easy
No need to leave ActiveCollab for stored files somewhere else.
ActiveCollab and G-Drive Integration
Expand the ActiveCollab experience by connecting your Google account, and sharing files with the team.
ActiveCollab and Dropbox Integration
If you're used to exchanging files through Dropbox, no worries. You can attach your files to tasks or Discussions from Dropbox.
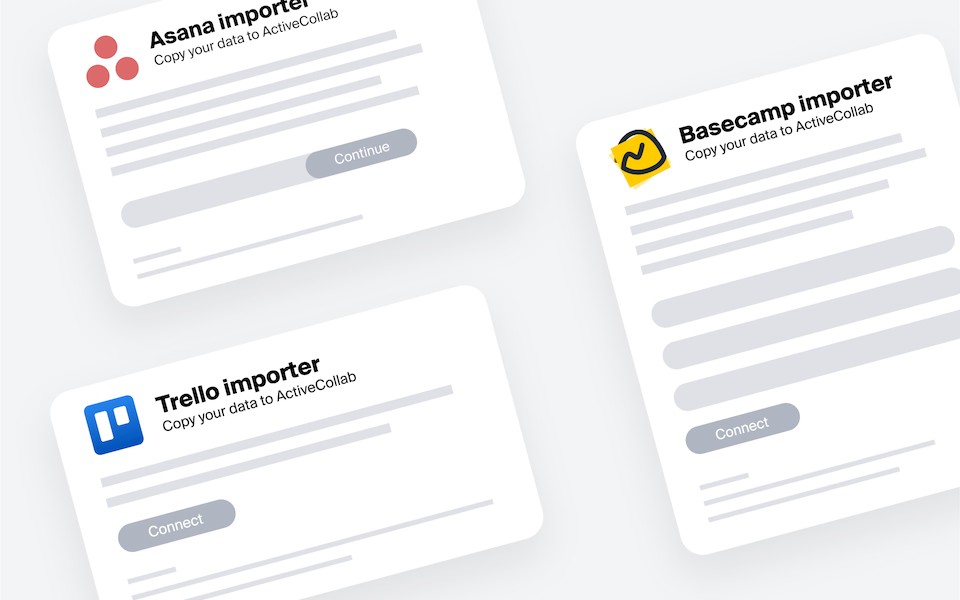
Import Projects from Tools like Trello or Asana into ActiveCollab
Don't interrupt your work! Import your projects into ActiveCollab, and pick up where you left off.

Streamline Payments with QuickBooks
Thanks to the QuickBooks integration, you can easily create invoices in QuickBooks using data your team tracks in ActiveCollab, like time, expenses, and fixed-budget projects.
"ActiveCollab helped in making the transition smooth when we were pushed toward home working and was one of the key factors in maintaining the quality of our work."
Interior Designer, Havelkadesign
"ActiveCollab sounded too good to be true. We went into our trial period with low expectations – to our surprise and delight, we were proven wrong."
Founder and Creative Director, JUICE Creative Group
"ActiveCollab allows our teams to ask questions, track and update statuses, report time, and communicate effectively and efficiently."
Director, Strategic Accounts, Xivic
"We've gotten way more efficient with our time management and communication, and a big part of that is because of ActiveCollab."
Founder and Managing Director, Rock Agency
Receive credit card or PayPal payments.
Start using the GetPaid bundle and activate payment gateways, like PayPal and Stripe. No code required!


