In ActiveCollab, all work happens inside projects. There you’ll be able to assign tasks, discuss ideas, attach files, write notes, and track time and expenses.
Starting a Project
- Open Projects,
- Click +Start a New Project,
- Enter a name and a description,
- Choose a Template to start the project from an already existing template,
- Set a Label to show the project is NEW, IN PROGRESS, etc.
- Set a Category to make the project easier to find later,
- Choose a Client Company to set who the project is for.
- Enable the Budget and Time tracking options if you plan to:
- Choose a budgeting type (Fixed price, Time and Expenses, or Non-Billable),
- Set the Billable or Non-Billable Time and Expense records,
- Change the billable status to Owner and Project Leaders or to All Users,
- Select Rates for different Job types on that particular project. - Click Create Project.
Inviting People to a Project
- After you’ve created a project, you’ll immediately be able to invite people:
- Add Team Members or Clients,
- Enter their name or email,
- Enter the name of a team to invite a group of people,
- Click Send Invitations.
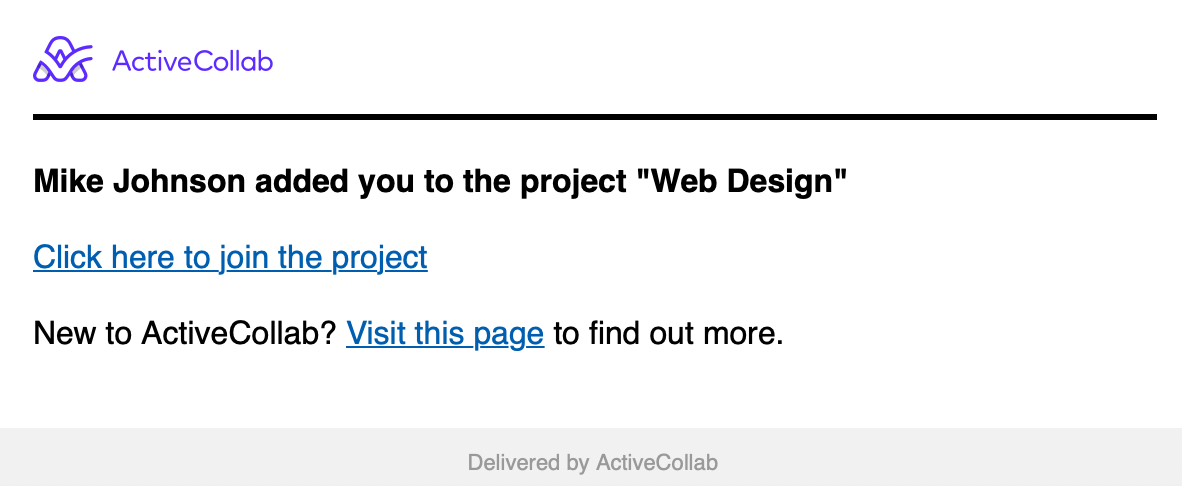
- Everyone you invited will receive an email:
If you wish to add or remove someone later, open the project and click People > Invite/Manage People.
Parts of a Project
After opening a project, you’ll notice it's made up of different tabs.
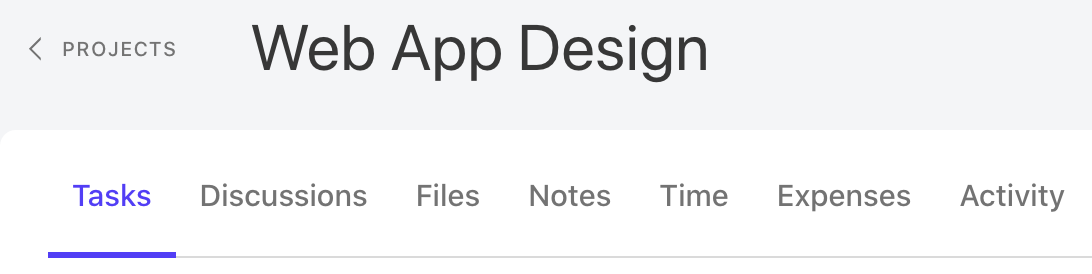
- Tasks tell you what needs to be done and when. You can group them into task lists.
- Discussions are where you can share ideas and post comments.
- Files show all the attachments in the project. They can be added to tasks, comments, and notes, or uploaded to the Files section directly.
- Notes are simple text documents. They’re great for collaborative writing and tracking changes.
- Time is where you see all the hours logged into the project.
- Expenses help you keep track of how much the project is costing you.
- Activity shows all the updates on the project.
Making changes to a Project
By clicking on the three-dots menu next to a Project you can:
- Edit a project,
- Manage Task Labels,
- Complete a project,
- Convert to a Template,
- Star a project,
- Move to Trash.
Organizing Projects
In the header, you can choose from Active, Completed, and Templates when viewing projects, and there is a number of ways to keep the list organized.
Use the labels to sort out projects. You can add or change the labels directly from the project overview.
You can filter the projects with the options in the header by only one:
- Client,
- Label,
- Category,
- Project Lead.
It is possible to group projects by:
- Favorite,
- Label,
- Client,
- Category,
- Project lead.
Once grouped, you'll be able to expand and collapse these groups and have an organized overview.
Groups of projects can also be sorted by:
- Name,
- Activity,
- Creation date.
Shortcut for adding labels:
Labels can be added in just a few clicks:
- Hover over the place where the label should be,
- Click +Label button,
- Choose one of the existing labels or type in a new label to add it.
- You can remove the label by clicking again on it.
Completing a Project
- Open the project,
- Open Options and click Complete.
When a project has been completed, you’ll still be able to find it by using Search or by opening Projects > Completed Projects.
You can restore a completed project and put it back into Active projects.
Importing Projects
- Click on Import Projects to import Sample Projects or projects from Asana, Basecamp, Trello or Wrike.